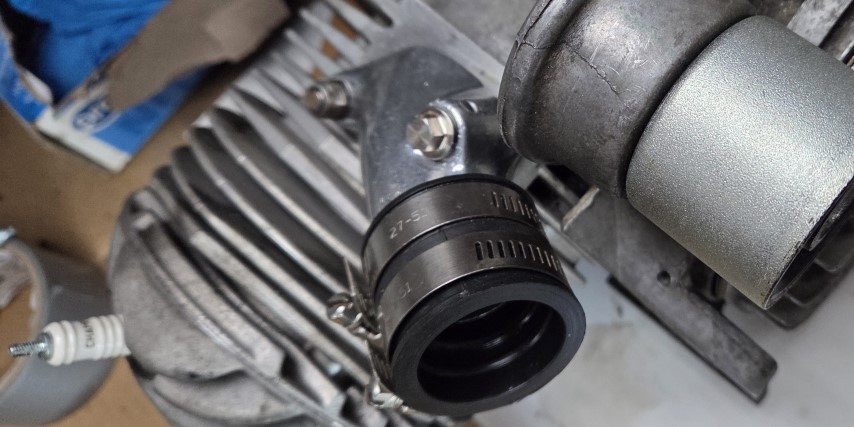
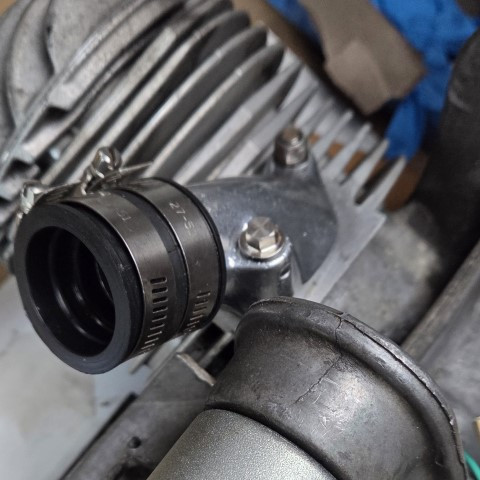
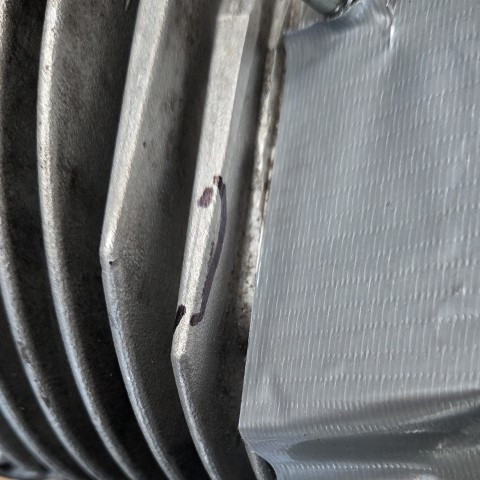
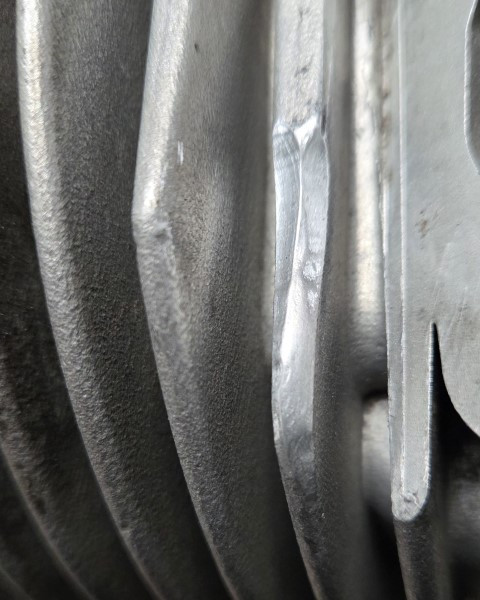
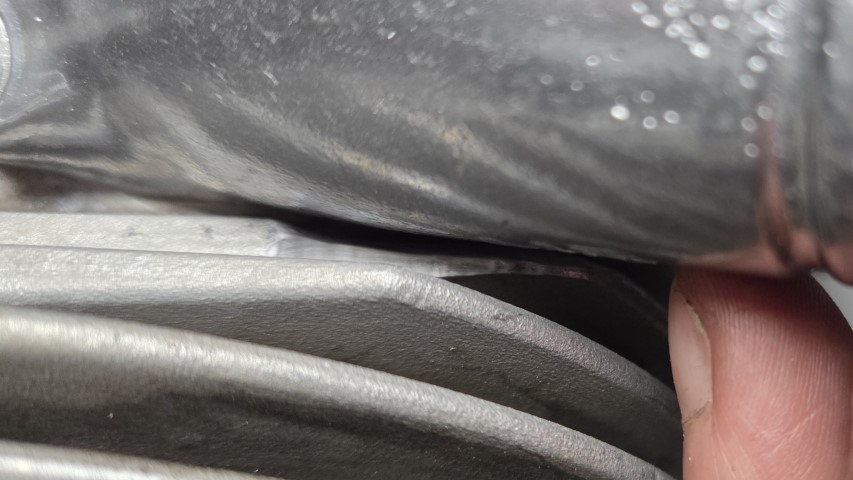
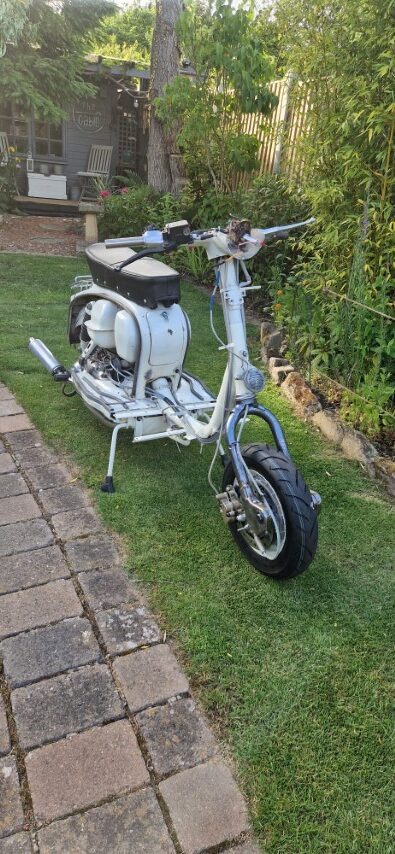
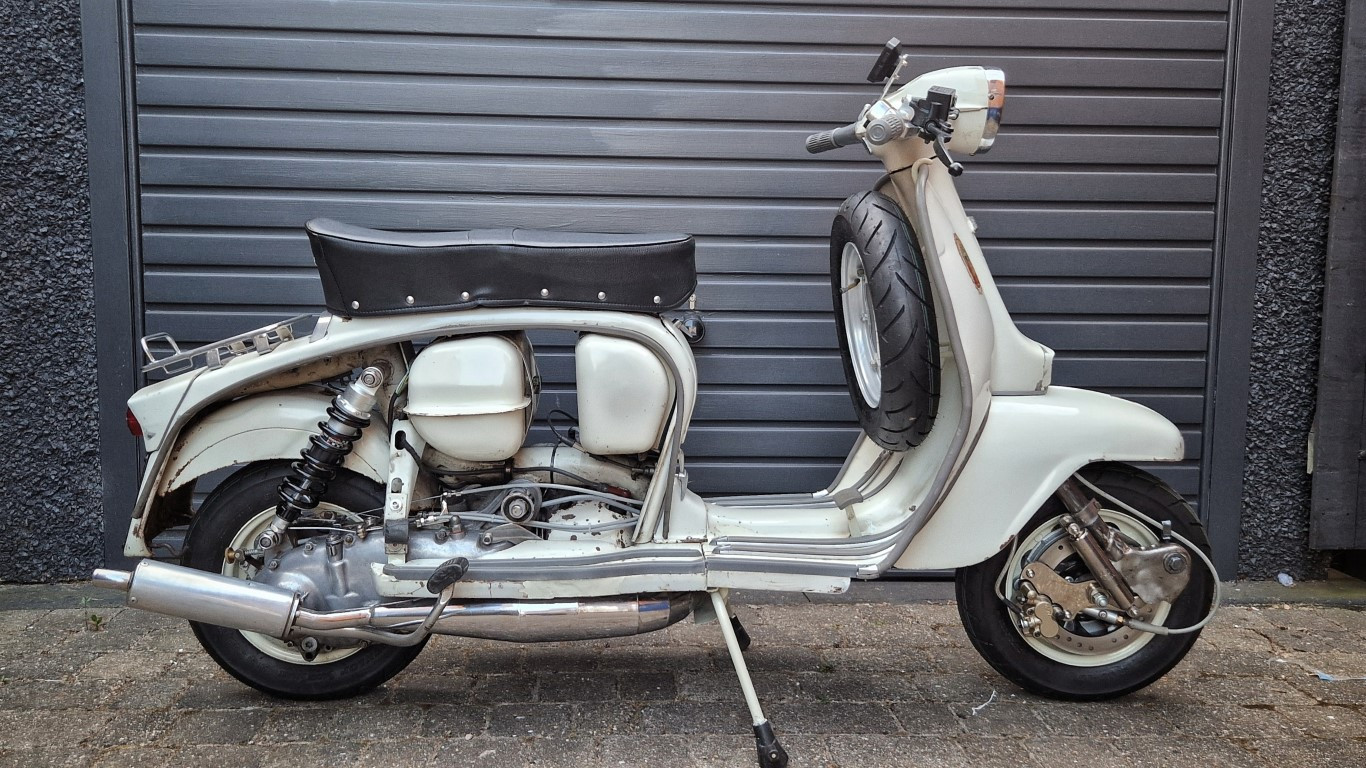
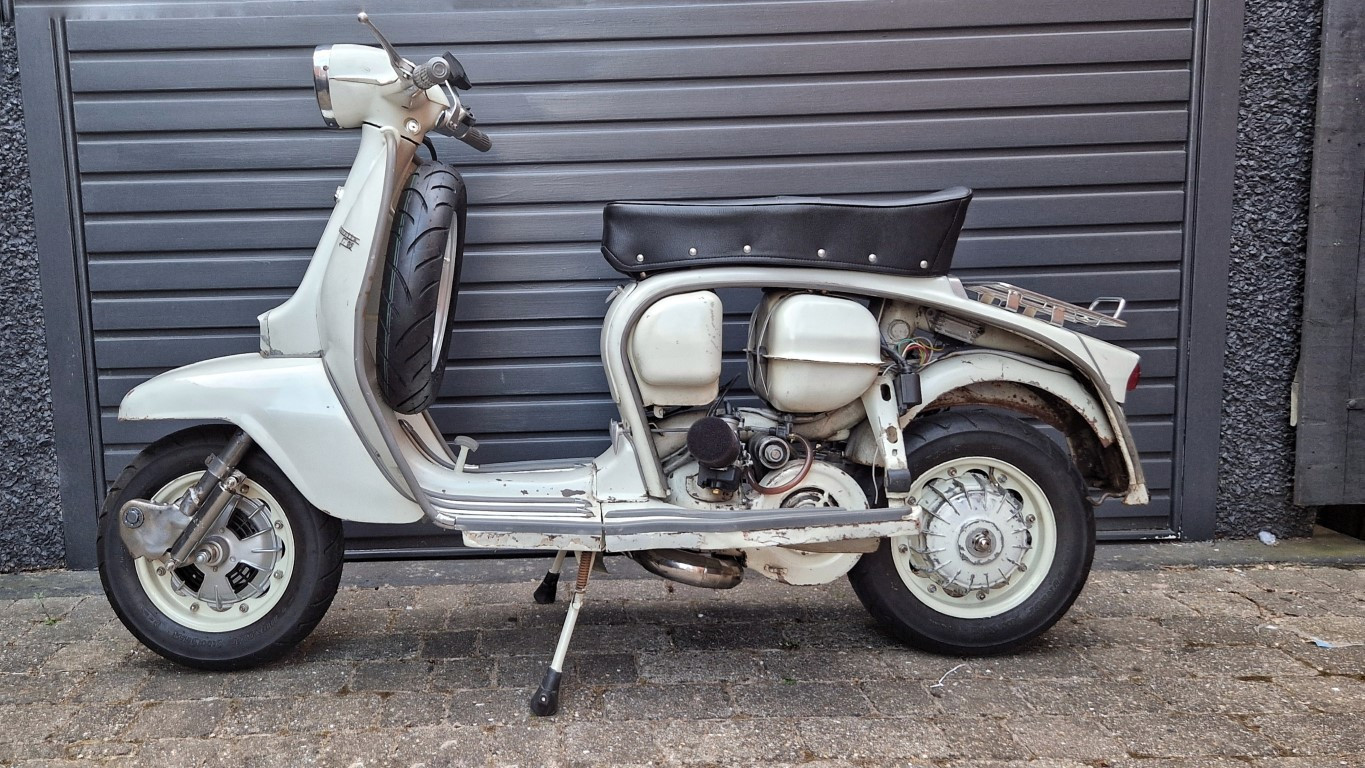
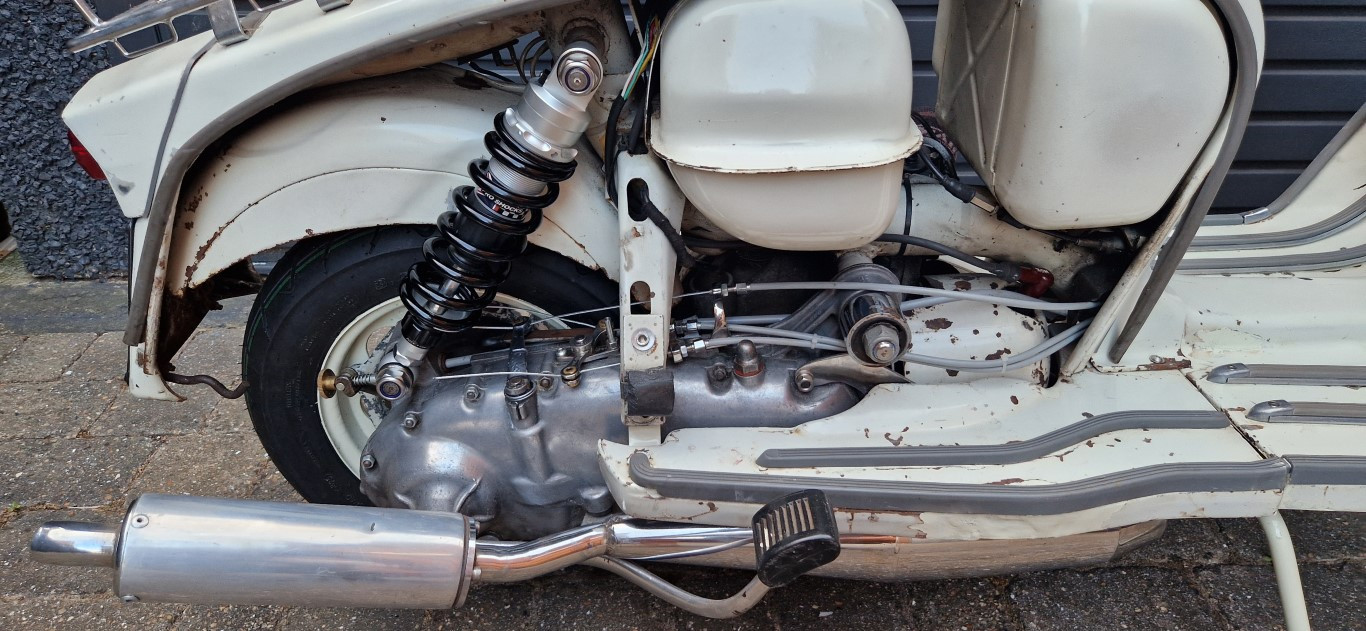
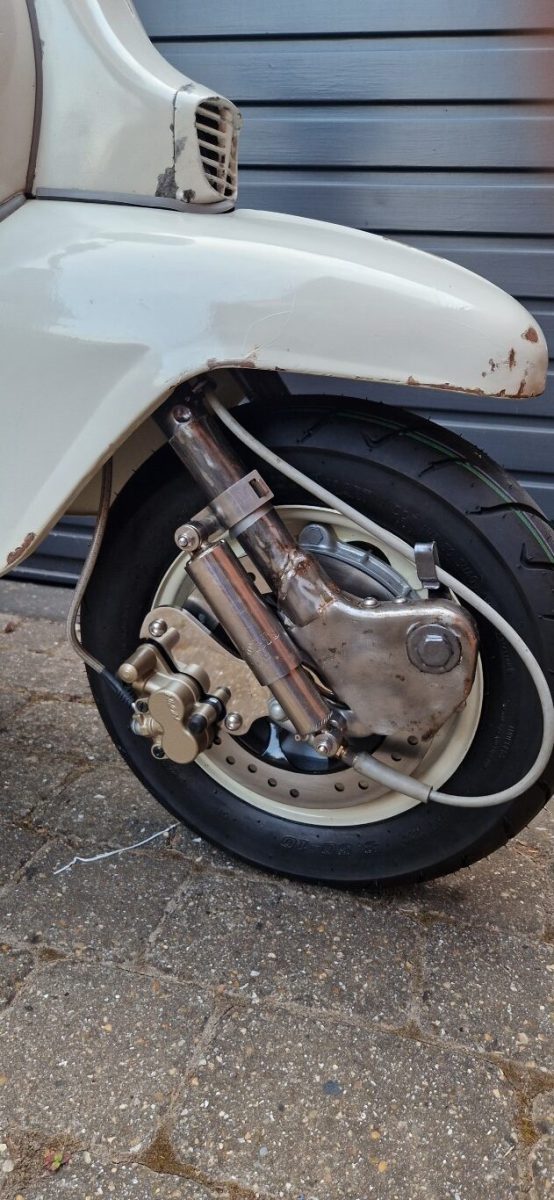
One of the components that I wasn’t particularly happy with when the engine needed attention was the fitted inlet manifold for the 28mm carb. It didn’t seem to match up very well with the cylinder head. After a little research i decided to buy an MB inlet which seemed to match a lot better. However, there was a little material removal work that needed doing to one of the fins to the CASA 185 kit that was on the engine before it would fit correctly. I couldn’t think about removing the metal from the manifold as the walls weren’t particularly thick.
So the Lambretta ticked all of the boxes as far as looks and patina. Of course I didn’t need to test ride it before parting with my hard earned cash. It would ride beautifully….right?
The scooter was dropped off at my house late one Saturday morning August 2025. Shortly afterwards I started to familiarise myself with the mechanics. I know that it had had very little use on the road as the previous owner had just done a couple of local classic vehicle events on it, and the friend he brought it from had it as a prop in his barbers shop. This didn’t inspire me with confidence that it would be fit for anything other than a trip round the block, and the preliminary overview of the cables and controls pretty much proved the point.
Example of the rusty / corroded engine controls and fraying cables…
Anyways, I plucked up the courage to have a spin out on it, and I must confess, it was a death trap. The gear, clutch, brakes, suspension and steering were an absolute nightmare. On the other hand the engine pulled like a train, so there was one positive!
I had always maintained my motorbikes and scooters myself and this wasn’t the first time I had been in this situation before. I knew this was going to take a little TLC to get on top of, and I was hoping that replacing a few cables, and a little general maintenance, was going to be enough to delay having to sink a wad load of cash into this project early doors. However, the more I investigated, the more I realised that this was unrealistic.
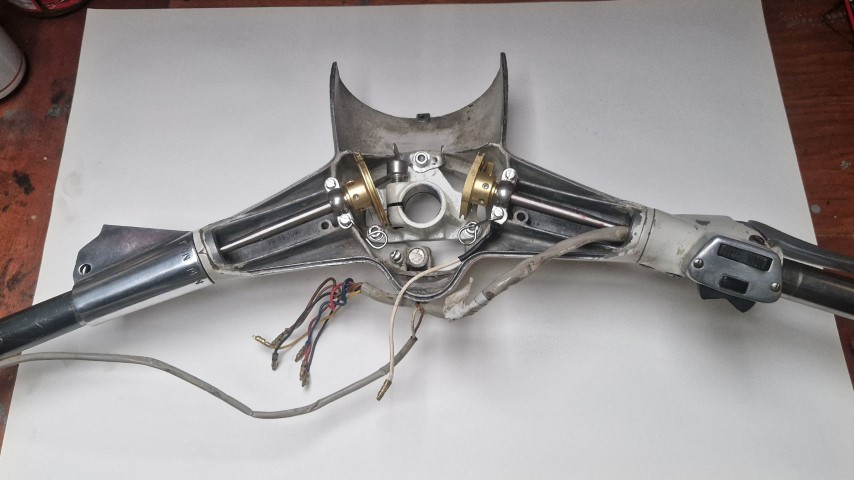
Not knowing a great deal about Lambretta’s, I started to embark on a steep learning curve, peeling away parts to remove the cables, in anticipation of running in a new set as a first port of call. I should have realised at that point, that over a period of the next six months, the scooter was going to gradually stripped of components, as the full realisation of just how little maintenance the scooter has had in its lifetime became apparent.
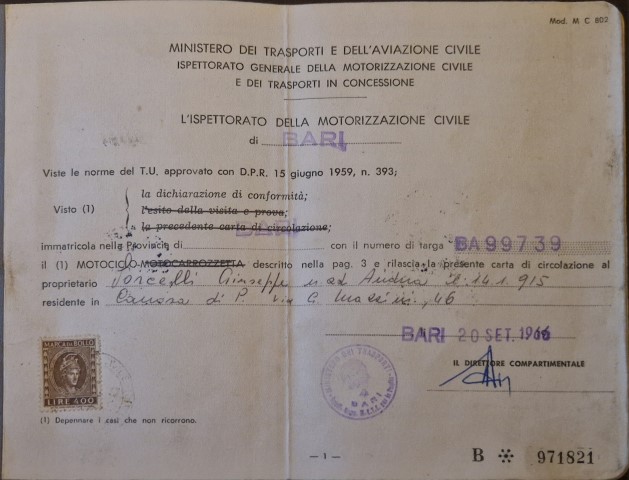
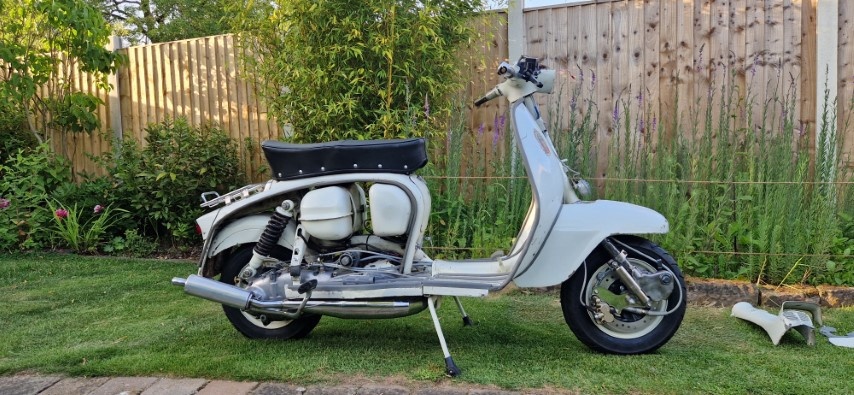
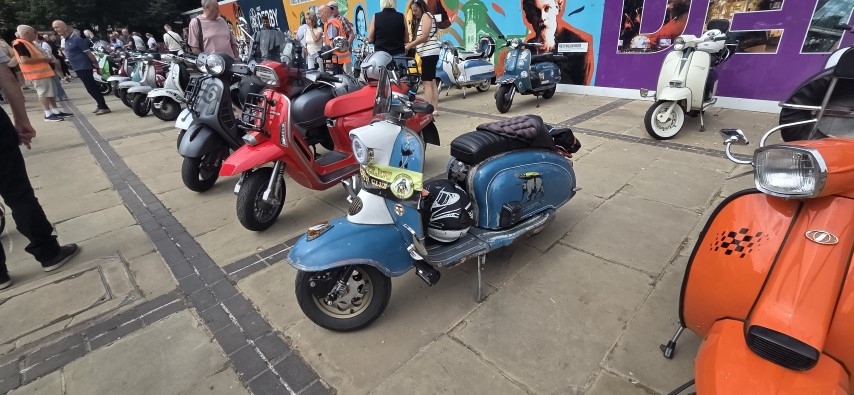
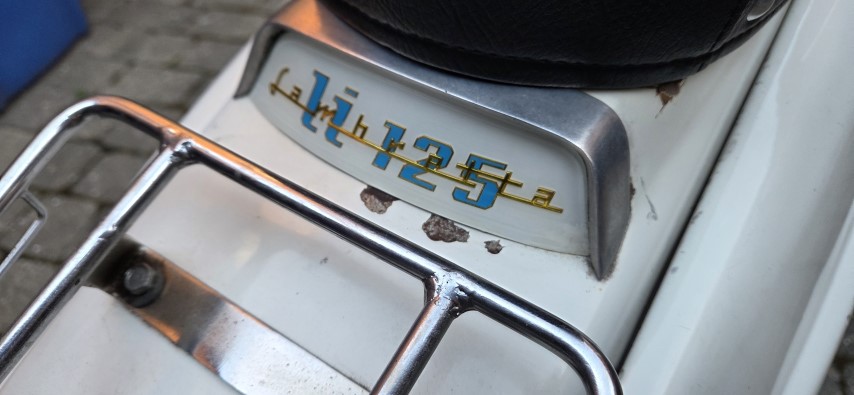
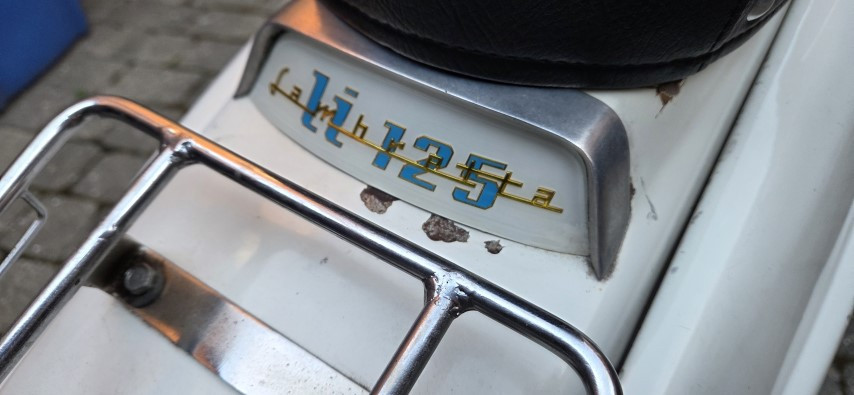
I loved the look of the scooter and the amount of history that was showing in its paintwork. this particular one was made in 1966 so there was a lot going on, and can only assume that the paintwork was original.
Original Italian Logbook which helped date for the UK registration
My intention was to preserve as much of this as possible, with upgrades to the mechanics and the installation of a stainless performance exhaust that was a part of the purchase, along with a front disk brake in time for safety reasons.
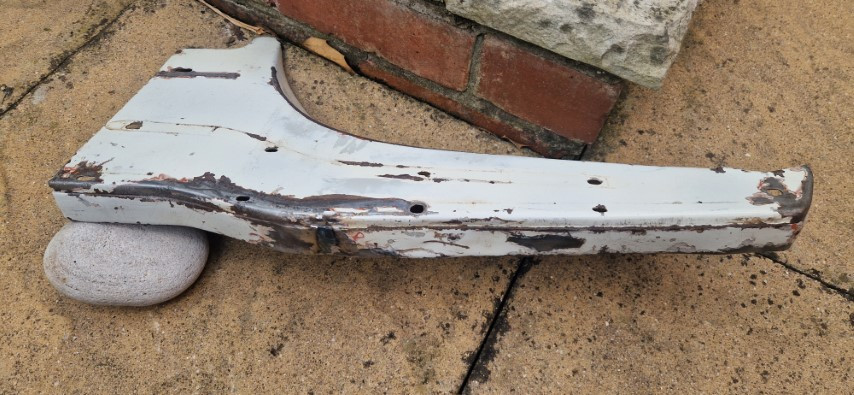
The leg shield below was an example example of how i tried to sympathetically renovate the paintwork. After removing the footboard runners, there were areas of exposed metal and corrosion. I decided to mask around the the runners and paint with Rustolium, which is similar to Hammerite and eats into any existing rust, and does not need a primer on bare metal. I had this particular pigment of paint made up for my campervan, and it was a very close match for some of the touch ups I had to do on this project. Not exact, but good enough.
I made a point of only masking out where the runners would hide the metalwork, leaving areas outside of that to retain the rust and patina.
Leg shields and runners removed and mased ready for paint.
Paint applied under floor runners
During the strip down I noticed the word MADSPEED stamped onto the engine casing. I did a little research and found that this was a tuning company that had been tuning Lambretta’s for years. I contacted the tuner and he confirmed he had tuned the engine with a unique stamp or ‘113’ at the top of the engine mount. Makes sense. This turned out to be a welcome surprise, and obviously the reason the scooter seemed to pull so strongly during the test ride.
Photos in the gallery below were taken over a period of time from September 2025 to August 2026 and included the following:
New inner and outer cables throughout
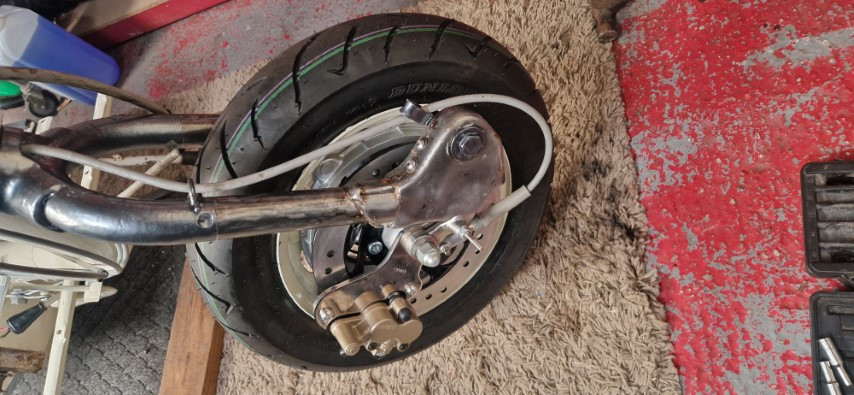
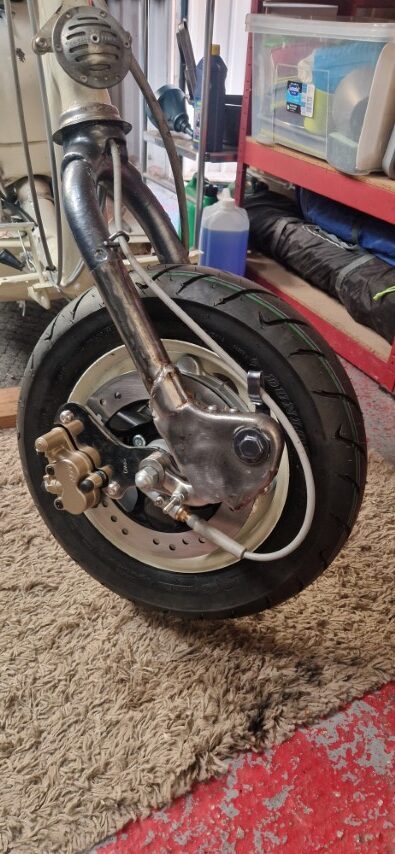
New hydraulic disk brake
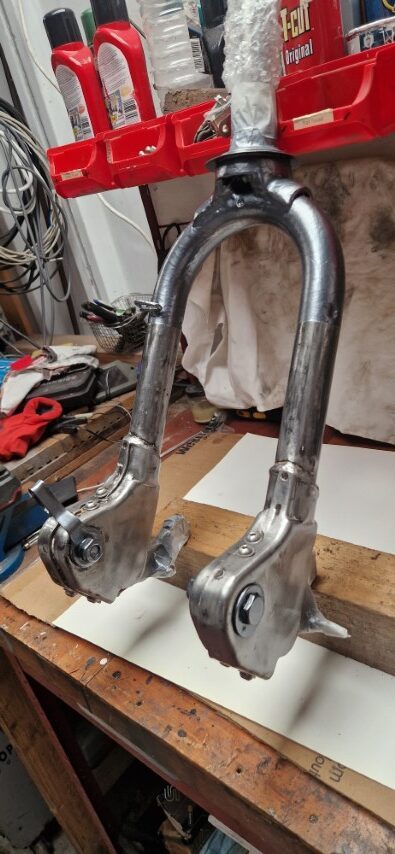
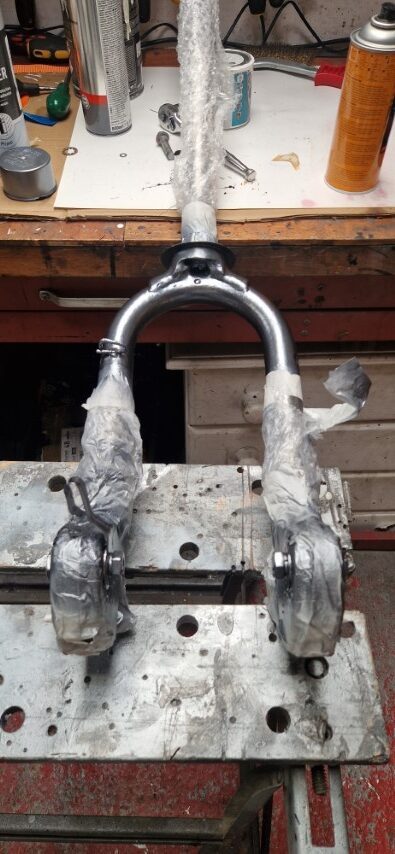
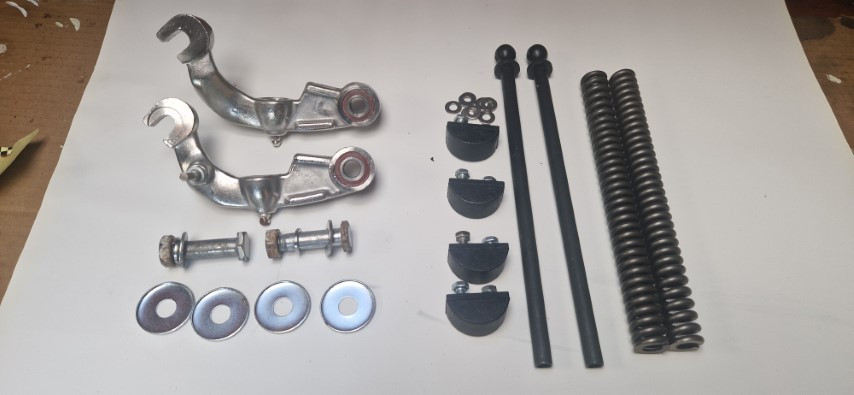
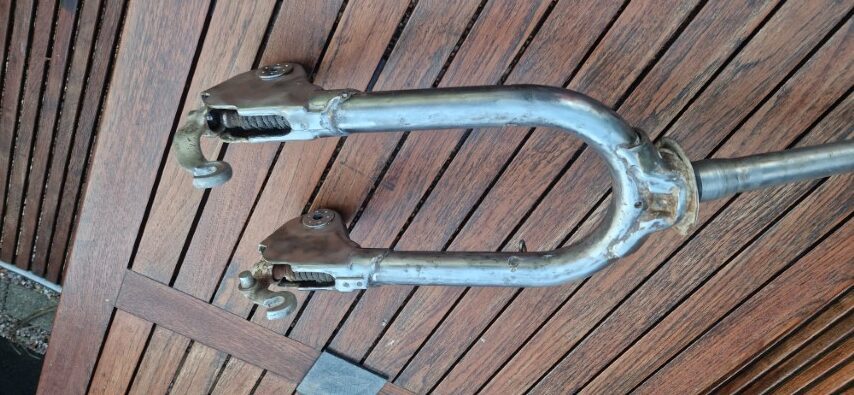
New fork springs, links and bushes
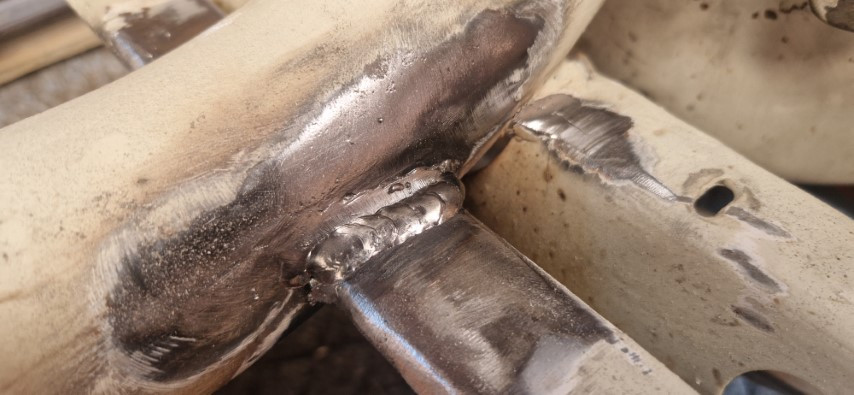
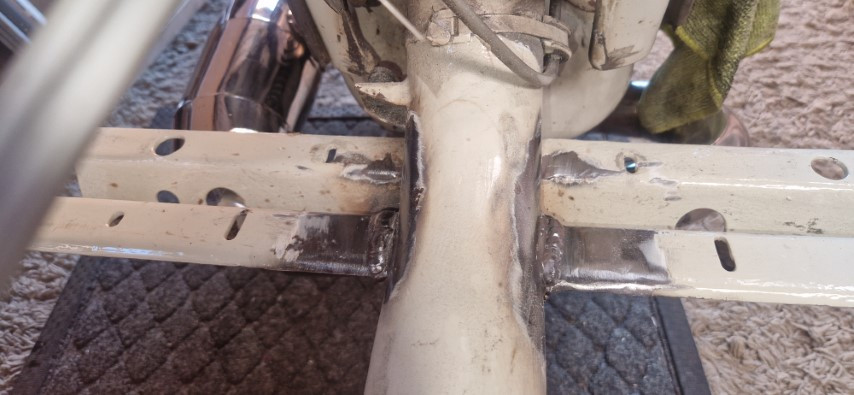
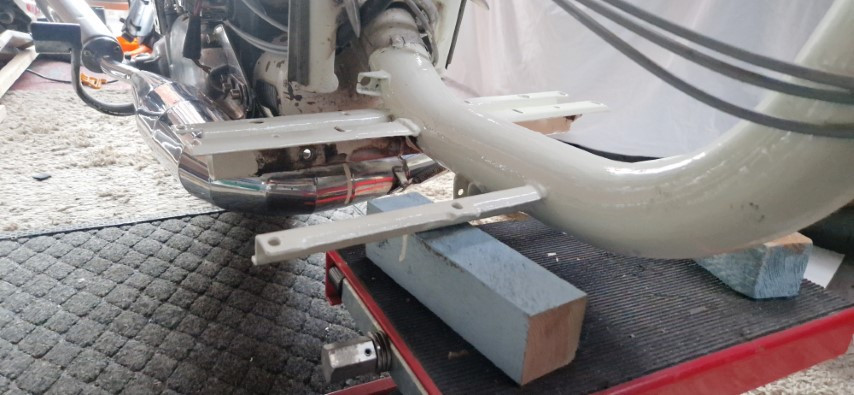
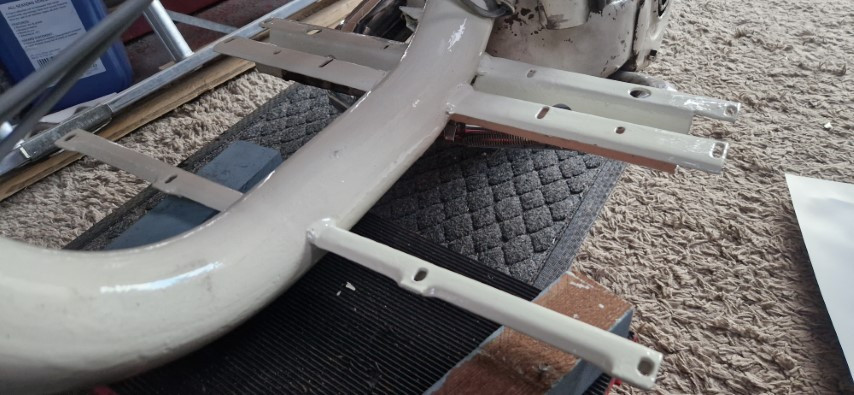
Frame outrigger repairs due to crack on weld
New seat cover
New headset bearings
Refurbishment of original split rimms
New Mitchelin S1 tyres
Spare wheel holder
New rear shock
Stainless gear linkage kit
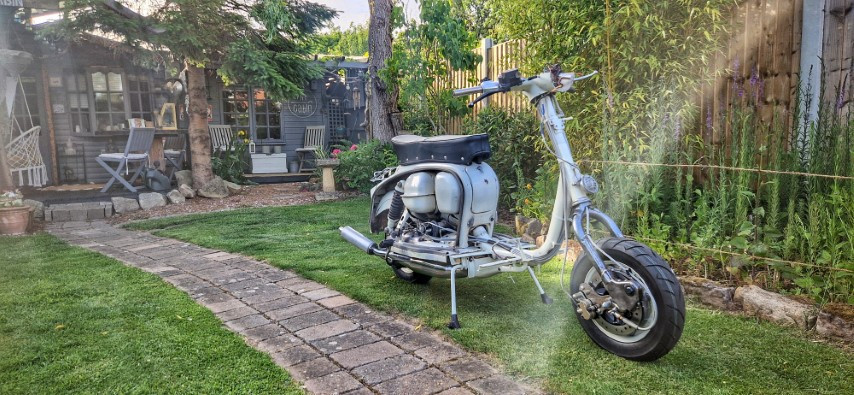
Photos below show the Lambretta in a state of completion I am happy with. I purchased a custom bracket to mount a GPS speedometer which is secured to the right handlebars.
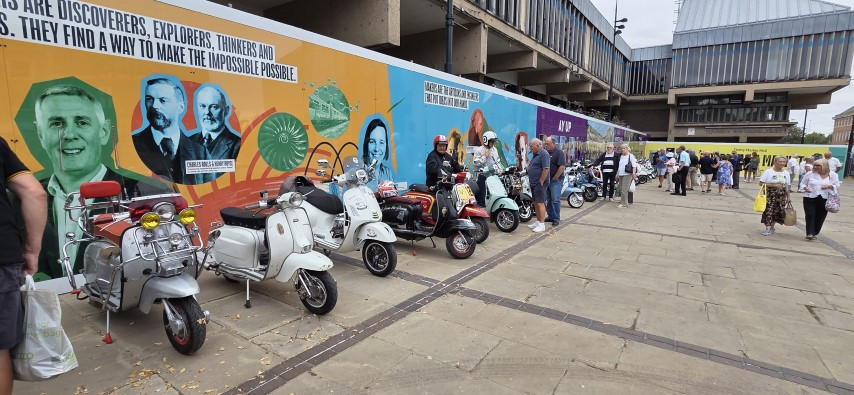
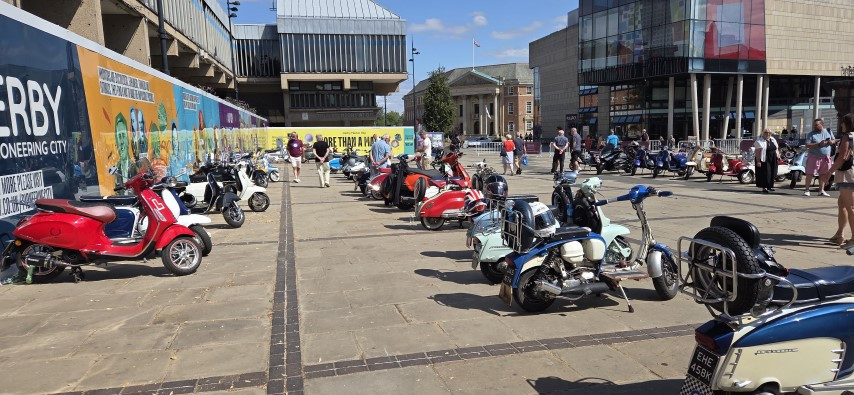
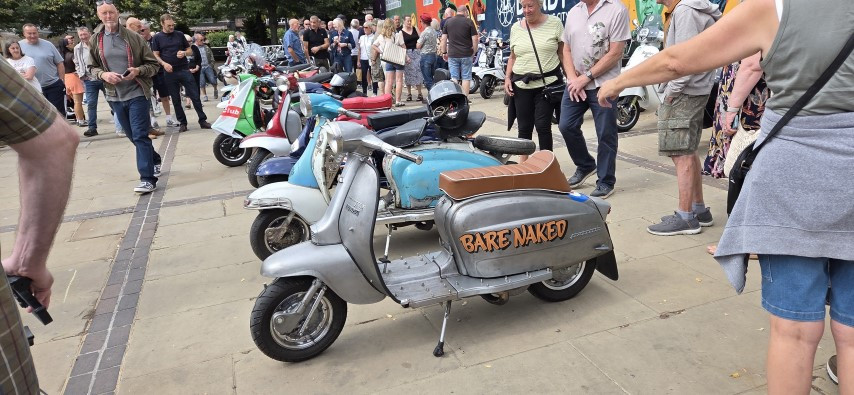
With all of this done, I still struggled to get first gear. I was under the illusion it was cable adjustments, as this was all it could be after I replaced so many of the parts responsible for smooth gear selection. For a month or so I lived with this and got a few miles under my belt. I started to get a bit of a social life, getting out with the local scooterists (Merlin Scooter Club).
However, the first gear issue was to rear its head in the not too distant future…..
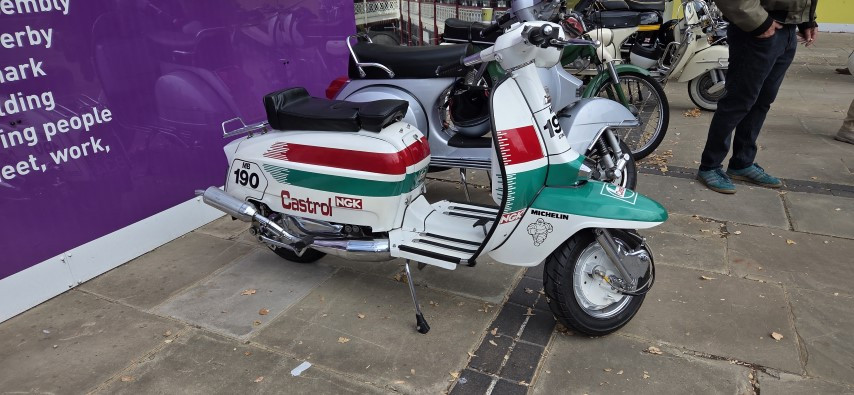
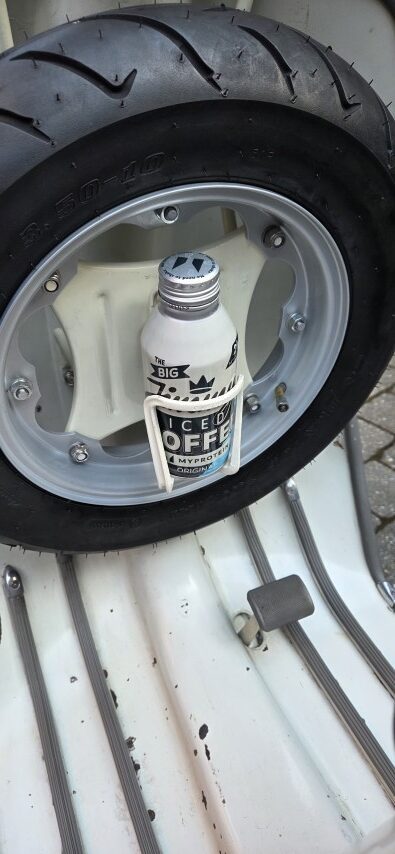
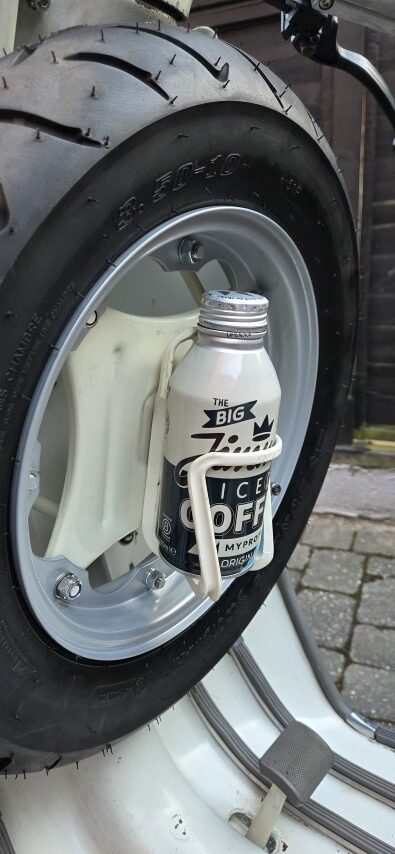
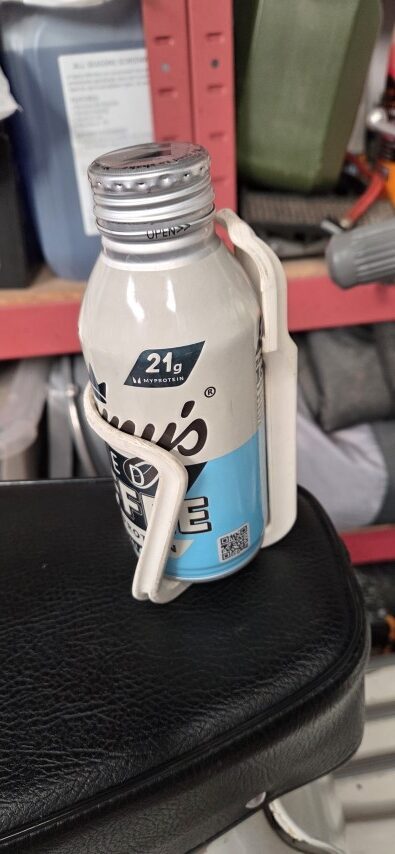
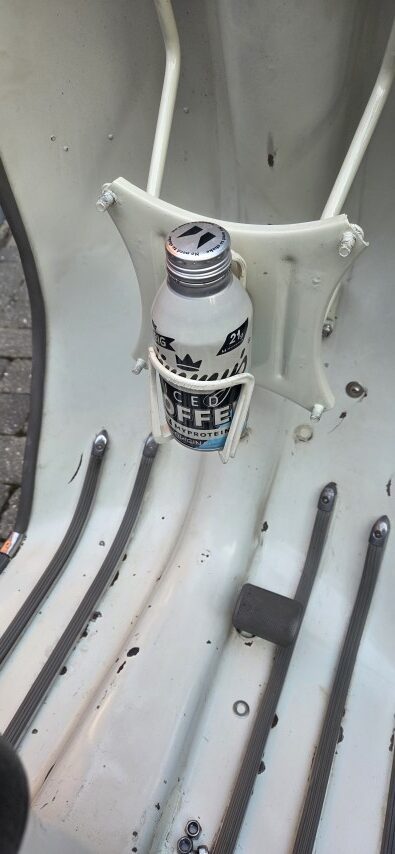
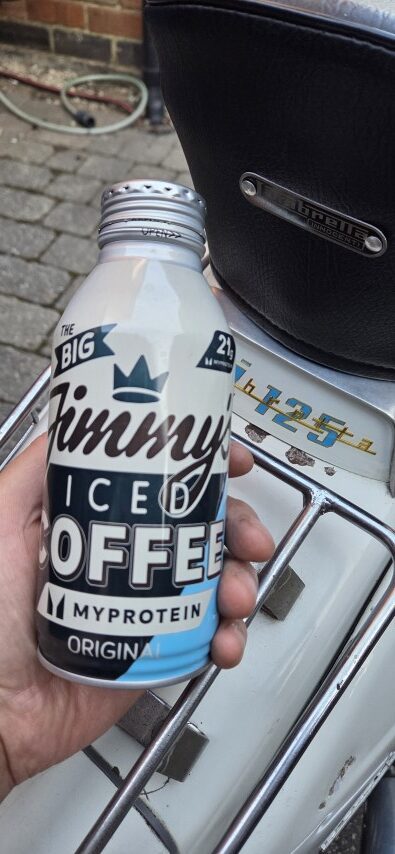
Had a nice iced coffee a few weeks ago and just couldn’t part with the container. I was thinking about getting a Castrol 2 stroke oil kit for the spare wheel, but thought they were quite expensive when I have other things to spend my money on regarding the scooters maintenance.
However, this bottle perfectly matches my scooter, so i set to sourcing an appropriate holder for it. On eBay I found a 1990s, retro specialised bike bottle holder that’s an amazing match to both my scooter and the bottle. I’ve attached it to the spare wheel holder after adding a couple of neatly placed rivnuts.
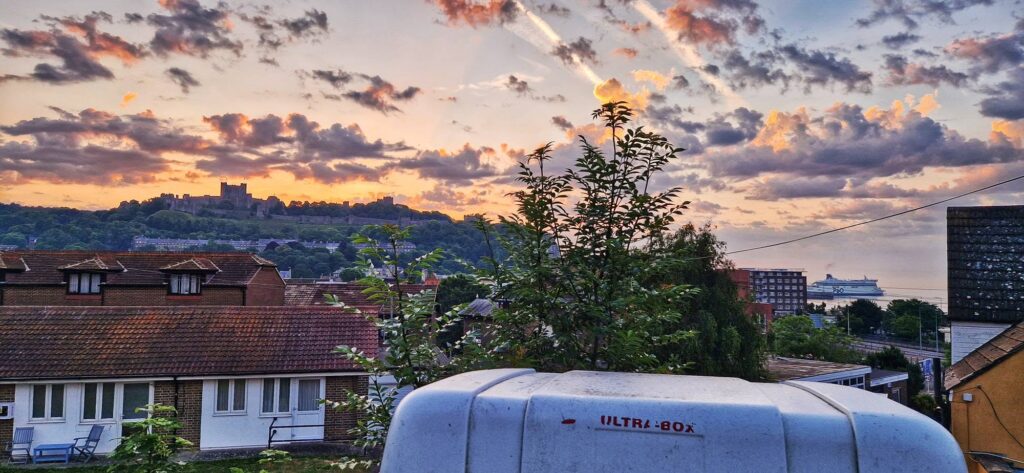
We departed from sunny Derby at 2pm with a 4 hour journey time and an ETA of 6.15pm arrival at Dover. Reality was more like 8pm with the usual M25 traffic, but I guess this is what we come to expect in the UK. We stopped in a free carpark overnight in anticipation of our 7am departure for France and woke up at 5am view with a great view out of our newly installed Heki skylight of Dover Castle and the ferry port. It was the first time we had stayed in the van since the new skylight was installed so it was a bit of a novelty!
Suffice to say we arrived at the ferry on time and or plan was for an overnight stay in Dinant, Belgium. This will place us just outside of Luxembourg where we have three nights booked at a campsite from Sunday onwards.
Denant – Belgium
We knew that the first full day was going to be a bit of a slog from a point of view of having to get up early, and then do a four hour drive to the first stop after the ferry crossing. However, the weather was excellent, and the roads abroad seem so much nicer to navigate than in the UK. We arrived in Dinant midday which was perfect.
With this stop just being a single night before moved on to our first pre booked campsite in Luxembourg, we used a phone app called Park4Night to find a place to stay. This is done on a recommendation basis by a person that finds a place that they have stayed at without having issues to move on, and from there others use the location and contribute on the app to say whether or not the location is still valid with no problems.
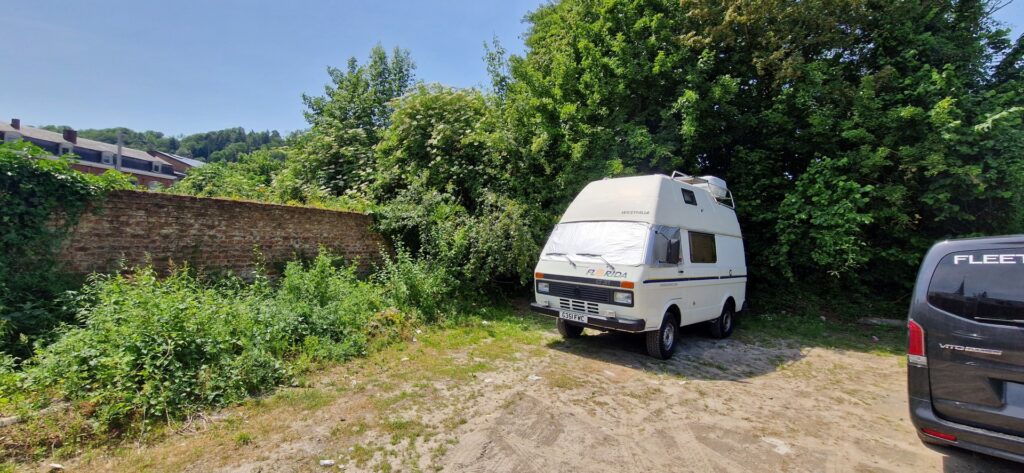
We we had a couple of options in Dinant, and were happy with the one we chose. It was a basic parking spot with no payment required, a shop round the corner, and a five minute walk to the heart of the town. Doesn’t get much better than that.
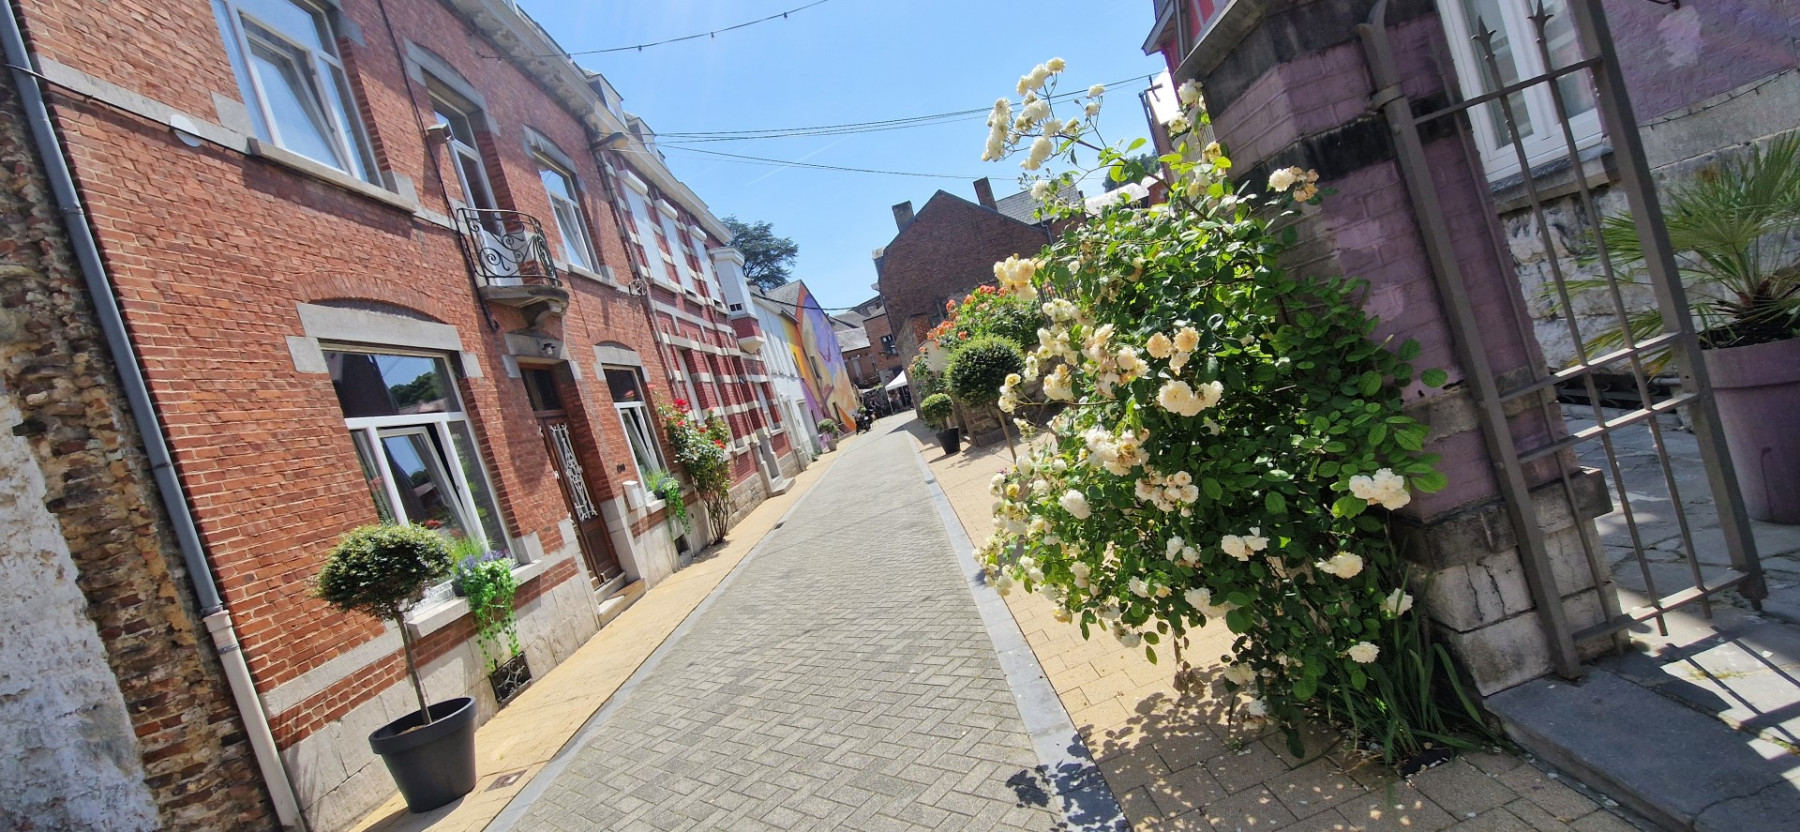
We were both happy to jump out of the van, stretch our legs and start exploring as soon as we had parked up. I had advice that this was a nice place to visit on a previously trip suggestion, but we never managed to pull it in at the time. Even though I wasn’t expecting to be disappointed, it certainly exceeded all of my expectations and really glad we choose it as a first port of call on this two week vacation.
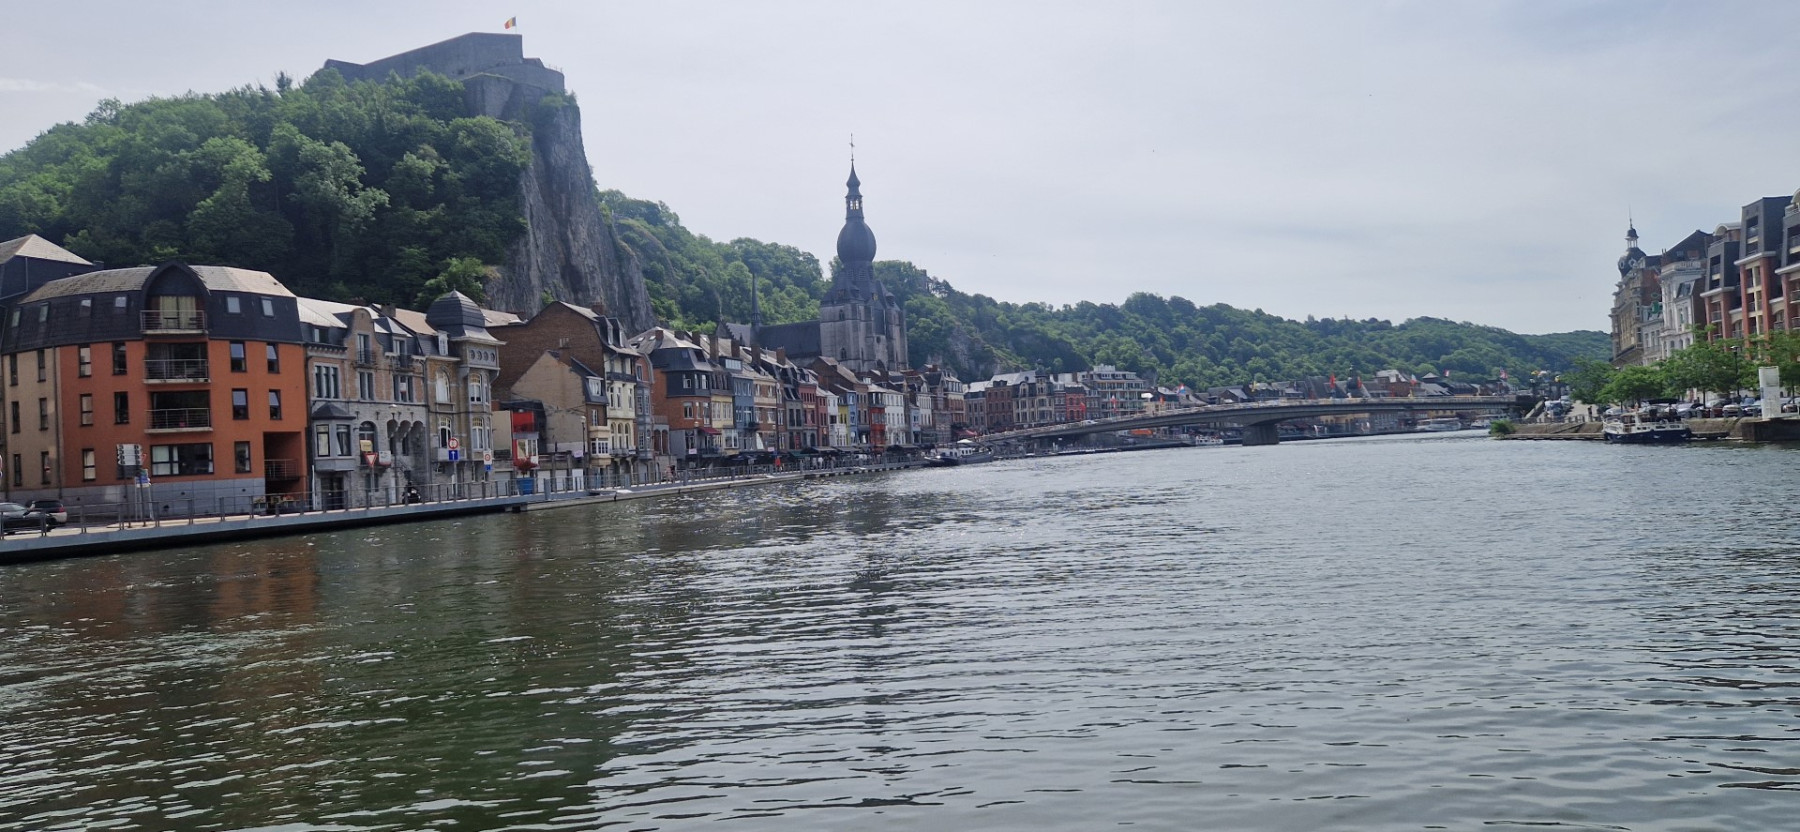
Dinant is a city in Belgium’s Walloon Region. It’s on the banks of the Meuse River and backed by steep cliffs. Perched on an outcrop above town is the centuries-old fortified Citadel. It’s now a museum with sweeping views.
Below it is the Gothic Collegiate Church of Our Lady. Nearby, on the site of saxophone inventor Adolphe Sax’s birthplace, Mr. Sax’s House has interactive exhibits on the instrument’s development.
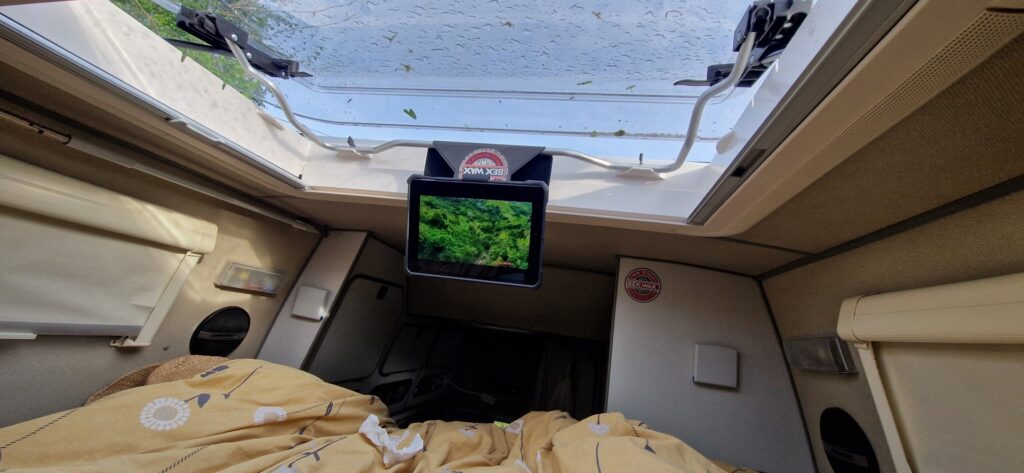
So we had a great afternoon and retired to the van early evening just in time for a downpour. We parked right in the corner of the carpark which had proven to be a slight issue as the rain came down and the water pooled outside our sliding door, so we had to relocate a few meters, but other than that it was a nice evening. We chilled, and could really start appreciating the new living space / skylight as we watched TV on the iPad upstairs, in bed.
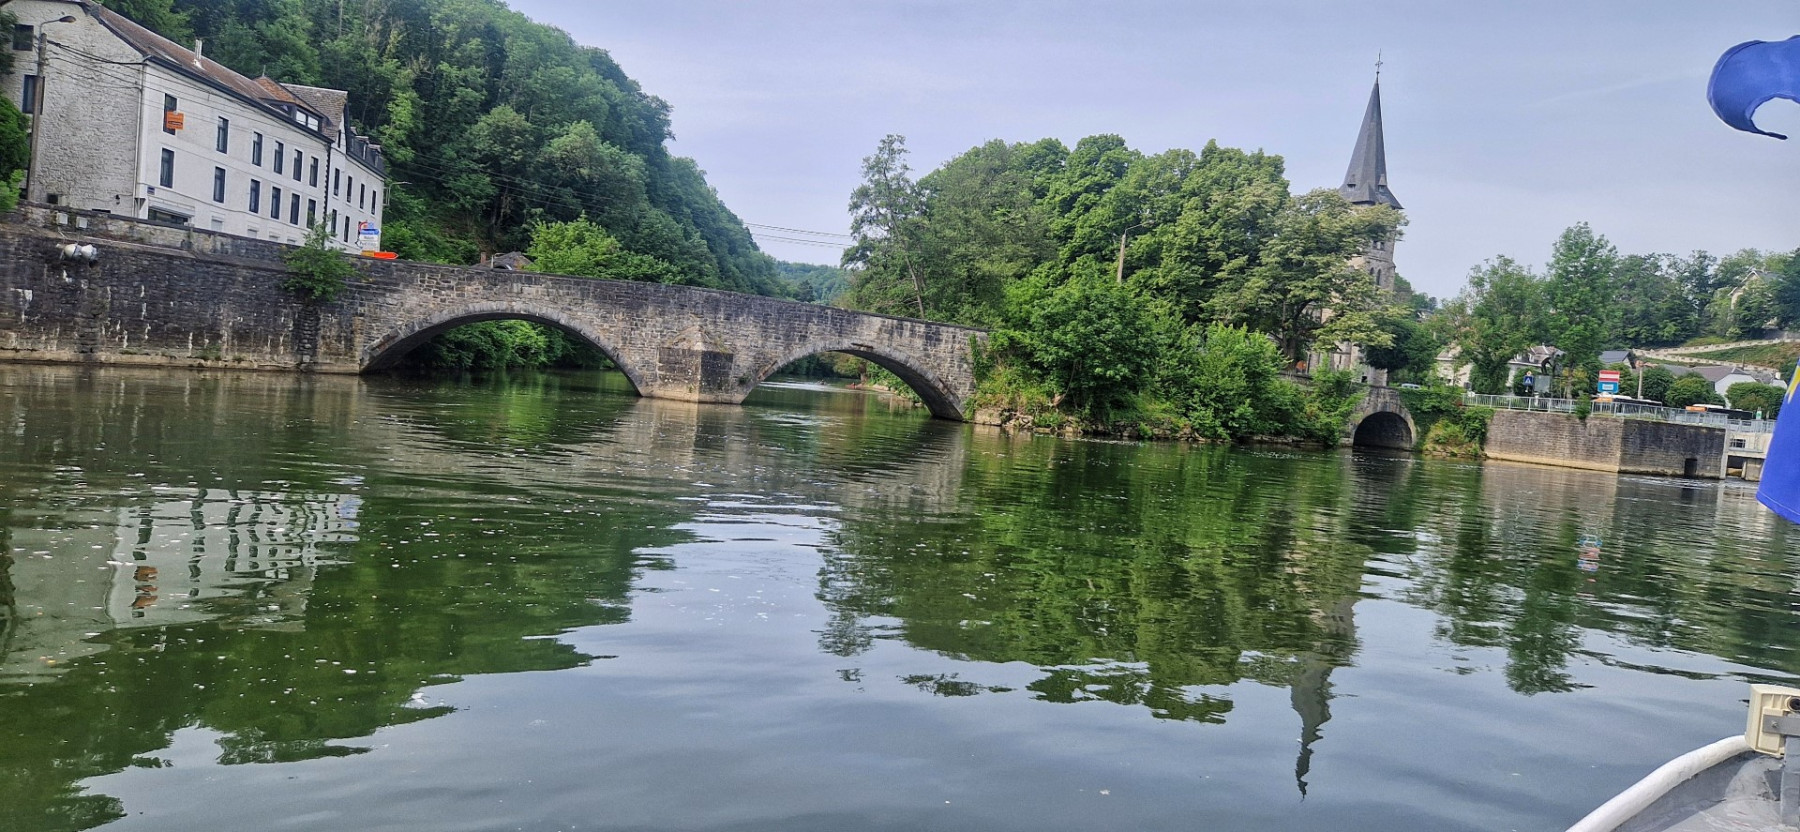
We were up early the following morning. The air had cleared and we headed to the ferry departure point after sending an email to the boat company that do river cruises on the Meuse River. We managed to get on the first trip at 9.30, which wasn’t busy and was was really nice lasting about an hour. We think its a really relaxing way of seeing a location, and with the onboard commentary often come away more educated.
After the boat trip we had another wander round, and a coffee on the riverfront before heading back to the van, and on to our next destination.
Luxembourg
The trip from Dinant to the next campsite was just under two hours, crossing the boarder of Belgium into Luxembourg. The weather was noticeably cooler than the first day, and there was intermittent cloud cover.
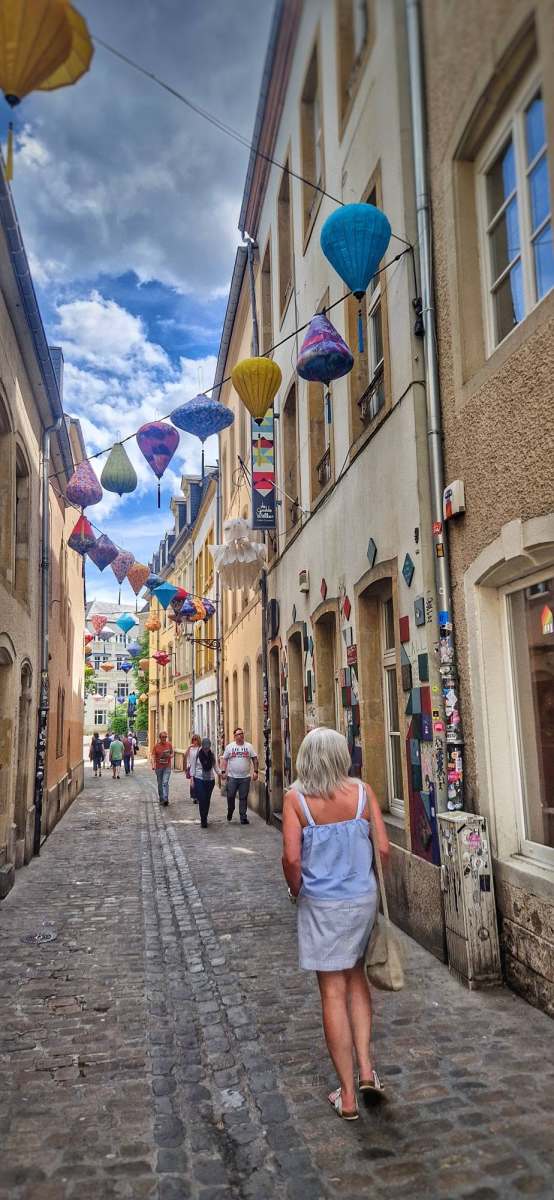
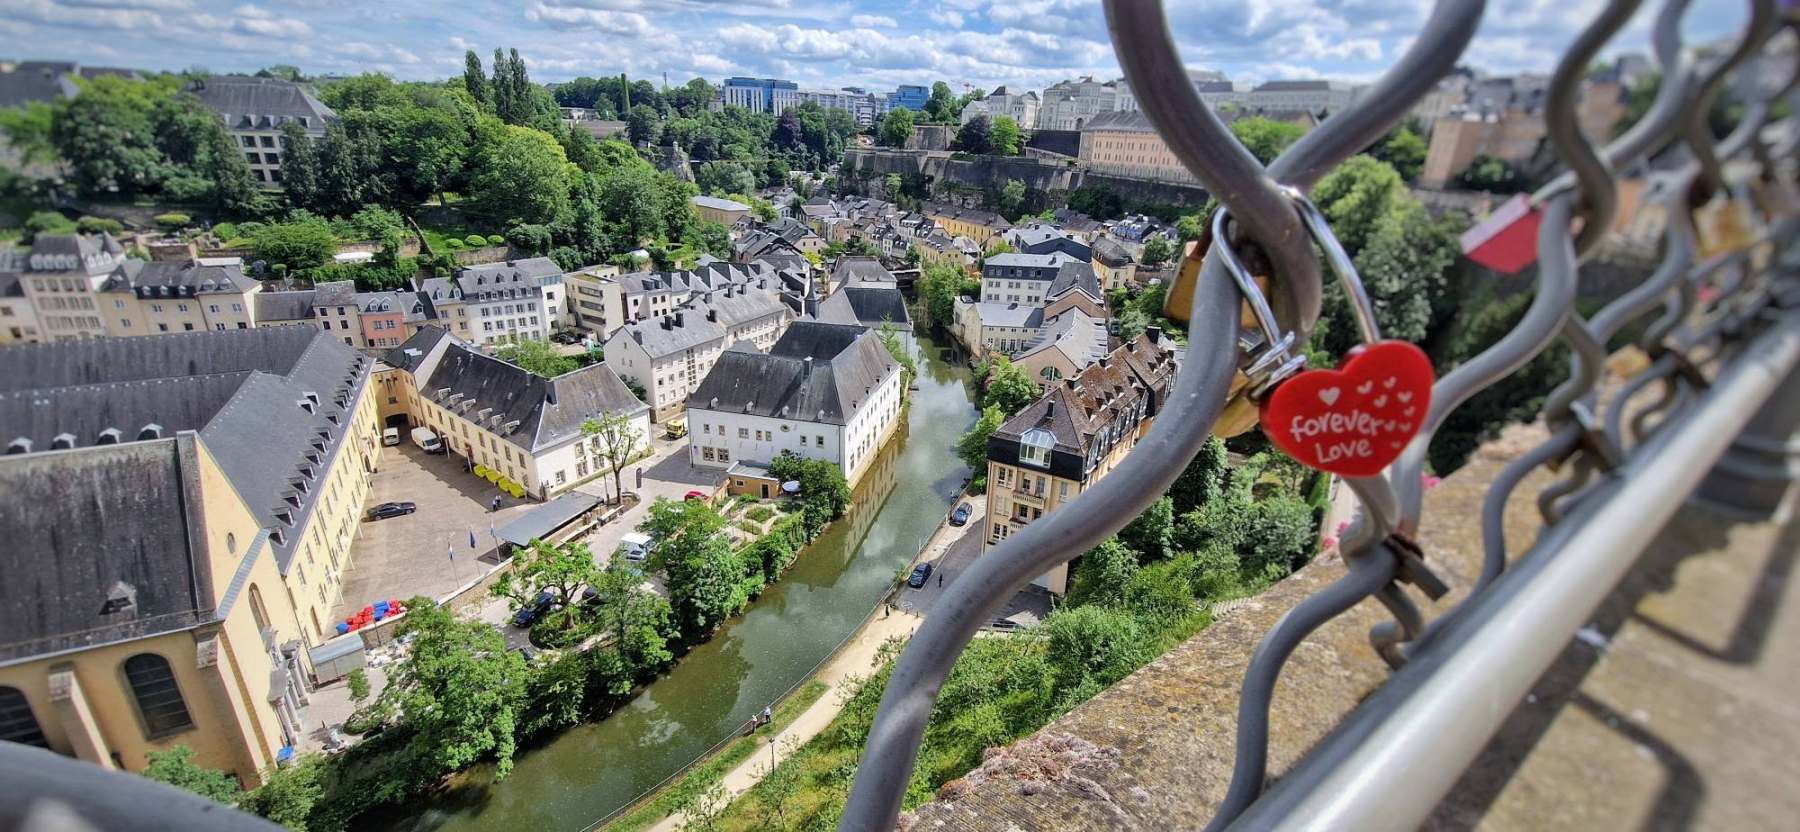
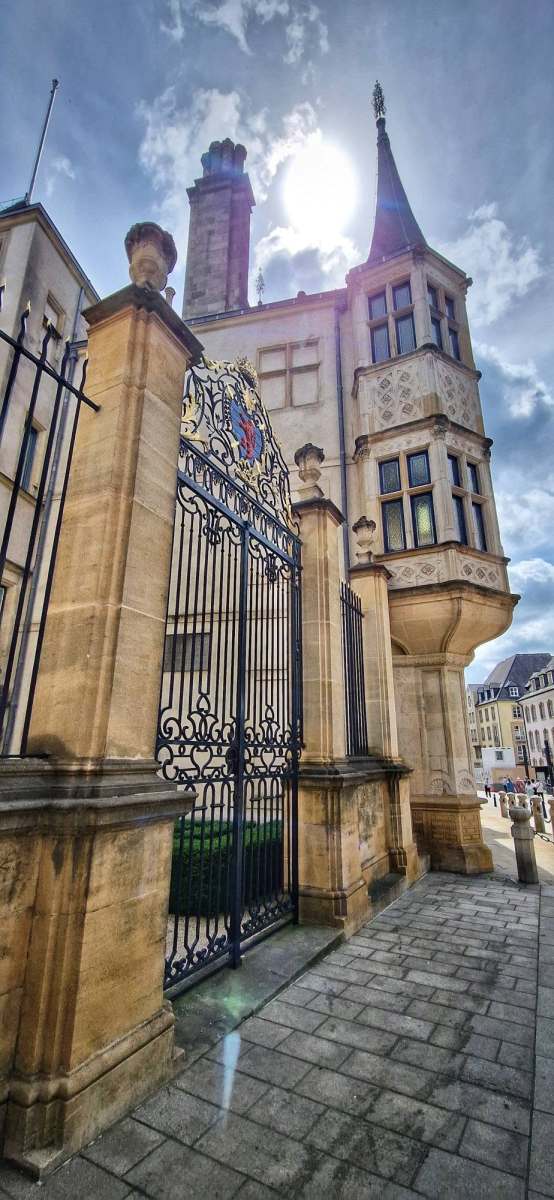
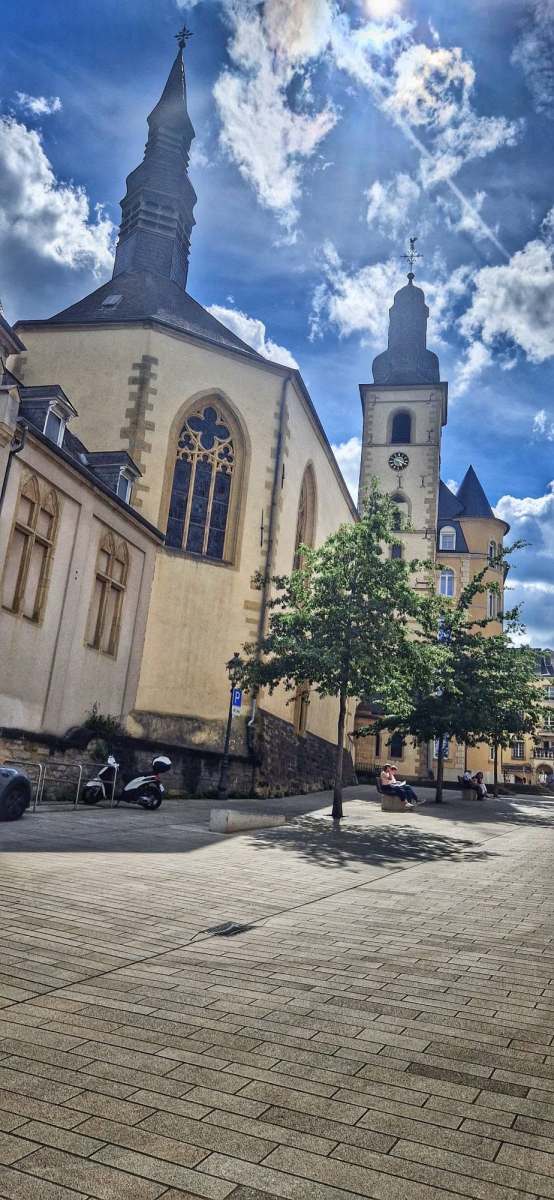
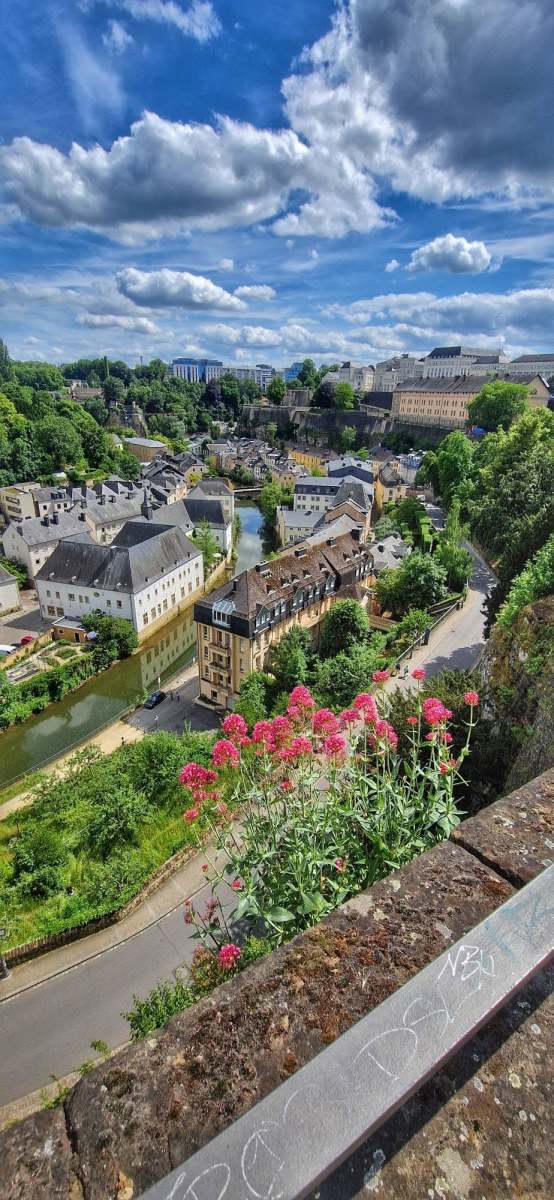
we caught the free bus in to the city centre. Another amazing place and really glad we decided to visit. One of the wealthiest countries in the world apparently, and I’m not surprised one bit! Everything is pristine. Tomorrow looks like we may have to adapt to a less sunny / predictable forecast. Let’s see where that takes us in Luxembourg. Maybe the caves
We left Luxembourg after filling up with diesel as we were advised that its cheaper there than anywhere else in Europe. This stood us in good stead for the two and a half hour journey covering 224km (140 miles). We arrived earlier than the check in recommendation of 2pm but they allowed us on site, but did ask to be moved from their original pitch suggestion due to overhanging trees. We were pretty happy with where we ended up.
That afternoon we took a walk to the local Lidl and replenished supplies, but got wrestles later in the afternoon and got the bikes off the back of the van and headed into the city
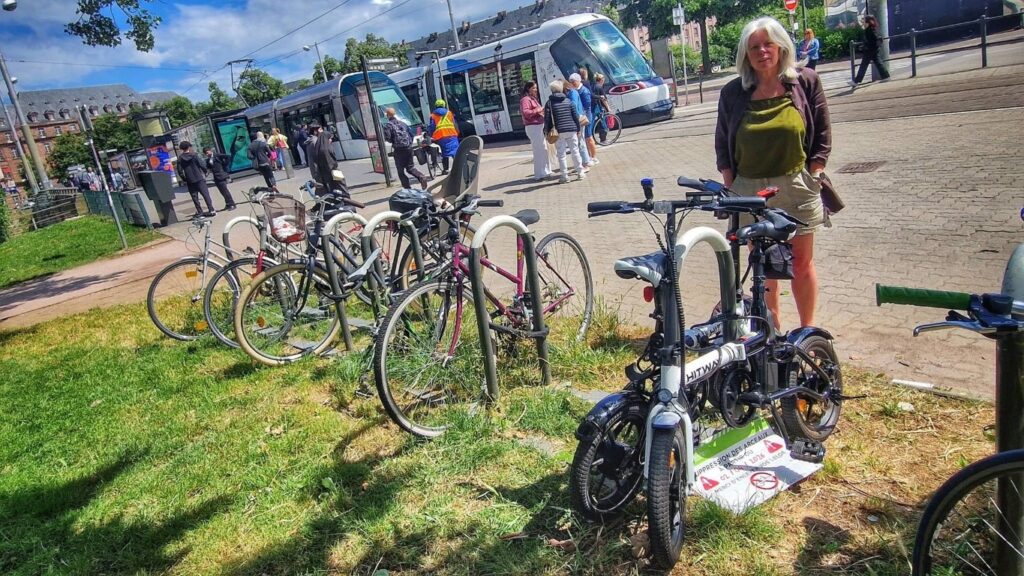
We headed back into the city on our little hitway e-bikes, and it was a blast. Today was another wander around day to take in the amazing architecture.
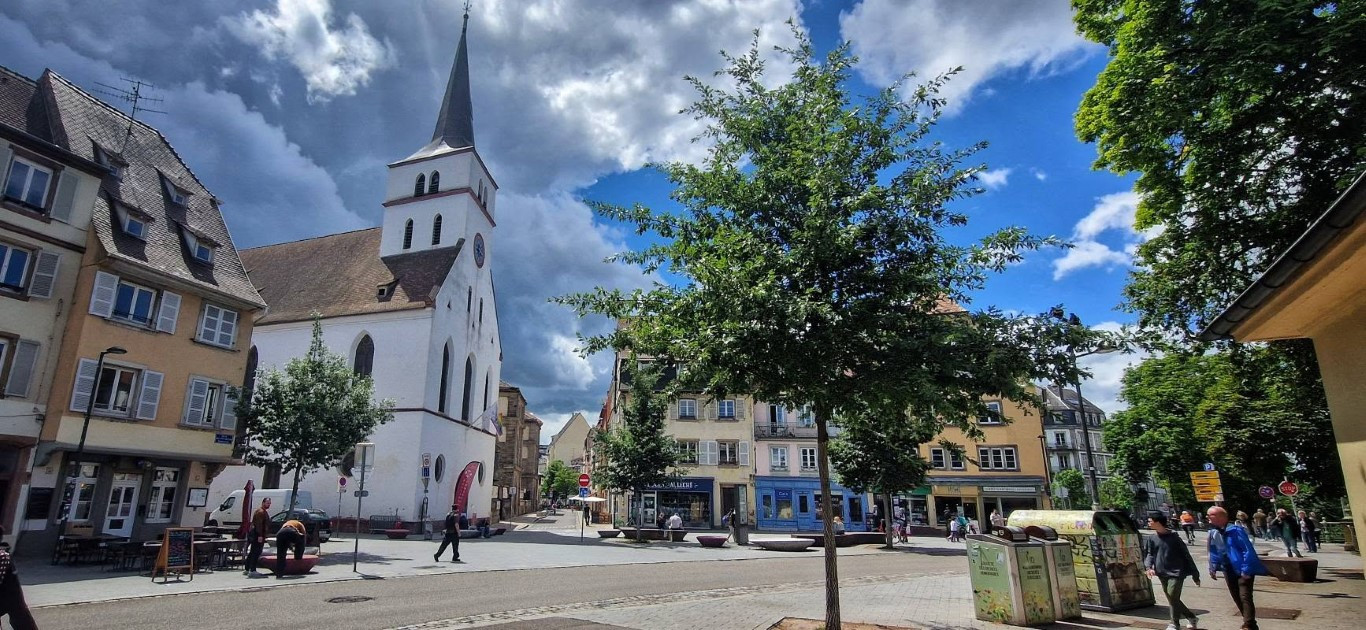
The second day always seemed to have the threat of a shower, but the temperature was pleasant and the sun was out for prolonged spells.
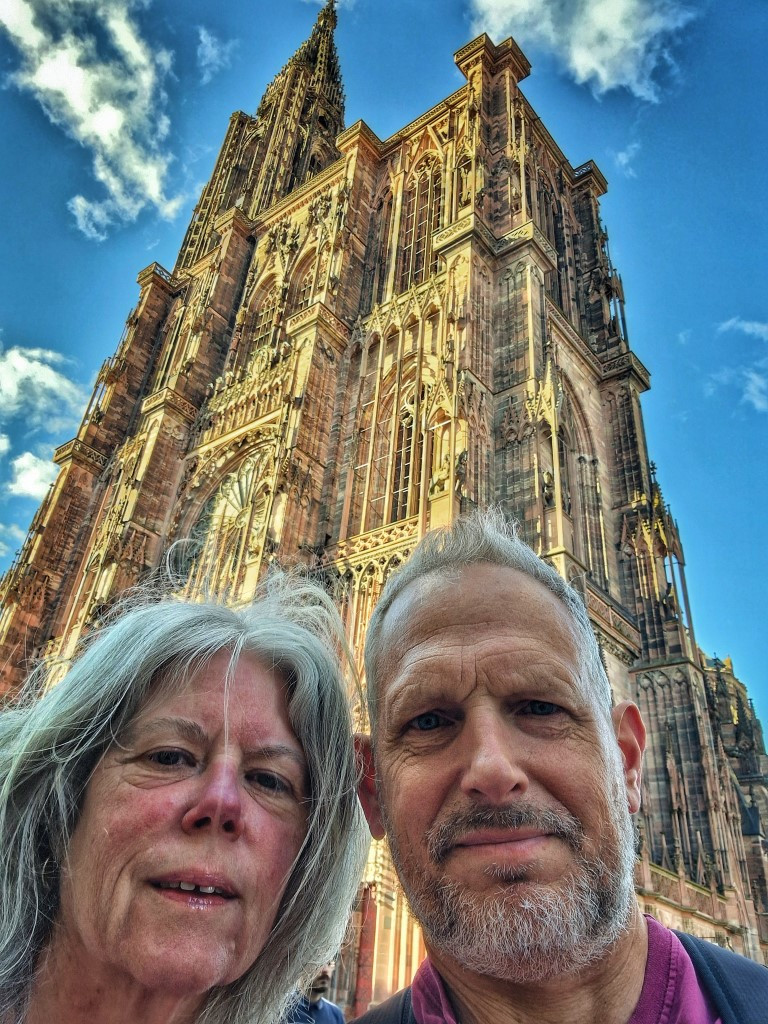
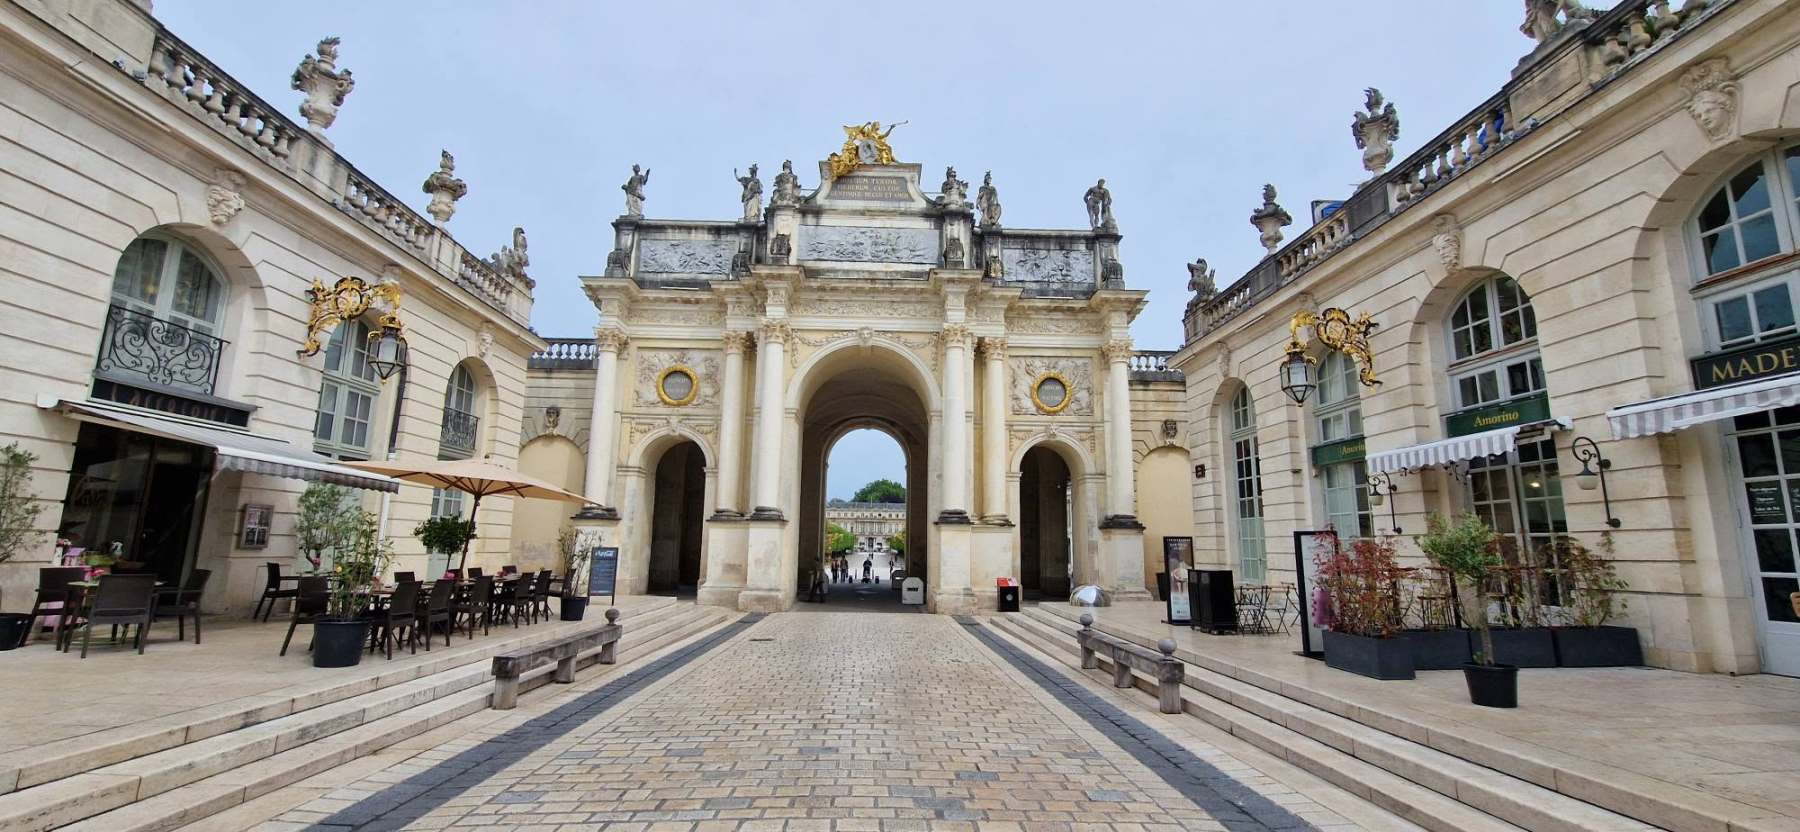
We left Strasbourg all shopped out. We love the city culture, and the hustle and bustle of the shops and eateries. But we are ready for the slow and steady also. So, on that basis we decided to pitch at a campsite just out side of the city of Nancy, called Moselle Camping, and the route chosen was to avoid tolls. I must admit, the scenery off the beaten track was absolutely amazing, and took me right back to 2018 / 19 when we did our larger Euro trips to Italy and Croatia.
Shortly after we arrived at the campsite the van was set up and we decided to stretched our legs . Liverdun, as we found out was a small village next to the River Mosselle with some very steep roads, and not a great deal else. It was scenic and a challenge for both of us to get up to the highest point. Mandy is now keeping up with me on the inclines walking , so it’s brilliant we can both get about and enjoy.
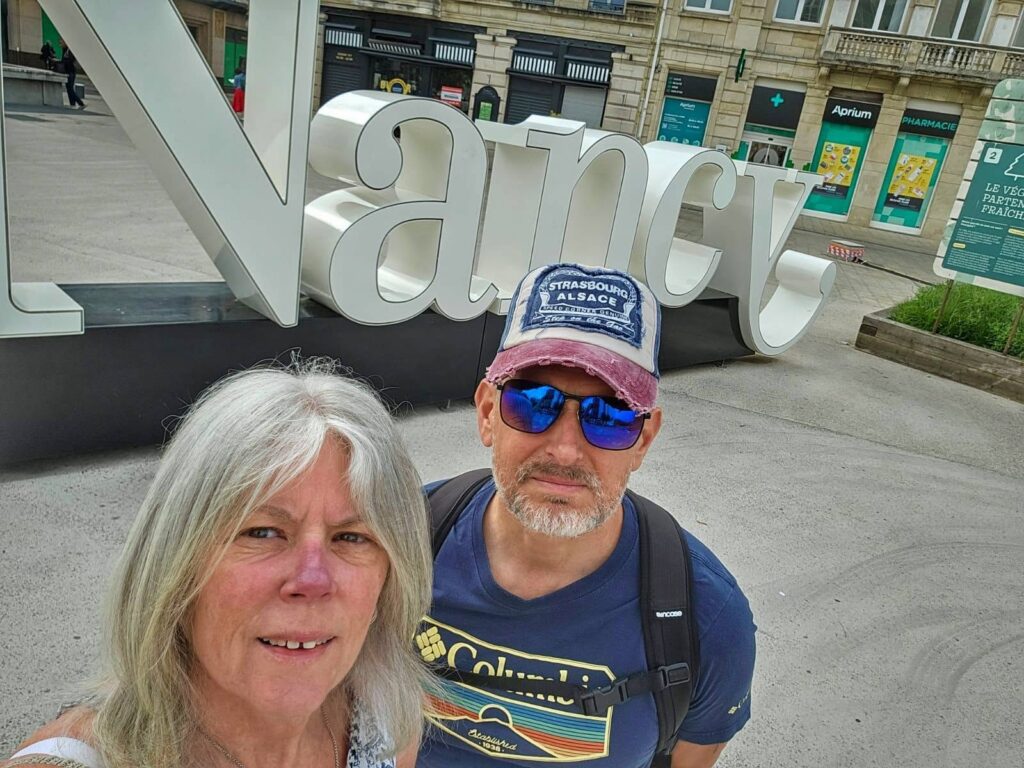
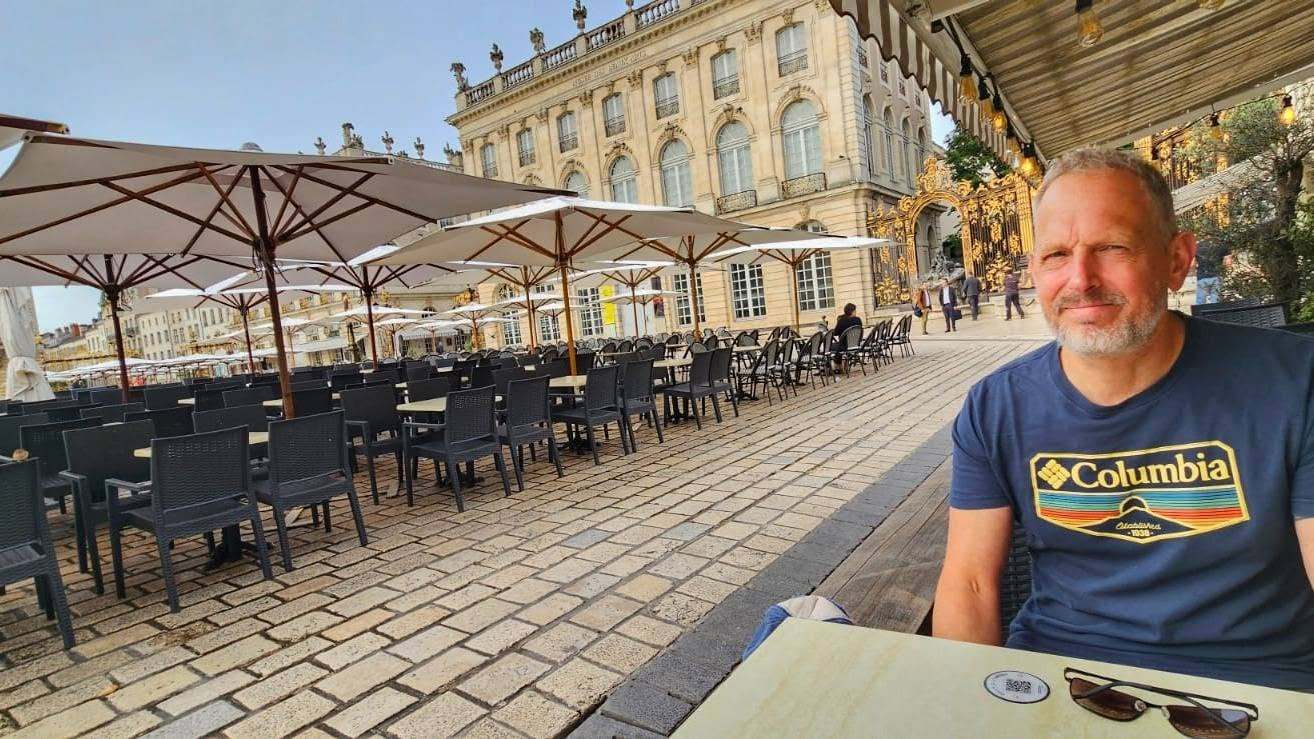
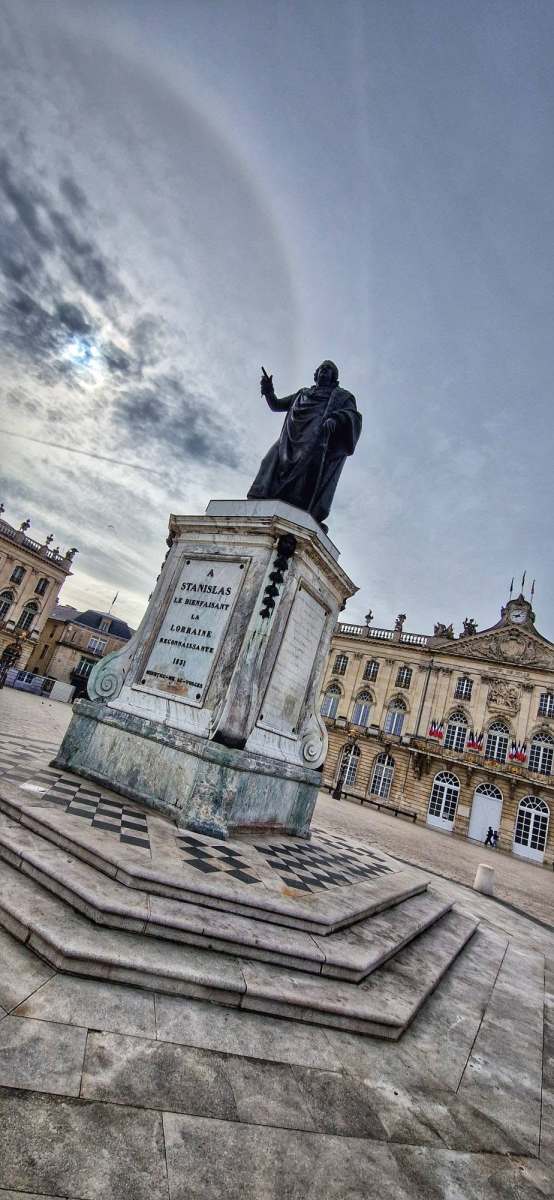
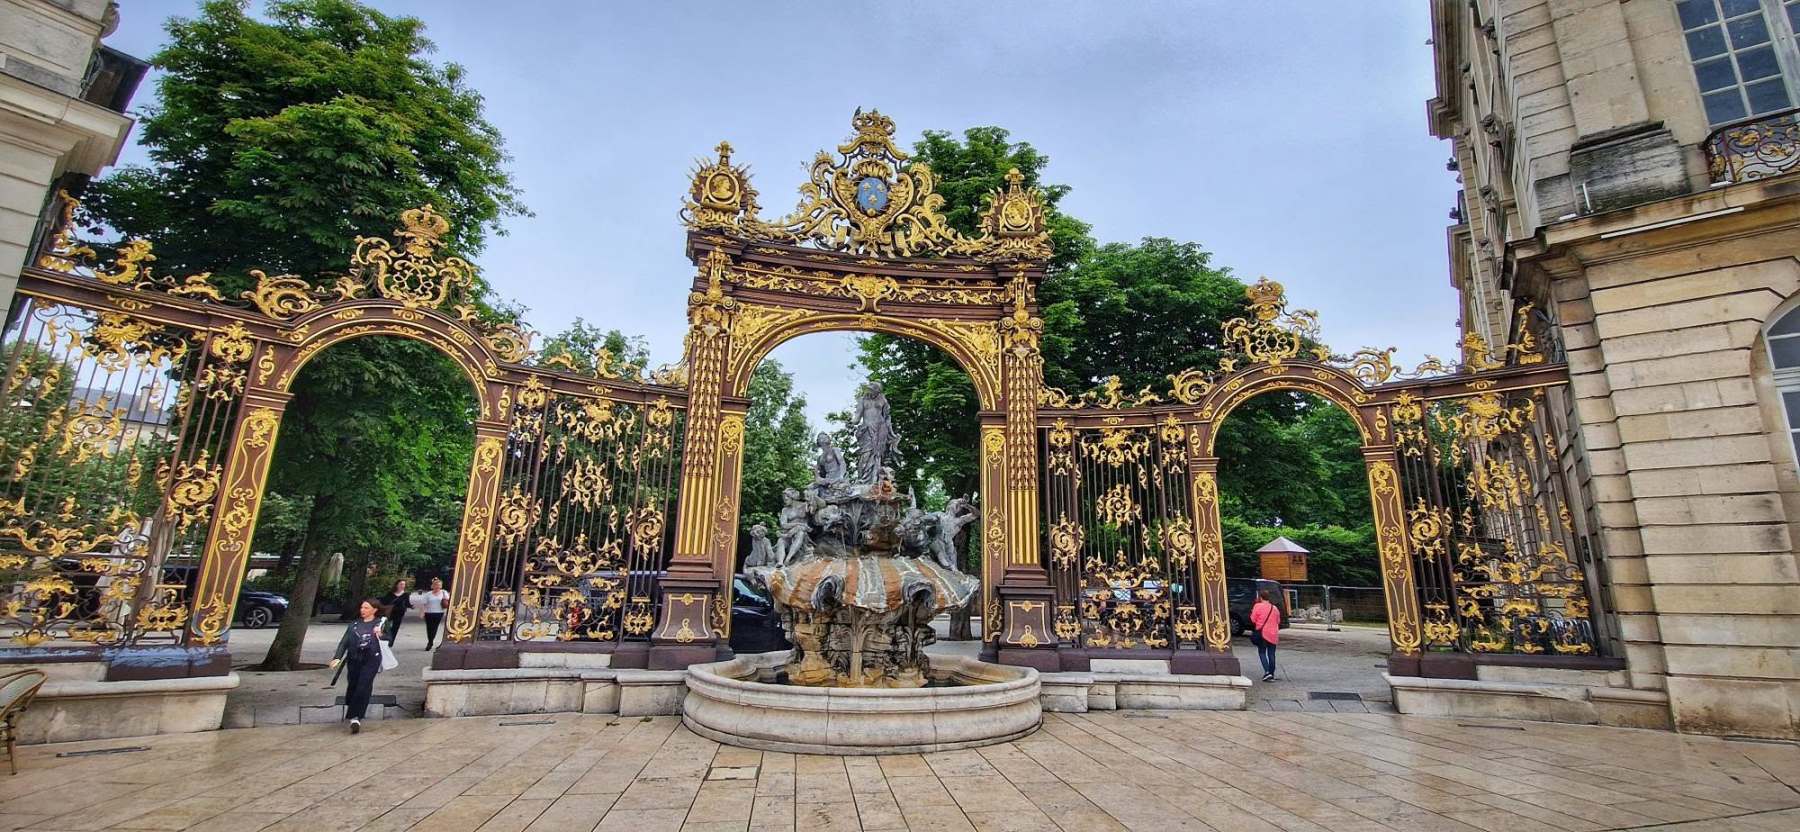
Our original intention was to stay at Liverdun for two nights. However, being so close to the city of Nancy we decided to extend for another day and jump on the train to explore the City. A couple of chill out days at the campsites rural surroundings, we felt it was worth visit. Boy were we glad we did. I think we would have kicked ourselves if we hadn’t made the effort. Its an amazing city….
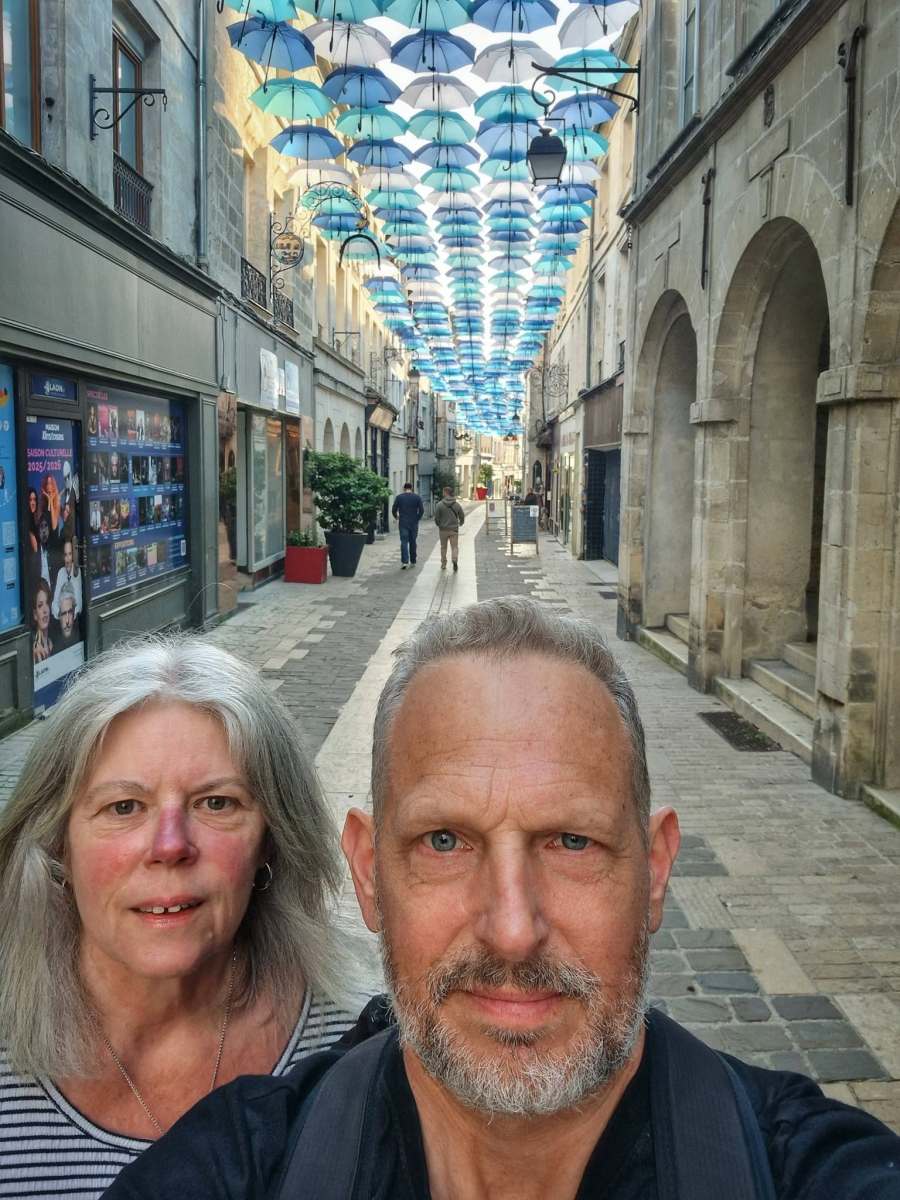
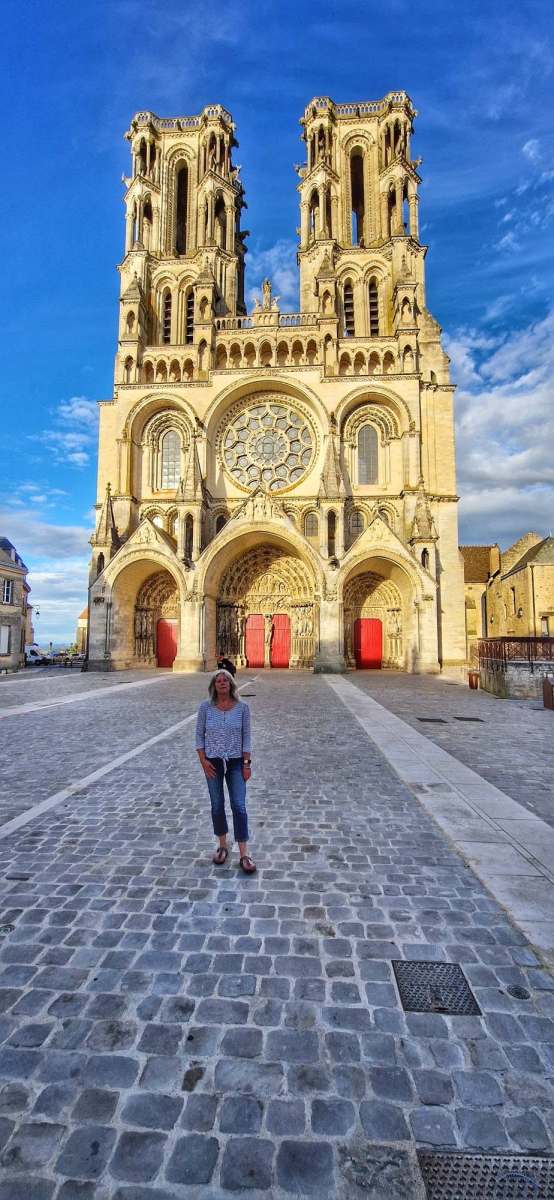
We arrived mid afternoon at the campsite in Laon. Our first impression of the campsite when we arrived was a little sketchy and it looked a little run down. The shower block and toilets had seen better days, and were clearly lacking attention. We were not issued a pitch location, and many looked on steep slopes or just looked unwelcoming, but as we drove we managed to find a nice flat pitch that had a nice feel to it.
We set the van up, and then decided to head over to check out the indoor pool which was small, but an added bonus. From there we went back to the camp reception where I had a couple of ice cold beers, and Mandy had an ice lolly.
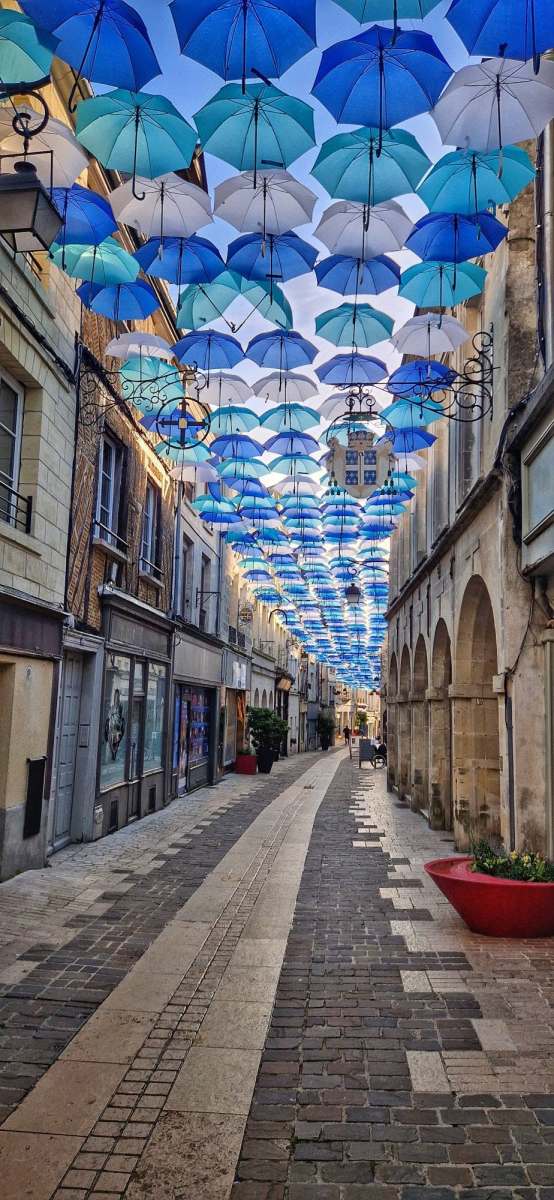
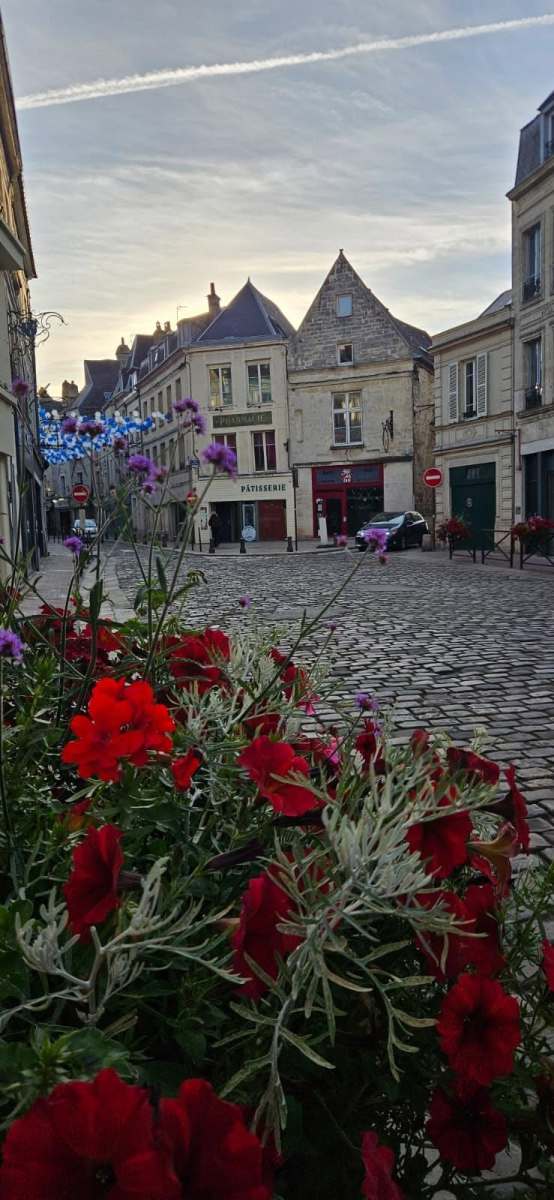
Late afternoon we made the decision to cycle up the steeeeep hill to Laon city. Quiet at 8pm, which was nice, but amazing views and architecture.
The following day we went back into Leon and explored a little more, but we both felt a little disappointed overall. Maybe we had just been spoiled by the amazing places we had visited previously. That sounds a little ungrateful….
We departed from Laon on Thursday, and headed for our last campsite at Ardres, half hour drive away from Calais, where we would be catching the ferry back on Sunday. Knowing the weather wasn’t going to be brilliant for the next couple of days we ventured into the town of Ardres for a few hours Friday, but rain in the afternoon found us chilling in the van.
On the last full day at the campsite weather was better and our plan was to spend some time reading and relaxing. However, we got restless late morning and decided to take a drive over to Boulogne for a few hours. It was only a 30 minute drive, and I must say both myself and Mandy thought it was well worth the visit.
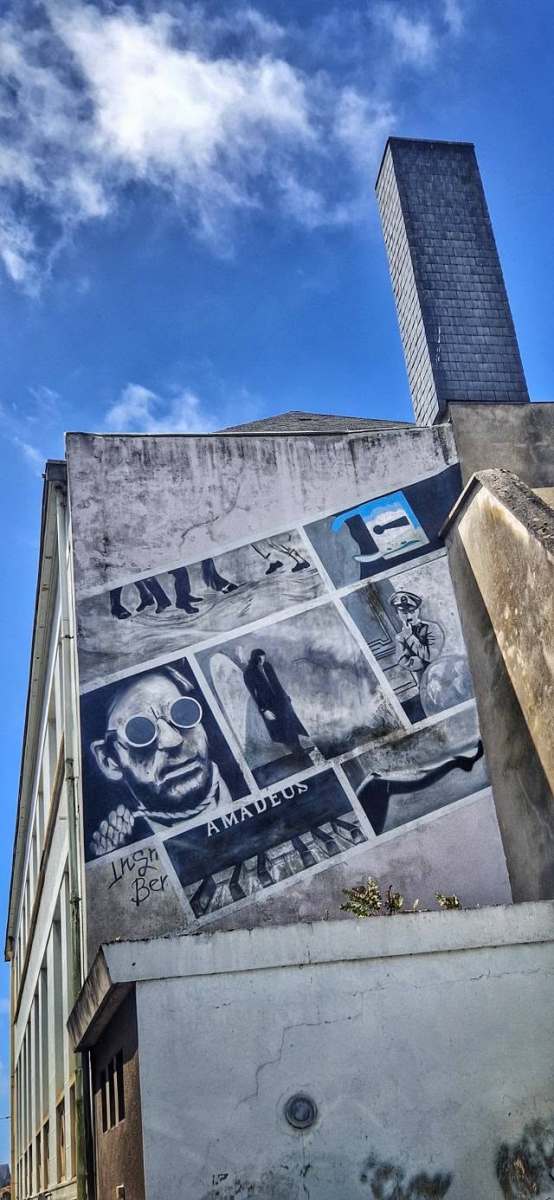
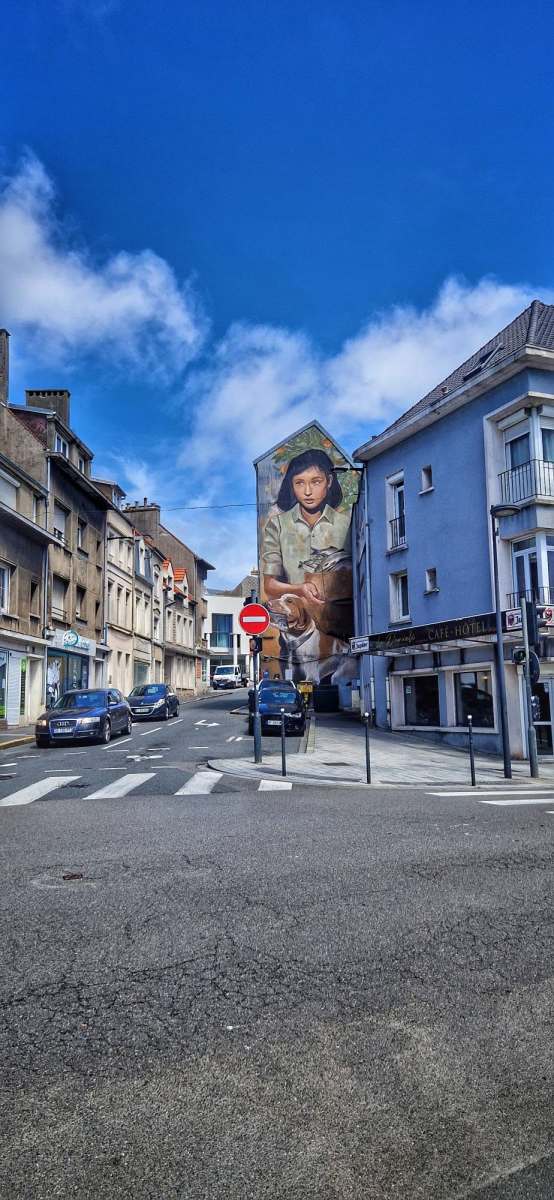
We were really impressed with some of the wall art discovered around the coastal city.
I have put together this guide as a one stop shop for anybody that may be considering making such an alteration. As with any such modification there are always going to be alternative ways of getting to the same end result, but I feel that this may be a good basic insight to what is involved.
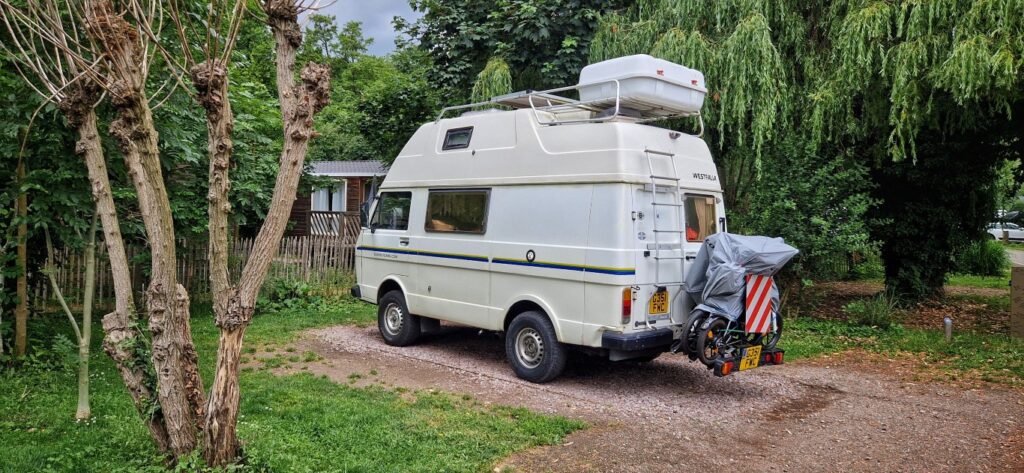
Our van was made in 1990 and the original skylight above the living space had clearly seen better days and was starting to let water in during heavy rain. We had noticed a few times that the bedding was damp when we had collected the van from storage as we tend to leave the upper bed down most of the time. However, I didn’t realise just how bad the situation was until I got the ladder out to have a closer look.
Suffice to say we could no longer put off replacing the unit. I had been watching a few people on social media replace their original skylights for similar reasons, and one of the options was the Dometic Heki 2. This was considerably larger than the original, so a definite upgrade in relation to the amount of light it would let in, and improved ventilation during warm weather. That said, at £640, the cost was the main reasons we had delayed it so long.
The first thing to do was to remove the original skylight. Inside the van the plastic trim was held into place by a number of self tapping screws which were hidden behind small plastic lugs. There was also a self tapping screw that held the winding handle on. I positioned a set of step ladders against the side of the van with some foam to provide padding where they rested on the van. This gave me reasonable access to unit from the top. If you do not have the Fiamma roof box fitted at the rear, or a solar panel as is the case in my situation (you can see this to the left of the picture below), you may prefer to climb the ladder at the rear and work your way forward from the back. Just be mindful of where the roof support bars are beneath the fiberglass structure, and use those.
The original unit was fixed into place by Mastic tape, and the only thing properly securing it to the roof were the parts we had already removed inside the van. So with a little prying and some gentle persuasion the original unit was removed,
Moving back inside, It may be a good time to consider protecting as much of the interior of the van with dust sheets or blankets as there is no real way of keeping the van free from dust and debris during the process going forward. Carefully remove the ceiling trim. This is made of thin ply so be careful as you work the ceiling out of the grey rails. You only need to take the piece surrounding the skylight itself!
This will expose the fibreglass wadding / insulation. This is nasty stuff and can irritate the skin and cause chest issues. I would recommend suitable clothing with full length trousers and long sleeved top (overalls ideally), along with a face mask, eyewear and gloves. Don’t wear shorts and T-Shirt like I did…”Do as I say and not as I do” 🙂 . The wadding is glued to the roof so a wide wallpaper scrapper would be the ideal tool to get behind and carefully manipulate away from the roof to remove. Place the trim and wadding on one side as these will need to be modified later to fit the new aperture.
The next thing to do is to mark the roof ready for cutting making sure this sits in between the roof metal roof supports. I used the template that’s printed on the outside of the box that the skylight is shipped in.
This was cut using a scalpel and scissors. Its a little confusing as the cut line is 5-6mm thick, leaving some ambiguity. The dimensions of this skylight is 960 x 655 mm. Measuring the template this falls at the very outer edge of the black line.
That said, I decided to cut slightly in of the line, which meant the hole was smaller with the option of opening out if too small. This was the case, but better that way than to have the aperture too large with no option to add material back.
I offered the template up on the inside of the van and estimated that there would be between 8 and 10mm of room if the hole was cut centrally, front to back, between the roof supports. With this information to hand I measured 8mm back from the front roof support at two locations either side of the van and made a mark.
This would be about 850mm apart, or 425mm off the vans centreline, but well within the template of the skylight, before the curve (See below).
P.S. If you are anything like me, you would double and triple check that you are clear in your head why you are doing what you are doing, and that you have your measurements right, because this is the point of no return!! With these reference marks made I took drill with a 2mm drill bit and drilled up and outwards through the fibreglass roof.
From the outside of the van this would provide a valuable visual reference in which to draw a straight line connecting the two drill holes. (I apologise for not documenting this with photos as I was up against the clock to some degree). I also marked the centre line of the van roof externally based on the original skylight position, and in turn marked the centre line of the cardboard template. From here I could use those two reference lines to centre the template on the roof, and align the long front edge against the drill bit line. Once the template was in position, I taped it to the van roof and drew around it.
There were a couple of different ways to cut the roof. Suggested for the rounded corners were a 130mm core drill with the straight edges cut with a 1mm cutting disk on an angle grinder, or a jigsaw. As seen in this gallery below, a very neat solution to making the roof hole by Peter Ferry.
Install photos curtsey of Peter Ferry from The VW LT Florida facebook community.
Alternatively the whole roof could be cut with the jigsaw. I chose the jigsaw route due to the fact I couldn’t get the core drill short notice locally. With the starter hole done with a 10mm drill as a starting point to drop the saw blade in, I used a a narrow profile blade similar to the one pictured below, as this would offer better and more precise work at the rounded corners.
Narrow Jigsaw blade similar to that used to cut the roof.
I found the best way to access this whilst doing the cut was to move the upper bed into position (after removing the mattress and furnishings) and stand up on that, through the old skylight aperture. I worked my way around the marked line during the cutting, stopping at intervals to stick gorilla tape between the two cuts to support the inner part, which would eventually be the discarded part of the roof. Once the final part had been cut I removed the gorilla tape and the waste material. You can see the part removed in the image below which still has the Gorilla tape stuck to it.
Parts removed prior to installing new skylight
The next thing I did was thoroughly clean the roof around the aperture. I used Cif on a sponge and cleaned with a damp cloth. This is suggested in the fitting instructions, and the main reason (if not obvious), is to present a suitable surface to provide good adhesion between the roof and skylight at the point the components are assembled for the final fit.
Once this was done it was time to drop the new unit in. For me this was a process that took a couple of attempts as I had cut the hole slightly small. This was refined to the point where it eventually dropped in. The tolerance suggested is 1 > 2mm of clearance around the unit. I can only assume this was for any slight expansion / contraction of materials.
As I eluded to at the start of this post, I never really felt comfortable about the fitting of the skylight because there were a lot of unknowns, and the major concern around taking a hacksaw to the roof did not fill me with confidence. The advice I had was good, but insufficient quality photos at every stage to make it clear in my head exactly how the whole thing went together, left a lot of questions remaining. I had the new skylight and some instructions with it, but until fitting, it was never really that clear. So as the install moves forward there was a few head scratching moments to come.
I had brought a couple of different sized batons of wood to act as bridging pieces / packers, as I had been advised that this is what I would need to assist with the install. It wasn’t until I had dropped the skylight in that I could really start thinking about how this was all going to fit together. The fixing kit that comes with the skylight is for the shallowest roof depth, which is 25mm – 35mm and colour coded ‘Grey’. The actual roof depth of the Florida is between 45mm – 50mm dependant on where you are measuring from. Other fixing kits are available and come in different colour coded options dependant on their depth to cater for the appropriate roof depth.
46mm-53mm39mm-46mm
The information I had from other people installations was that the grey kit would work OK if the fixing screws that came with the kit were changed for longer ones. I decided to go down this route after a little testing as I couldn’t see it would be a problem. That said, I did see that another person chose to use the ‘Yellow’ fixing kit so this may be an option others may want to consider. Especially if you can buy the kit in advance of the installation under the agreement by the supplier this can be returned if not required if you don’t use it, as it is an extra expense at approximately £45.
Longer Screws for Main SkylightShorter Screw for Lower Trim
The replacement screws I used can be seen above, and were 15mm longer for the longest screws (40mm), and 10mm longer for the shorter screws that are used to fix the lower trim (25mm).
I decided, that two lengths of 20mm x 25mm wooden batons would work for the 5 fixing points along the long edge of the skylight which would brace up against the metal roof supports. These were laid with the widest face top to bottom , narrowest front to back.
Front and rear batons (5 fixings)
I didn’t feel the length was critical, but just long enough to provide a decent level of pull into the roof beyond the outer two fixings. The batons left and right for the 3 outer fixings were 25mm x 35mm and were cut to fit in between the two metal roof supports with the deepest profile top to bottom, narrowest against the roof / fixings.
Side mount batons (3 fixings)
The initial fitting was just a dry run to make sure that the roof pulled in sufficiently when all of the fixings were torqued down. This was more of a test for the sides as the roof of the van does start to slope off further out. Not massively, but this is where there will be a gap.
Photo showing baton positioning around skylight
Once I was happy that everything was within tolerance, I proceeded to remove the skylight ready for the final installation.
I chose to follow the advice I had from others to use W4 Mastic Sealing Tape to secure the skylight to the roof. It comes in varying widths, primarily available in three standard widths, 19mm, 32mm, and 45mm. The other option was Sikaflex, but there would be no way back from the install with that, should something go wrong, as this a ridiculously powerful bonding adhesive, where as the tape would be more forgiving. I used 19mm for my install.
With the skylight out and lying face down, run the tape into the channel (depicted in purple on the image below). I found at the corners it was better to remove the backing paper and slowly work the tape in uniformly, or else the paper makes the tape pucker up. Then continue along the next edge. Rinse and repat till you meet the start point. I did have one messy corner (the first in the run) where the tape had puckered up due to not removing the backing paper. I’m hoping it’s OK. Just try and follow the above considering my explanation.
Before I dropped the skylight back in, I ran a bead of quality white bathroom sealant along the inner edge of the mastic in the corner, all the way around as a belt and braces approach. This is depicted as the blue line on the image above (Again, sorry for lack of images at time of install, I have just had to improvise).
Now repeat the fitting procedure as done previously with the dry install, and torque in to the roof, checking its seated sufficiently close on the outside.
Next you will need to mark and cut the inner roof liner. I used a ruled and made sure that it was pushed as far as it would go into the outer grey locating bead (where the plywood roof trim sits), and measured to the mid point on the grey roof fixing.
Transpose this measurement onto ceiling trim and work your way around for each edge. I marked the trim on the upper face (not the visible face), but just make sure you understand the orientation as it may not be equal distance / mirrored. I found that this should roughly align with the original roof template if place on top.
As far as the corners are concerned, I chose not to round off the edges as per the original template, but cut diagonally to leave a little more material there. The main thing is that the roof liner doesn’t get in the way of the lower (HEKI) trim fixings screws.
Once the roof trim is in place, you can offer up and assess the lower (Heki) trim fixing points. I could see that the outer three on each side were almost perfect, where as the 5 on the front and rear edge looked like they needed some spacers (or the alternative yellow fitting kit if purchased prior to install) . I found a sacrificial rubber mat in my garage that looked like it would be a suitable depth to form a spacer. I cut it into ten small packers, drilling a hole in one side to align with the screw hole for the lower HEKI trim, and stuck them on each of the grey fixings with double sided tape.
I then offered up the lower trim and carefully screwed it into position being careful not to over tighten. I tested the operation of the blind from time to time, and all seemed to work fine. However, I have been advised to take care as you do this as any twisting of the lower frame could case issues with the blind movement.
So all that is required now is to fit the trim to hide the screw fitting points, and that is the end of the install.
I hope you found this guide useful. I have tried to do my best with this, and it seems to make sense to me, but there may be some points that are not clear and need some refining. If you could post a comment with any suggestions or questions it would be much appreciated.
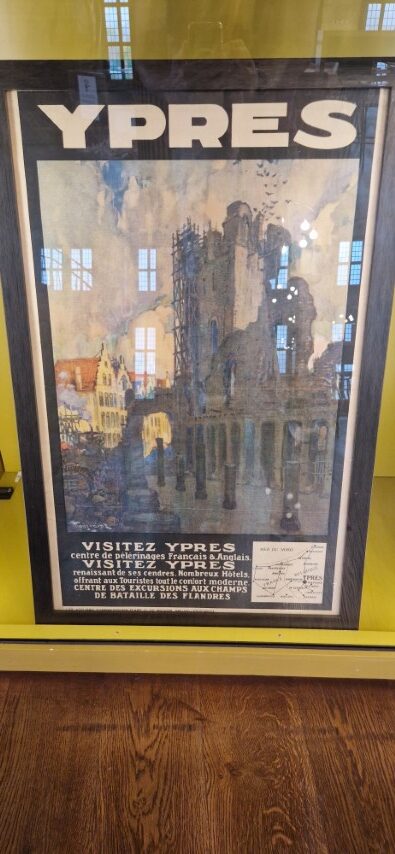
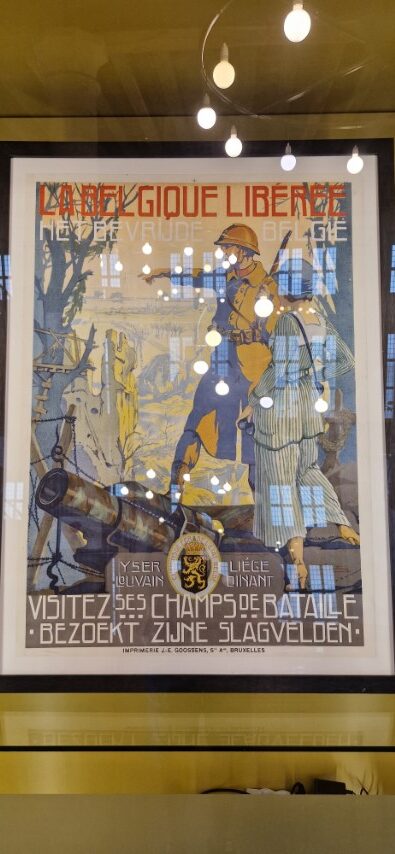
So the holiday was fluid, and the day prior we were pondering on whether or not to have another day in Brussels as we were aware there was far more to see than one day would allow, but we were restless, and had an urge to move on. So the next logical place as we moved towards France and the ferry port was Ypress, with its history regarding the the previous wars.
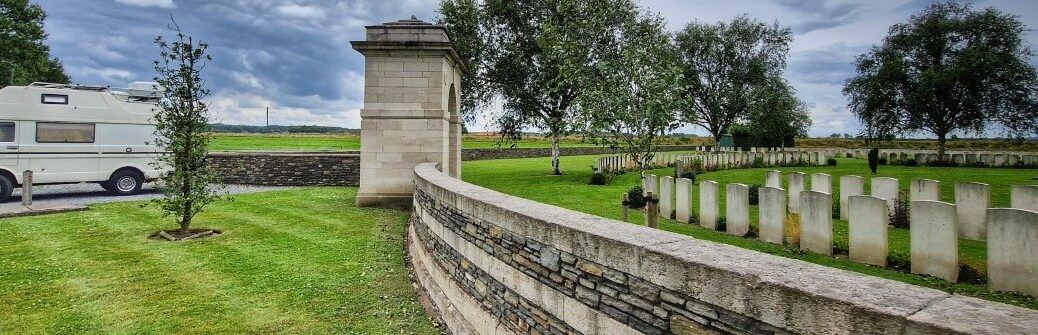
My birthday is in November, and the remembrance day falls on my birthday weekend. We quite often go away for my birthday so we have been privileged to see the parades in many different locations, with the minutes silence at the eleventh hour. No fighting ever happened on British soil. We are privileged in many ways to live on an island, and although it didn’t protect from the German blitz, we needed to commit to a war over seas. And this is where we need to remind ourselves that this is where the losses were tragically high.
As we arrived we could sense we were in for a down poor at some point due to the very angry sky as we pulled into a truck stop. This was next to the train station and we had good advice that we could stay here overnight.
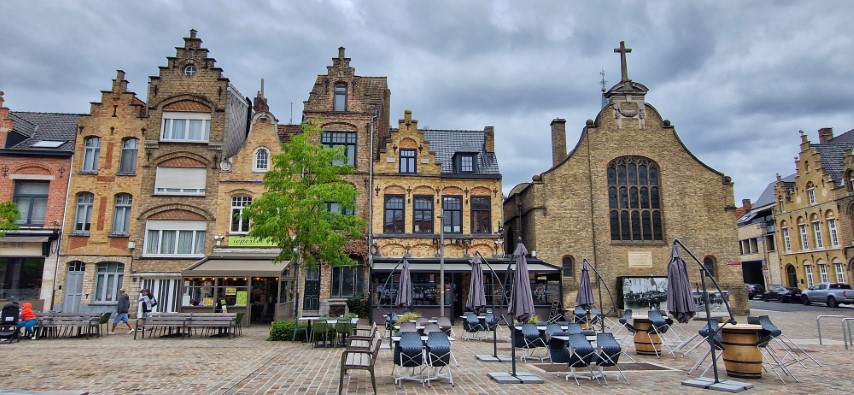
Ypres is one of the nicest places I have ever been to. Everywhere is pristine. The shops, the restaurants, the local dwellings. Stunning!
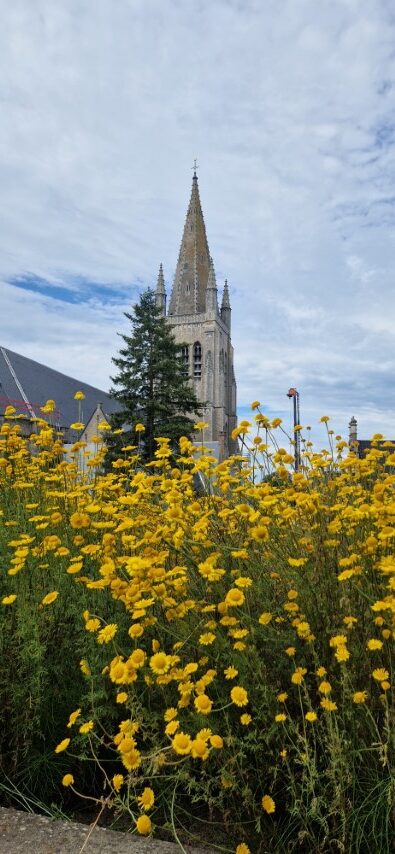
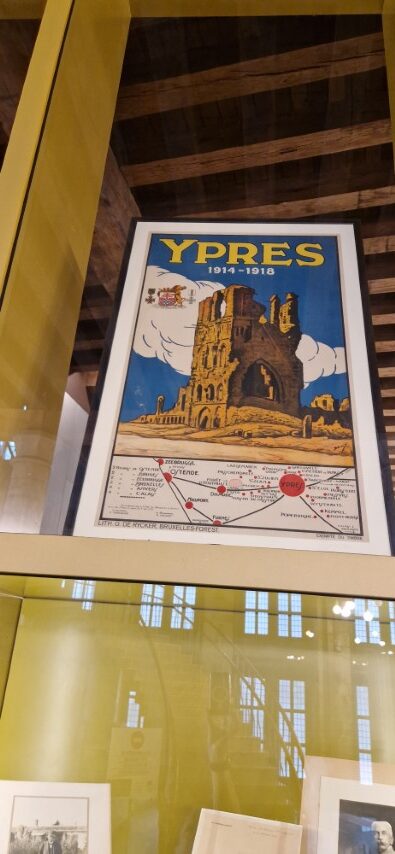
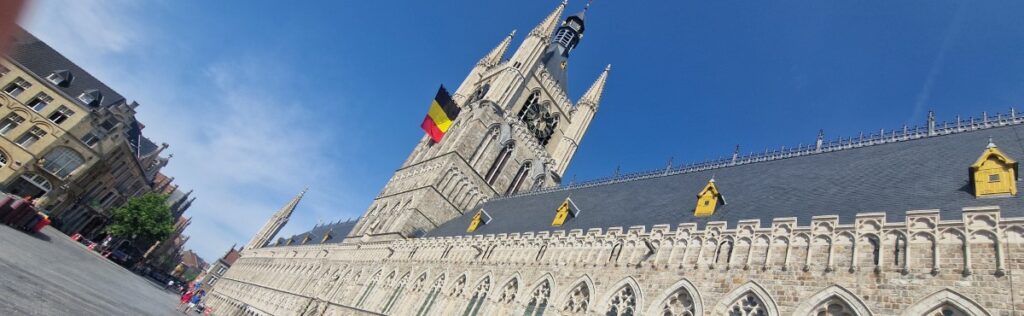
We choose to do the Ypres & Flanders museum midday as the forecast was rain and this attraction is indoors. The Flanders is 100% a must, and the reason I wanted to visit. We paid extra to climb the bell tower, which was 231 steps. This was a great experience (although Mandy might have disagreed on the way up). Over all, today was one of the best days of the holiday yet. Perfect balance of chill, and education. Loved it! Recommend it!
Knowing there was a lot more to see locally, we had found that there was an Aire a couple of miles away, just outside of the town centre that sounded quite appealing. This would give us access to electric hook-up, elsan point, and more importantly a quiet space to chill in our deckchairs. The reviews were pretty good so we thought we would give it a look.
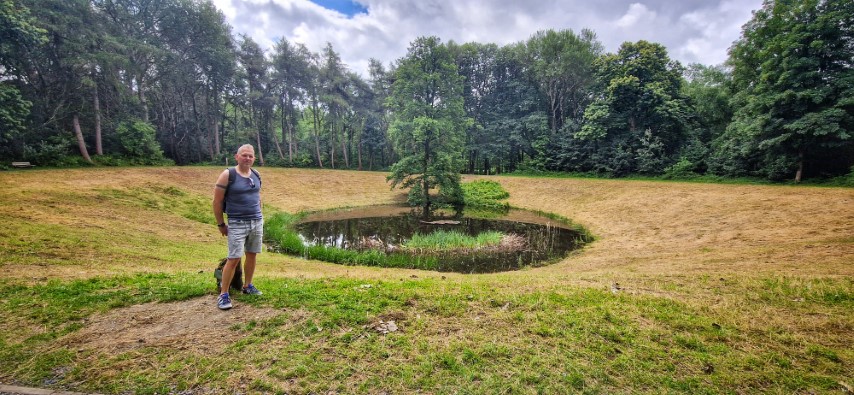
I had been having some issues with my chest over the last 24 hours, but we decided to venture out on the bikes to have a look at a few of the local points of interest like the war graves and and the sight of the detonation that created a large crater in World War 2 which was depicted in the film “Beneath Hill 60”.
Antwerp…. where do I start? As we researched this campsite prior to arrival, we found that we would need to pay a fee as we were going to enter the emmission zone. When we arrived the facilities were basic and the campsite had a slightly run down fee to it, but this was quite probably to do with the gloomy conditions we arrived under. Slightly overcast and damp. However, conditions improved, and we fell in love with this location as you will see.
On day two of our stay we headed out on the bikes and explored a local forest pathway. From there we became a little more adventurous and used free ferries from our camp site ‘City Camping Antwerp’, to get across the river Scheldt. And also the free tunnel, who’s 32meter depth is either traversed by an escalator, or a large lift.
On our second full day, we decided to cross river again, and skirt the city on bikes to visit the Antwerp Zoo. From what we had read, and seen online, it looked like a worth while trip. The weather was great, and this became one of the best decissions we made. These things don’t tend to appear cheap when considering buying a ticket, but it was well worth the money, and a real jewel in the crown of the city of Antwerp.