It’s bazaar how time seems to expand when you embark on a holiday of this nature. It’s not due to boredom. God no! It’s for all of the right reasons! Visiting X amount of amazing places in a day, and chatting to so many interesting people along the way makes you feel like your daily hum drum existence has been sent into fast forward. Mandy and I found our self in bed a good hour earlier than we usually retire at home because we crammed so much in. Some say its the sea air, but I think in our case our body’s and minds just need to close down and try and process the day!
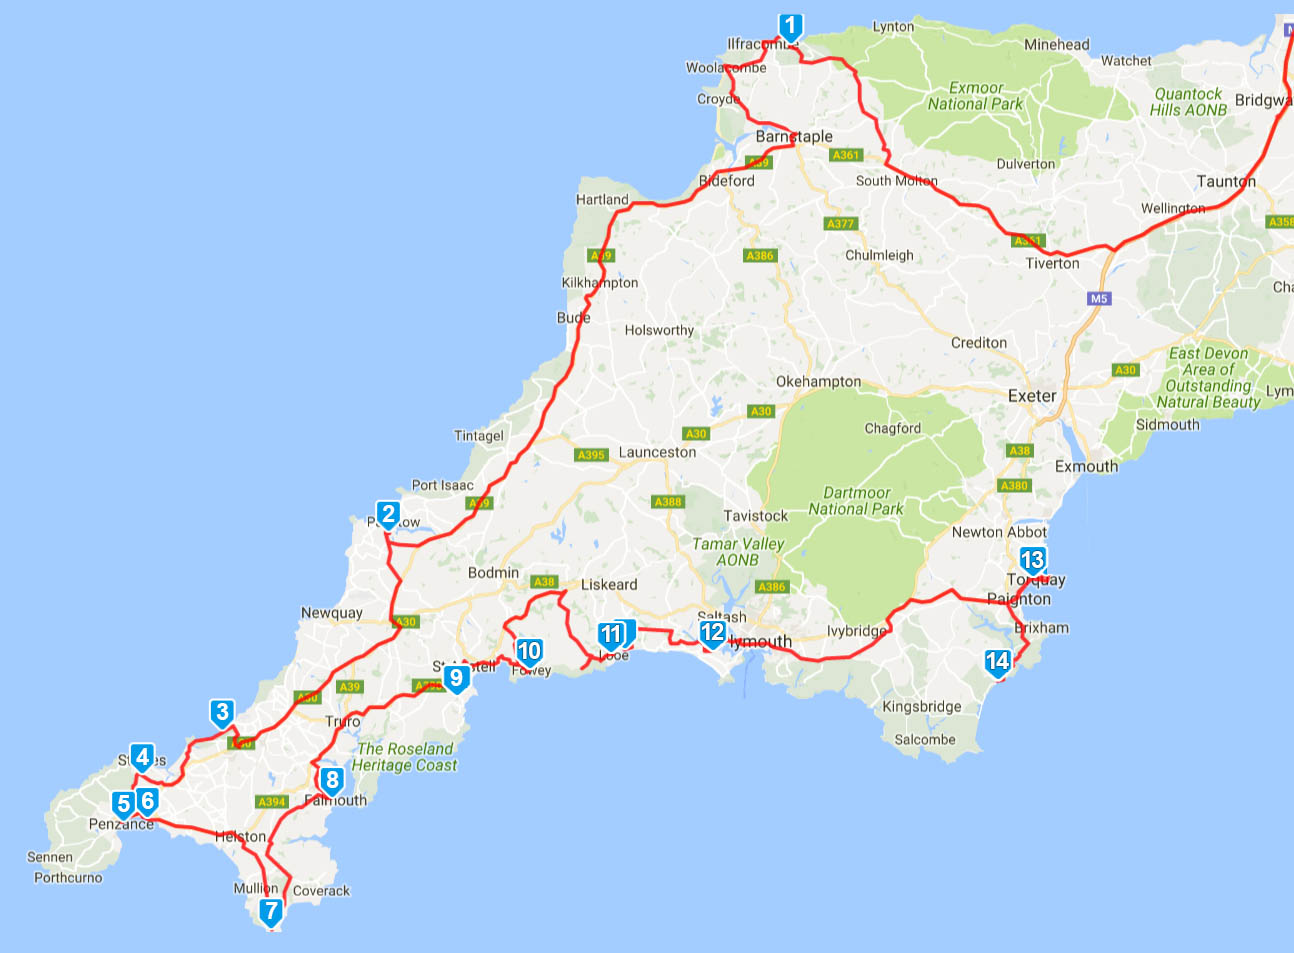
Map / Route
Our stints between locations, and the time we spent there varied so much that the whole holiday became a fluid and continual entity . However, I have tried to order the BLOG contents as best I can. The map above has been taken from my vans tracker data and shows the places we stopped for 2 hours or more. Some are camp sites, some are places we visited in-between camps (all listed in order below).
In the past we had booked our campsites and knew the time and duration between stops. This was mainly due to having to rely on electric hook up. Not the case now, so we can throw caution to the wind and accept accommodation in the least likely places. You only have to look at the map above or list below to see just how many places we visited in two weeks:
Links: (at the bottom of each post you will be able to move on to the ‘Next Post’ in the trip or back to the ‘Previous Post’)
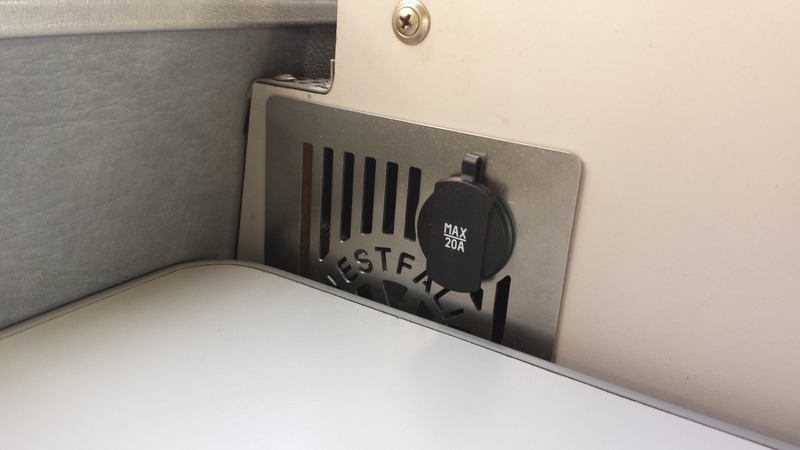
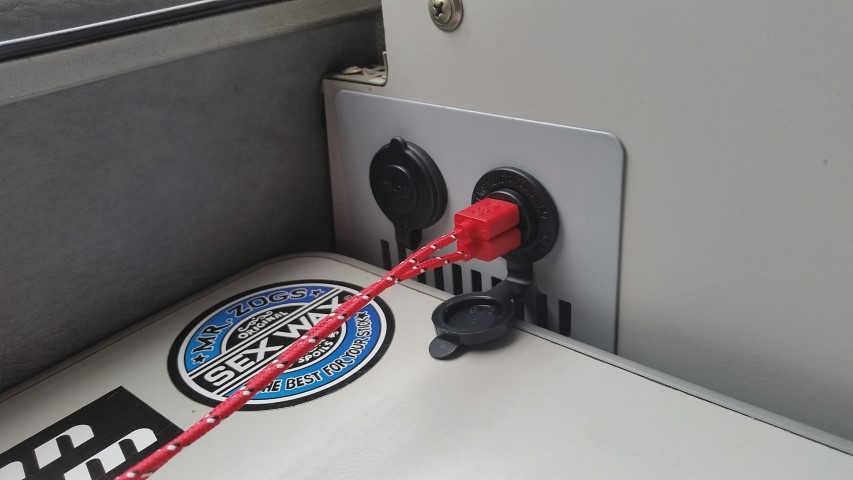
Some time back I had replaced the original rusting fridge vent for a stainless one with a 12volt socket incorporated. This was obviously an upgrade, but since I had installed my solar panels we have not had to use electric hook up and this will be the case for the foreseeable future. The knock on effect of this is that we don’t have a 240volt option for charging phones tablets etc. So the single socket we were relying on in the stainless vent just wasn’t enough. It looked nice, but function was more important now.
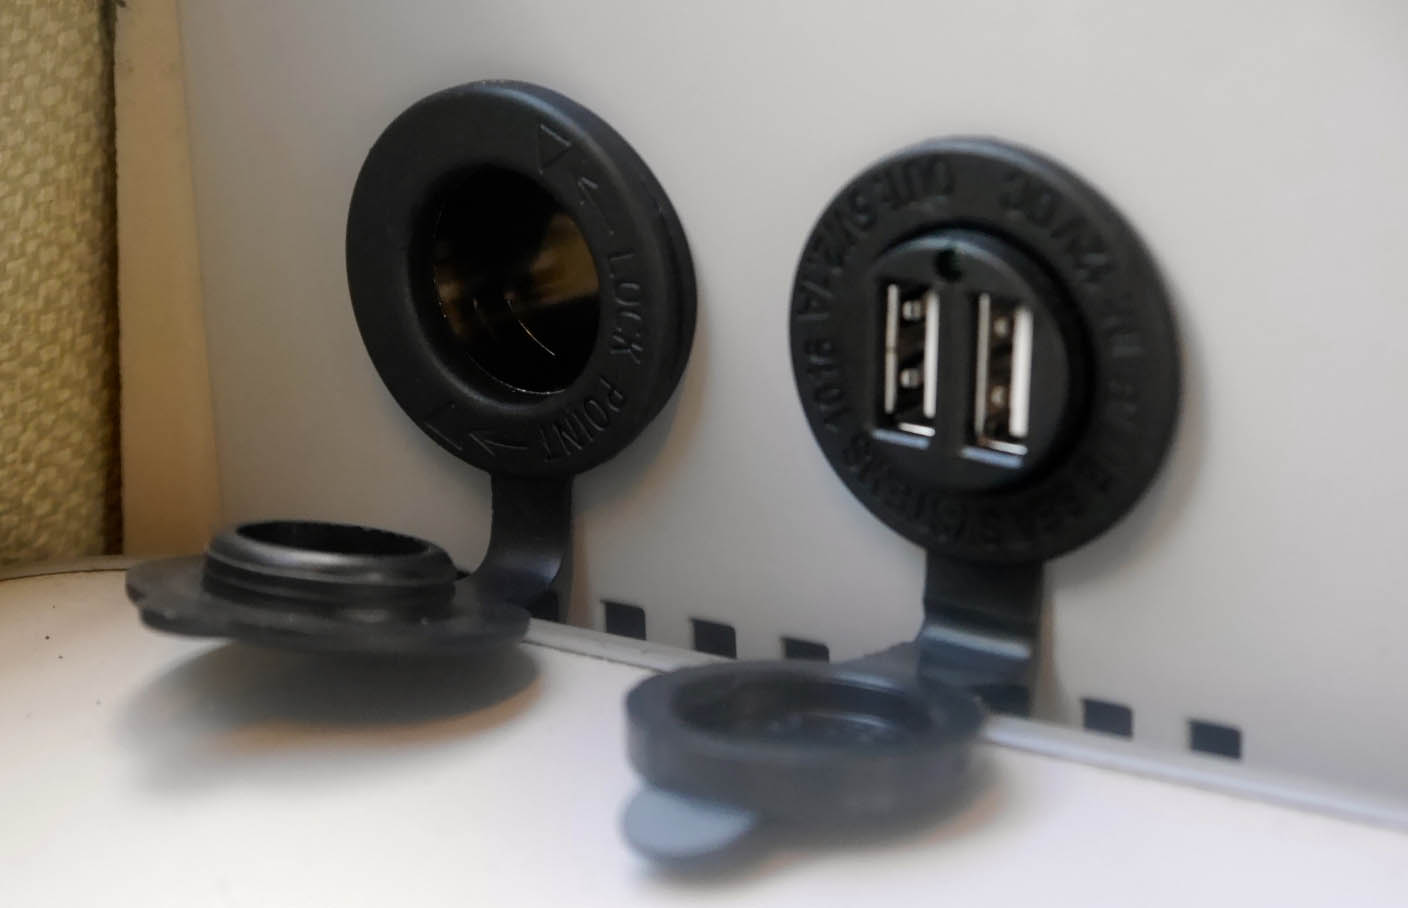
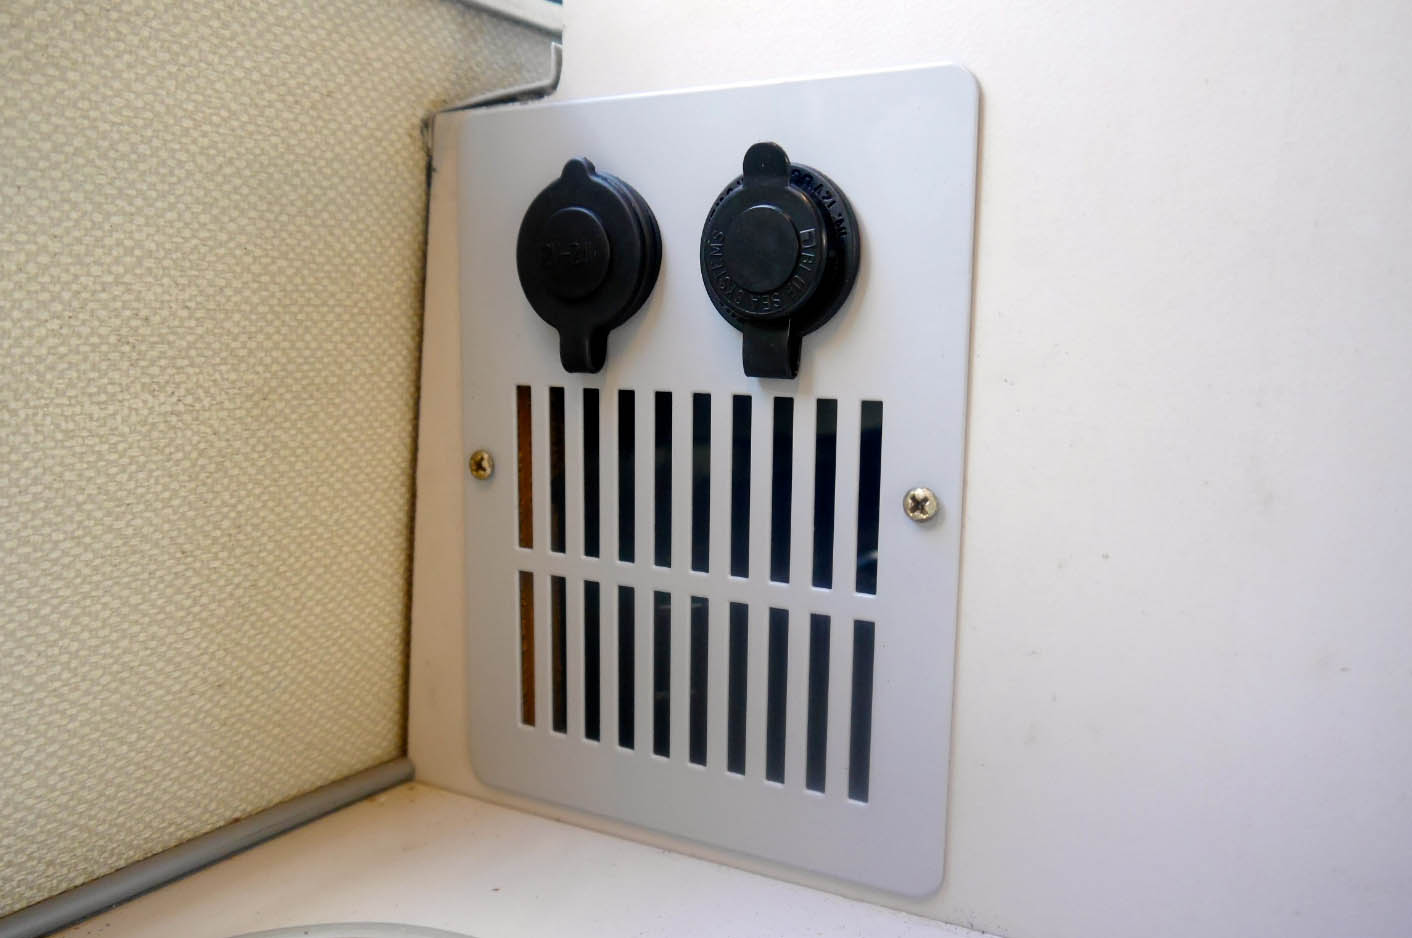
Seeing the Campervan Culture ‘multi socket fridge vent it looked like it would answer all of my prayers. The grey is a good match for the later Westy interior in the Atlantic, and installation was pretty straight forward, daisy chaining one socket on to the next with the main feed from the leisure battery (fused at 20A) .
CVC 12v Fridge Vent Socket
So here is my installed unit with a splash of red from my braided USB cables courtesy of the Pound shop (they were £1 before you ask 😉 ). We have only done a couple of weekend getaways since installation, but it’s already come in really handy!
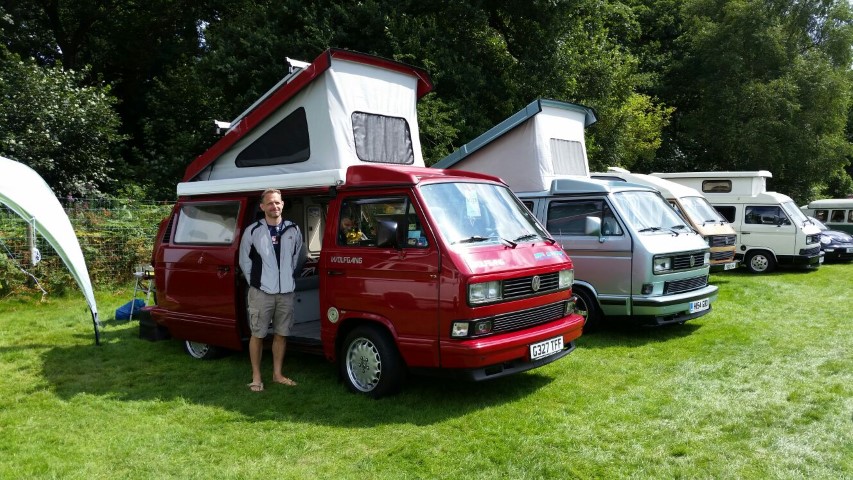
Tatton Park VW show was on the map from the day I did Dubfreeze show back in February. I was approached by a very nice chap called Mike who was also the owner of an Atlantic and the organizer for Tatton Park. I was asked if I would like to show my van and after a short discussion it soon became clear that there was a opportunity for a really good display of Atlantic’s and California’s. Long story short, eight months later four T3 Atlantic’s and two T3 California’s were proudly on display at one of the best shows in the calendar.
The show had a bit of everything. We spent our time wandering around looking at vehicles, perusing the second hand parts stalls, and when we were back at our vans talked to the members of the public about our campers and how versatile they were. Most people are shocked at how much space they have inside and how functional they are. Even the owners of the later T4 & T5s! It’s nice to see the the cogs turning in their heads when the realize that the newer vans just don’t quit cut it against a T3/ Y2k with a well thought out conversion ;).
Tatton Park 2016Tatton Park 2016
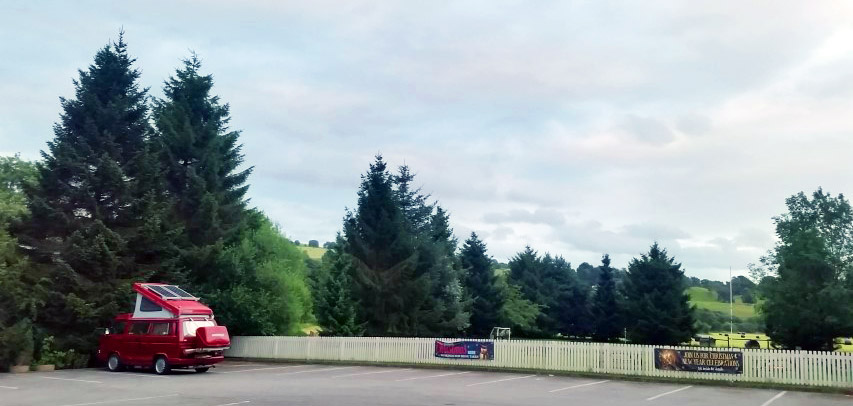
After the show Mandy and I found a nice village pub called the Knot Inn about 20 miles away on the way home. The added bonus was we could stop over night in the car park if we provided them with some custom. That said, a dispute between the pub owners and the chef had lead him to walk out a few days prior. So food was off the menu! Oh and they shut early (8pm) on a Sunday. Not very good for business. But we couldn’t complain. It was free camping and we have solar panels so no issues with power :). After a swift pint or two, we found ourselves cooking in our van in a deserted car-park with stunning views of the countryside . Not a bad ending after all 🙂
The Knot Inn, Macclesfield
The following day started off a bit dull but soon brightened up as we headed home. Being members of the National Trust we headed over to Sudbury Hall. The main house was closed but we had a brief wander around the grounds.
Sudbury Hall
All in all a nice (long) weekend. Next holiday is our main hols in September. Really looking forward to this 🙂
Knowing I had the extra space below the new Waeco Fridge , and not wanting it to just get used as a lazy storage area where things would get crammed and look messy, I decided to make a drawer. This was always my intention, but rather than be prescriptive and methodical from the outset, this had to be fluid in its design. Basically the slide out chopping board established the height the fridge needed to sit in the aperture available. It wasn’t until I had fitted the fridge that i knew the depth i had to play with for the drawer. The ‘hole’ has been handy to store some tools for the last month or so, but items like these that should only get used occasionally, are far more suited to a less accessible area, freeing up this space for things that get used in a daily basis.
So the draw….Initially I was thinking of a drawer on rails. In fact i brought two pairs of rails, one for the chopping board which are utilized and effective at present, and the second set for the drawer. However, the slide out action of those particular rails is such that they only extend about 30cm out. For a drawer that has a depth that goes back far further than that it didn’t seem like an effective use of space if you can only access the front portion of the draw. There are other rail systems that extend out double the length of the rail, but these tend to be quite deep in design and would take up quite a lot of the already limited space, making the draw a lot narrower.
So the solution was a far simpler one than having to mess around with rails. We found a very low profile storage box that had an insert for the top portion allowing small items to be segregated. Things like fuses, light bulbs, remotes for devices etc. The bottom part was shallow, granted, but this would be for our tablets, blue tooth speakers etc. We brought the box from Rymans, and if I am honest it was a bit of a stab in the dark in terms of the size . I’ve got a pretty good eye for judging space and to me it looked too deep, which actually turned out to be the case. However, when the lid was taken off it fitted perfectly. So we lost the lid, which probably would have become a bit of a hindrance anyway.
So the basic elements can be seen here.
The basic elements
It doesn’t get much more complicated than this and it took me best part of an hour to construct. The drawer handle had been brought at the same time as the handle for the slide out chopping board. The white thing in the photo above is the aluminum sheet with its protective film on (which was a slice of a larger sheet that a friend got me for another project). All that was required to complete the construction was a small spacer to bridge the gap between the internal tray plastics, and the extruded strengthening elements surrounding it. This came in the form of a piece of hardwood that I found in my wood-store. Two holes were drilled in the Aluminum, wood and plastic tray to marry up with the holes on the handle. The screws for the handle needed cutting down a fraction, but all in all it was a really simple process.
Draw complete with top divider
This was all knocked together without having access to my van as it was in storage so I wasn’t 100% sure it was going to fit. I had used the original Westy fridge as a reference as this was in my garage, and a few photos of my fridge install from my phone. However, I was relieved to find that the drawer fit perfectly 🙂
At present the drawer is no more than a push under tray with a suitably matching front fascia on. I will most likely stay in place during transit, but I have acquired some very small, high power magnets. I plan to stick a couple of these on the back top edge of the aluminum drawer fascia, and a small countersunk head, ferrous metal screw at the corresponding edge of the framework on the lower fridge support. This should allow the drawer to locate shut with a nice crisp click 🙂
This was the third and last stop over after Camperjam 2016 . We decided on this campsite the day before, whilst at St Davids . We had seen it a month or so earlier during the planning of the holiday, and it was a real contender for a booking. However, based on feedback from a social media post, we only committed to Three Cliffs and St Davids.
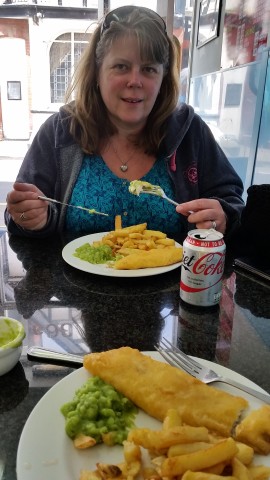
The drive from St Davids was via Aberystwyth. A place that we had passed years before, but never stopped at. we were slightly disappointed, and can’t say we were blown away by this sea side / university town, but it was worth a stop. If only to stretch our legs and have some Fish & Chips 🙂
The weather flitted between overcast and sunny on the way to the campsite. Our Sat Nav decided to take us via what it called a short cut. Way, way too steep for Wolfgang! So we had to turn around and head back to the main road and try again. We eventually got to the campsite and checked in.
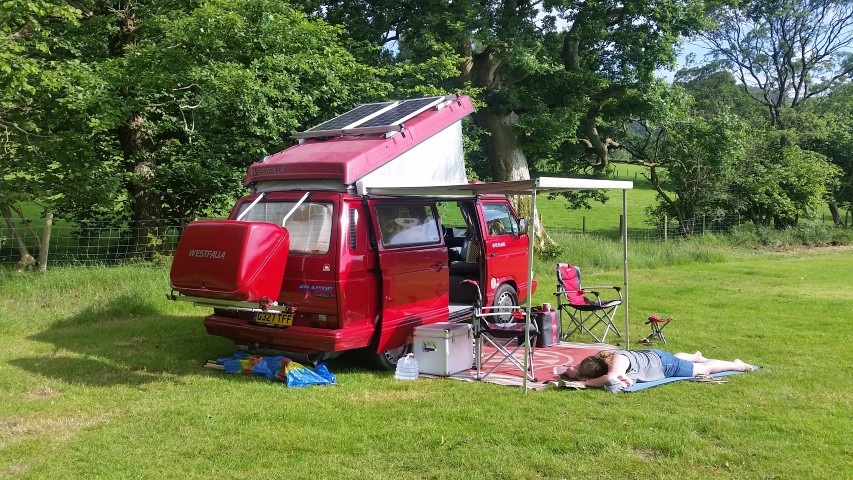
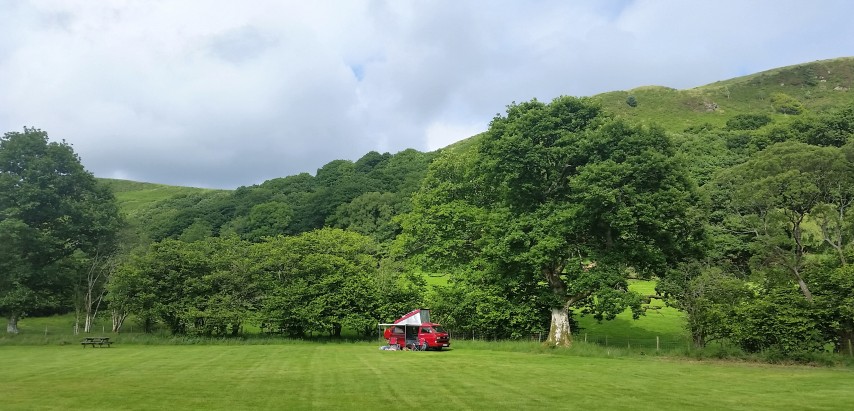
The sun came out and we had a couple of hours chilling and taking in the scenery. Life was definitely good 🙂
Chilling at the campsiteWhat a vista 🙂
Suitably relaxed we both had a shower and a bite to eat. The skies became slightly overcast and the forecast was not good for the following day. So we decided to head over to Devils Bridge, which was literally a 10 minute walk from our camp site pitch. We were both quite tired but knew we needed to make the effort to see the Bridges (If not the Waterfalls which were in a similar location)
Anyway, under the canopy of trees, the light dropped even more. It all seemed really eery, but exciting at the same time. As we approached the bridges we heard the noise of the waterfalls. We had to pay £1 to get through the turnstile and had no idea what we were letting ourselves in for. We certainly were not dissapointed! What a spectacle!
Caerfia Bay Farm was the second of three camp sites we stayed at during our July week long break. We chose the bottom field of the campsite which had some amazing views of the cliffs and ocean. The weather was challenging at times, but this only added to the experience. Rain, sun, fog and mist were sampled, but with the night heater in the van, and decent outdoor clothing, we didn’t want for anything.
Our only full day was spent on the beach, and in the beautiful town of St Davids. The Cathedral was amazing! A real hidden gem to explore and not so obvious to those that may be passing through by road. It looked to us like a church, but when we started walking towards it we realised that there was more to it than that. Highly recommended to anybody thinking of heading to this are in South Wales!
Three Cliffs Bay was our first port of call after Camper Jam weekend. This was our first main holiday break of 2016 in the van which was a week in total. Our stay was a total of three nights and the weather was fine for most of that. The first full day, we took a walk onto Gower Beach which is owned by the National Trust. Quite a steep path down but well worth the effort. Second full day (Tuesday) I decided to take a similar path onto the beach, but continue up onto the cliffs and follow that along until i felt it was time to turn around and head back. Pretty much 3 hours of walking / climbing which was really cool. Mandy decided to take the less energetic option of sunning herself by the van 🙂 (although she would live to regret it with sunburn on her legs a day or so later)
The moment I saw one of these fuel filler caps I knew I had to have one. It replaces a very bland component on the van with something that is far more eye catching and appropriate for such a high spec camper.
This was not inexpensive by any stretch of the imagination. Quote Brickwerks website:
“This is not a cheap “stick on” kit, its designed for a T3, and sold exclusively by us in the UK. We wanted a kit that was easy and straightforward to fit using the best design and highest quality parts.”
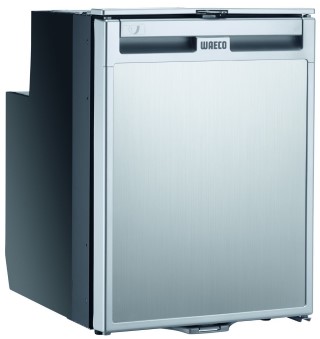
My main reason for upgrading my fridge was due to the fact I had established a very effective Solar Install. It seemed silly not to take advantage of all of that free energy to power a compressor fridge. This type of technology is far more effective than the stock fridge at doing it’s job. It actually has a dedicated freezer draw which is great for Ice Lollys on a hot day 😉 .
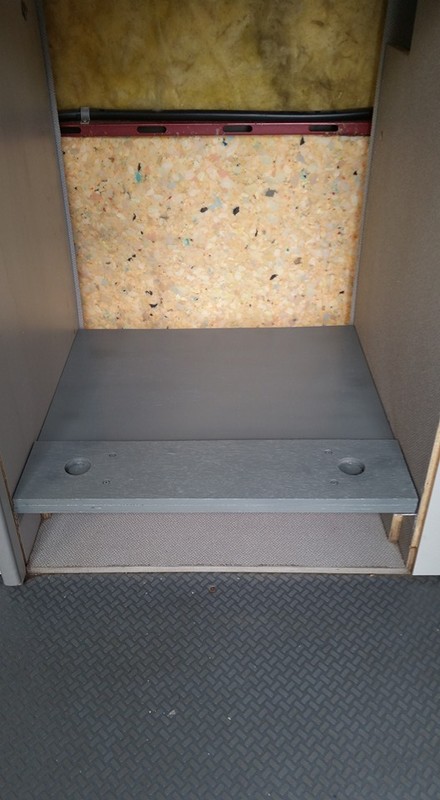
Anyways, on to the installation: I wanted this to sit just below the slide out chopping board as I wanted to maximize the depth of the draw I am going to fit below it. So after some careful measurements i set to positioning a couple of pieces of angle aluminum to sit the shelf on. The shelf was then made by two pieces of marine ply. The first was the full width and depth required to seat the fridge on. The second was a slimmer piece with two holes drilled into them where the two front feet of the fridge will locate. This will stop the fridge from sliding about as there are no real fixings as such everything is having to be bespokely made. The two pieces were glued and screwed together and painted grey.
After this i needed to find something that would provide padding either side of the fridge to wedge it in place. I wanted this to be something that wasn’t going to get affected by damp or humidity, but provide a nice gentle compression on either side of the fridge. After some time i decided that kneeling pads would be just the right depth to bridge the gap (the sort of thing you get for gardening). These cost me £1 each from Wilko . These were sprayed black at the front and they were screwed to the inside of the fridge compartment (two screws at the front and 1 at the back. each screw head had a large washer on it to pull the padding in and I tightened the screws up enough so that they sunk in and didn’t catch the fridge when being slotted in. The heads were also covered with a piece of insulation tape to be ion the safe side.
Here you can see the fridge in place:
From here on it was just about trimming the surrounding area. I brought angle aluminum from B & Q and cut and drilled to size. I had to make some bespoke brackets to mount the whole lotso it wasn’t straight forward. However, i’m pretty happy with the end result
This has then been connected directly to the leisure battery with a 5 amp fuse in line. I really need to get an additional fuse board fitted as there are way too many connectors tacked on to the battery at the moment. I will seek to have this done professionally to get things tidied up PS. There is a gap either side of the fridge of about 5mm. The finished photo here doesn’t show that and is a little miss leading. I feel this is enough of a gap to let air circulate and stop any rattles through vibrations.











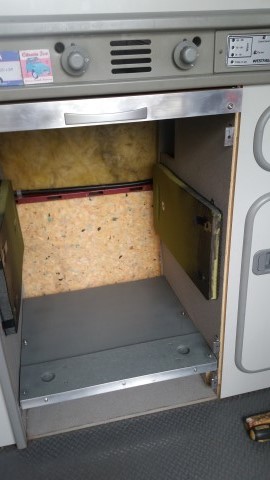
 . These were sprayed black at the front and they were screwed to the inside of the fridge compartment (two screws at the front and 1 at the back. each screw head had a large washer on it to pull the padding in and I tightened the screws up enough so that they sunk in and didn’t catch the fridge when being slotted in. The heads were also covered with a piece of insulation tape to be ion the safe side.
