Once my roof bars were fitted to the van the amount of effort needed to elevate it increased dramatically. Although they are aluminum and relatively light they are mounted further forward than you would expect. Maybe this is because they are designed to carry long canoes as well as kayaks and mounting they further rearward may leave a long vessel sticking out of the back dangerously? Anyways, they are where they are and i have seen others mounted in the same location so I’m not going to question it any further.
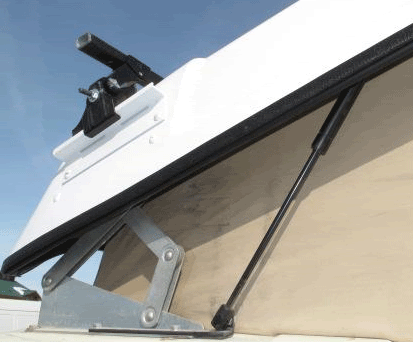
So I had a requirement for some lift assist and the following was fitted from Campervan Cuture:
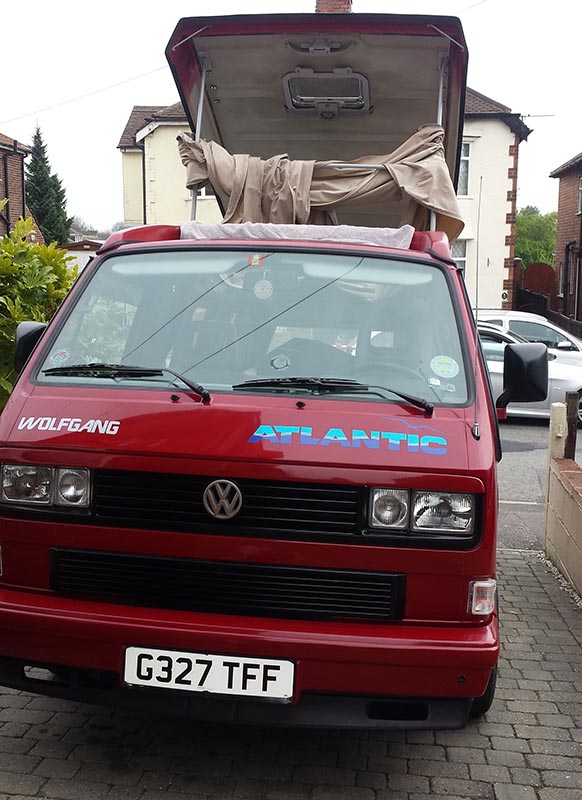
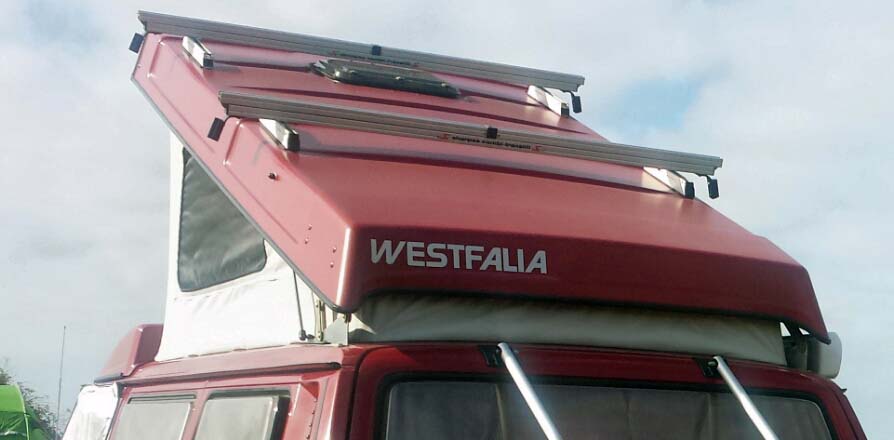
The Westfalia Poptop is great, offers so much accommodation space when you park and pop up but if you have anything loaded on a roof rack or roof bars on top of your pop top such as a Canoe, Surfboards or a large solar panel it can be difficult getting the pop top up into position due to the additional weight.
The kit is very easy to install, you only need to drill 2 holes, both in the fiberglass, one on each side of the pop top. The detailed instructions make it easy to find the right location for the holes.”
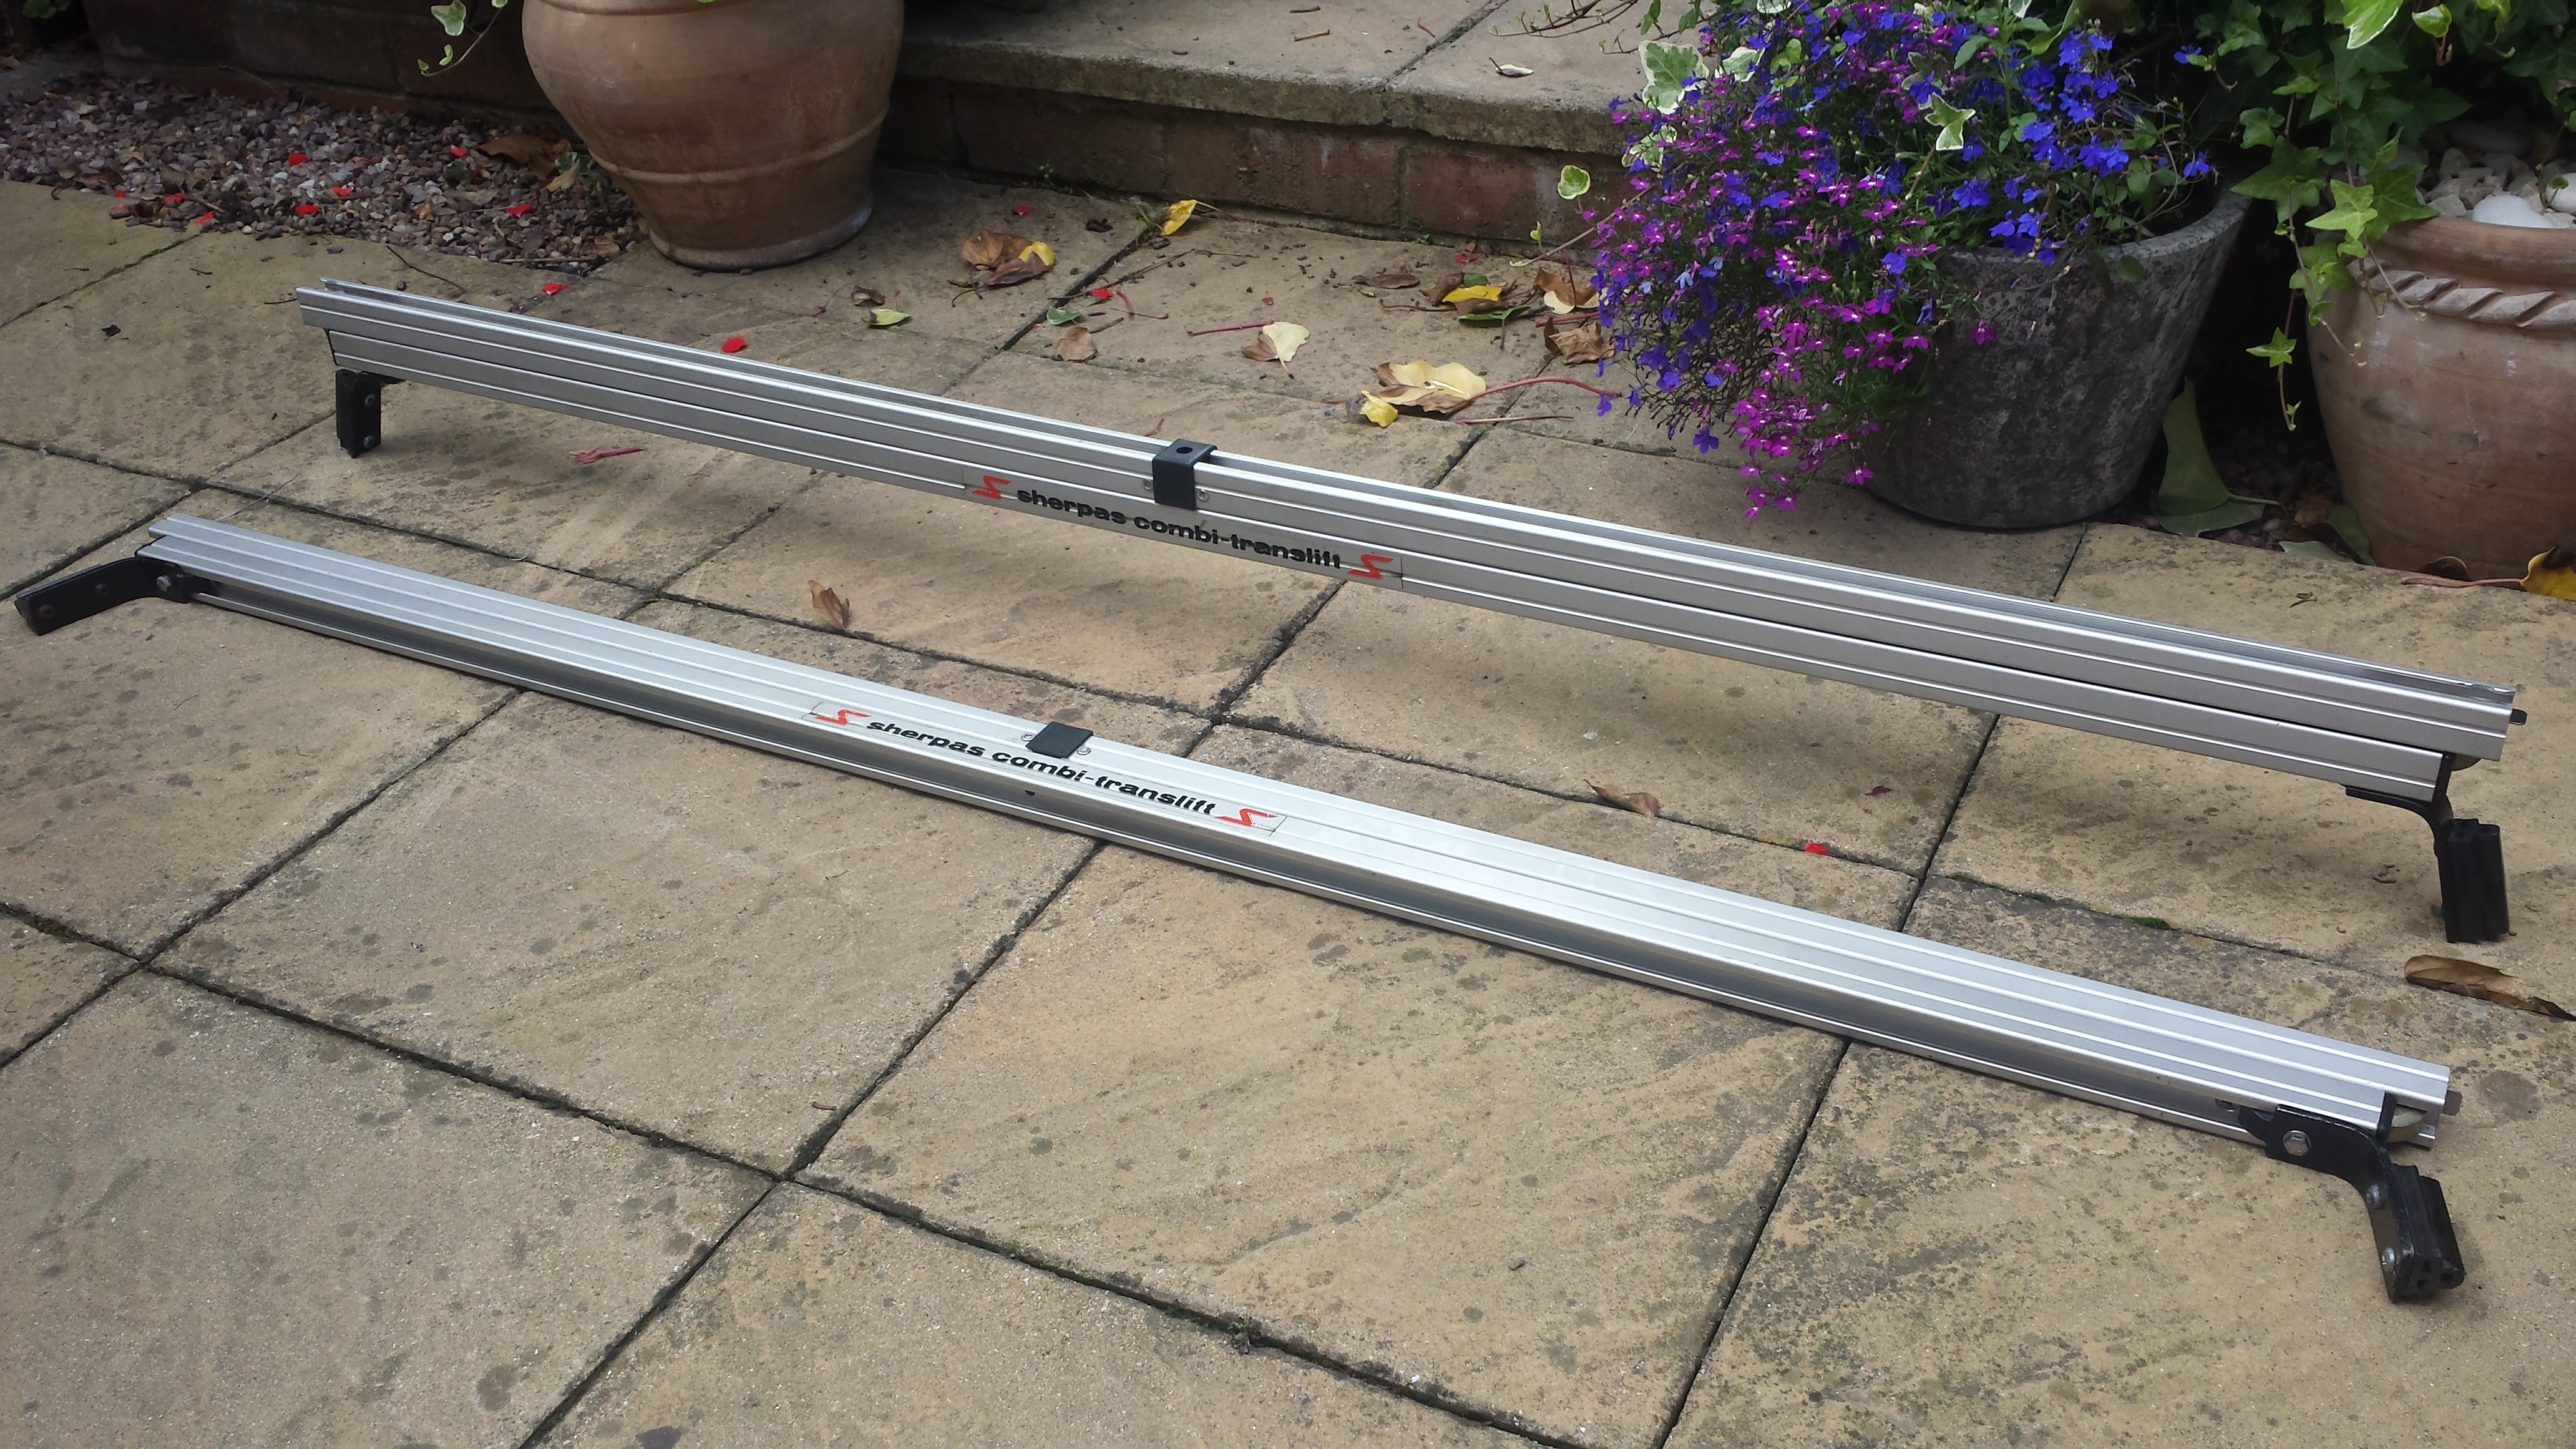
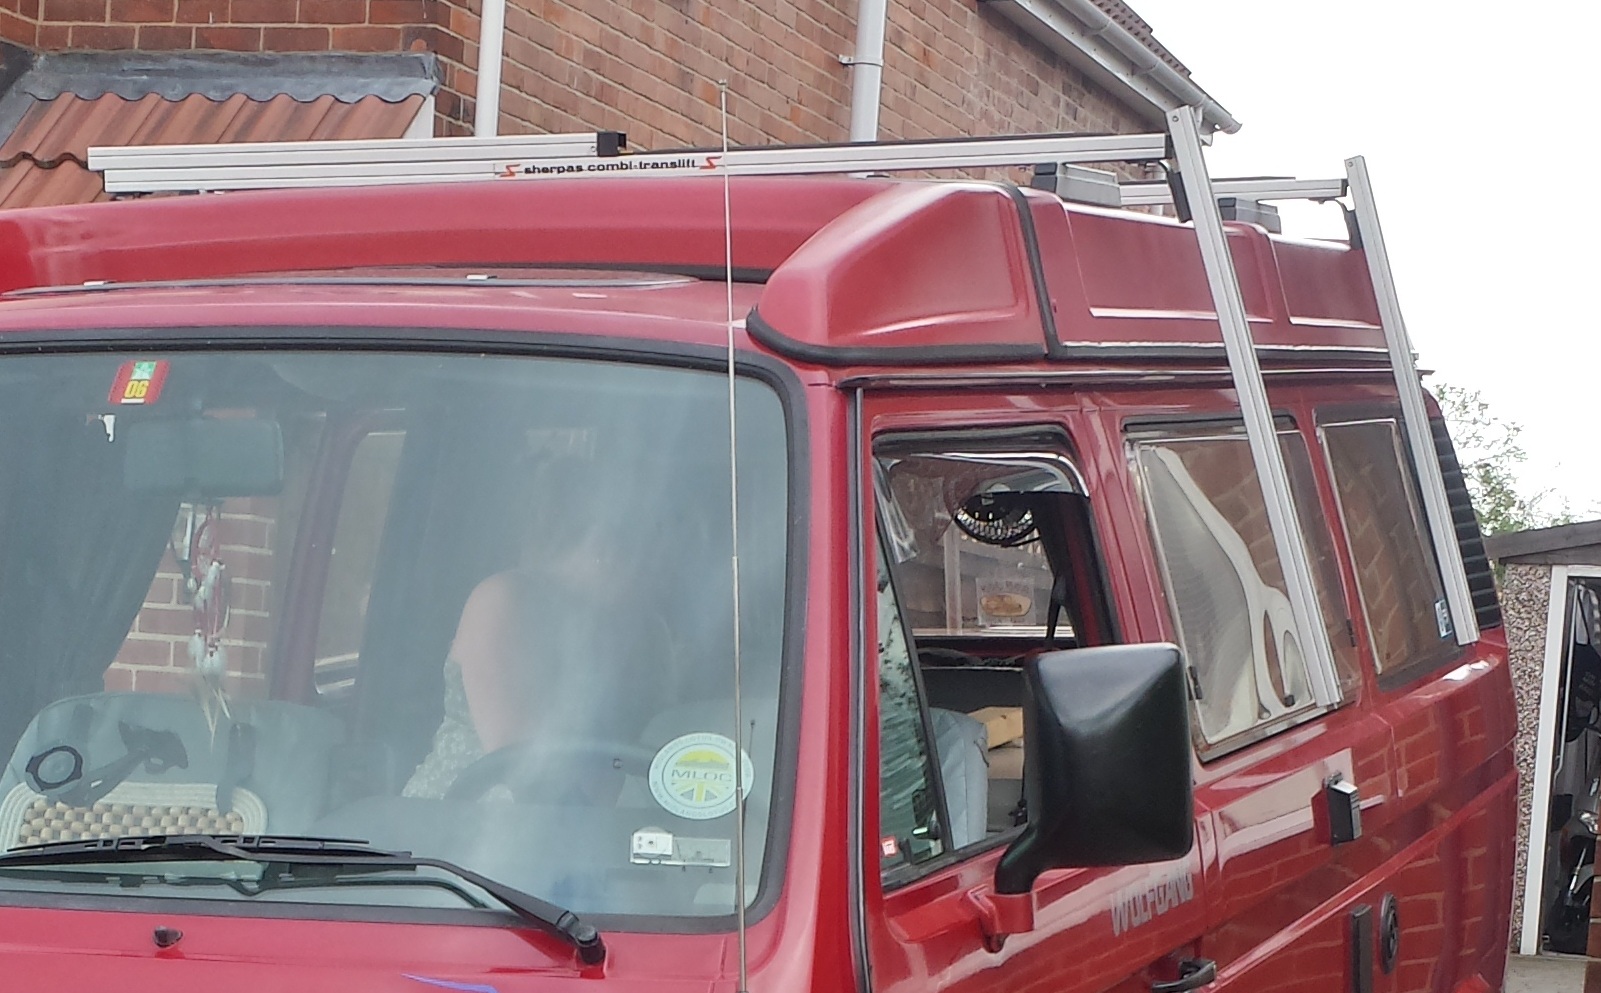
My van came with a Sherpas Combi Translift roof rack system fitted. I didn’t know at the time that some of the components were missing and just saw it as a roof rack much the same as you get from any motor factors. The previous owner gave me the impression that the leaking roof may have something to do with the way the system was mounted to the roof. So i took the whole lot off just to be on the safe side. It transpired that the water ingress was down to a perished skylight seal but i didn’t miss the rack initially.
However, the more i thought about it and the more i looked into the Sherpas system, the more I realized that it was a pretty well designed and functional addition to the van. The fact that the rails slide off the roof allowing easy mounting of things like kayaks and roof boxes made it pretty darn cool.
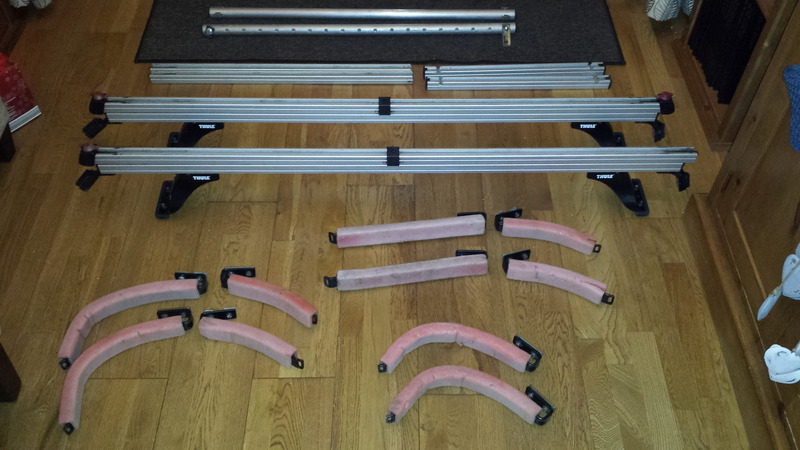
I had the alloy roof runners that mounted to the roof, and the main cross members mounted to them. There were some components that i had cleaned up and tried to refurbish, but they weren’t brilliant and could really have done with replacing. So I set to looking for the parts to make my Translift complete. I searched on Gumtree one day and saw a complete set of bars and sliders going for £20. This was ridiculously cheap as they are pretty rare and hard to get hold of. So I snapped them up 🙂 …..
Gumtree bargain 😉
So I added them to the van and here you can see the system in action. The top rails slide of and position at the side of the van for easy access
So I was pretty happy. But I continued to search to find some of the extras like the locks to secure the rack sliders to stop theft, and kayak holders. . I found another complete set of on E bay, but the price was quite a lot more expensive. Probably more realistic in the grand scheme of things. This was a complete system with all of the bells and whistles that i was missing. At £200 it was a lot of money, but I know these don’t come available very often.
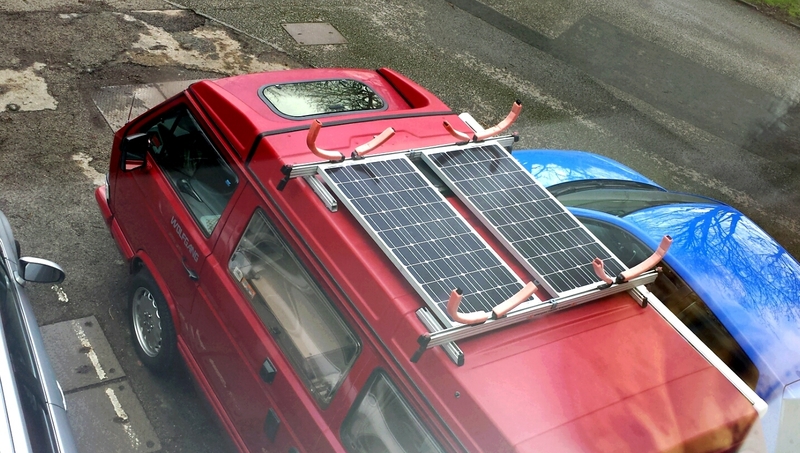
So it’s now complete 🙂 .Here you can see the rack from above with my new 200watt solar array attached 🙂
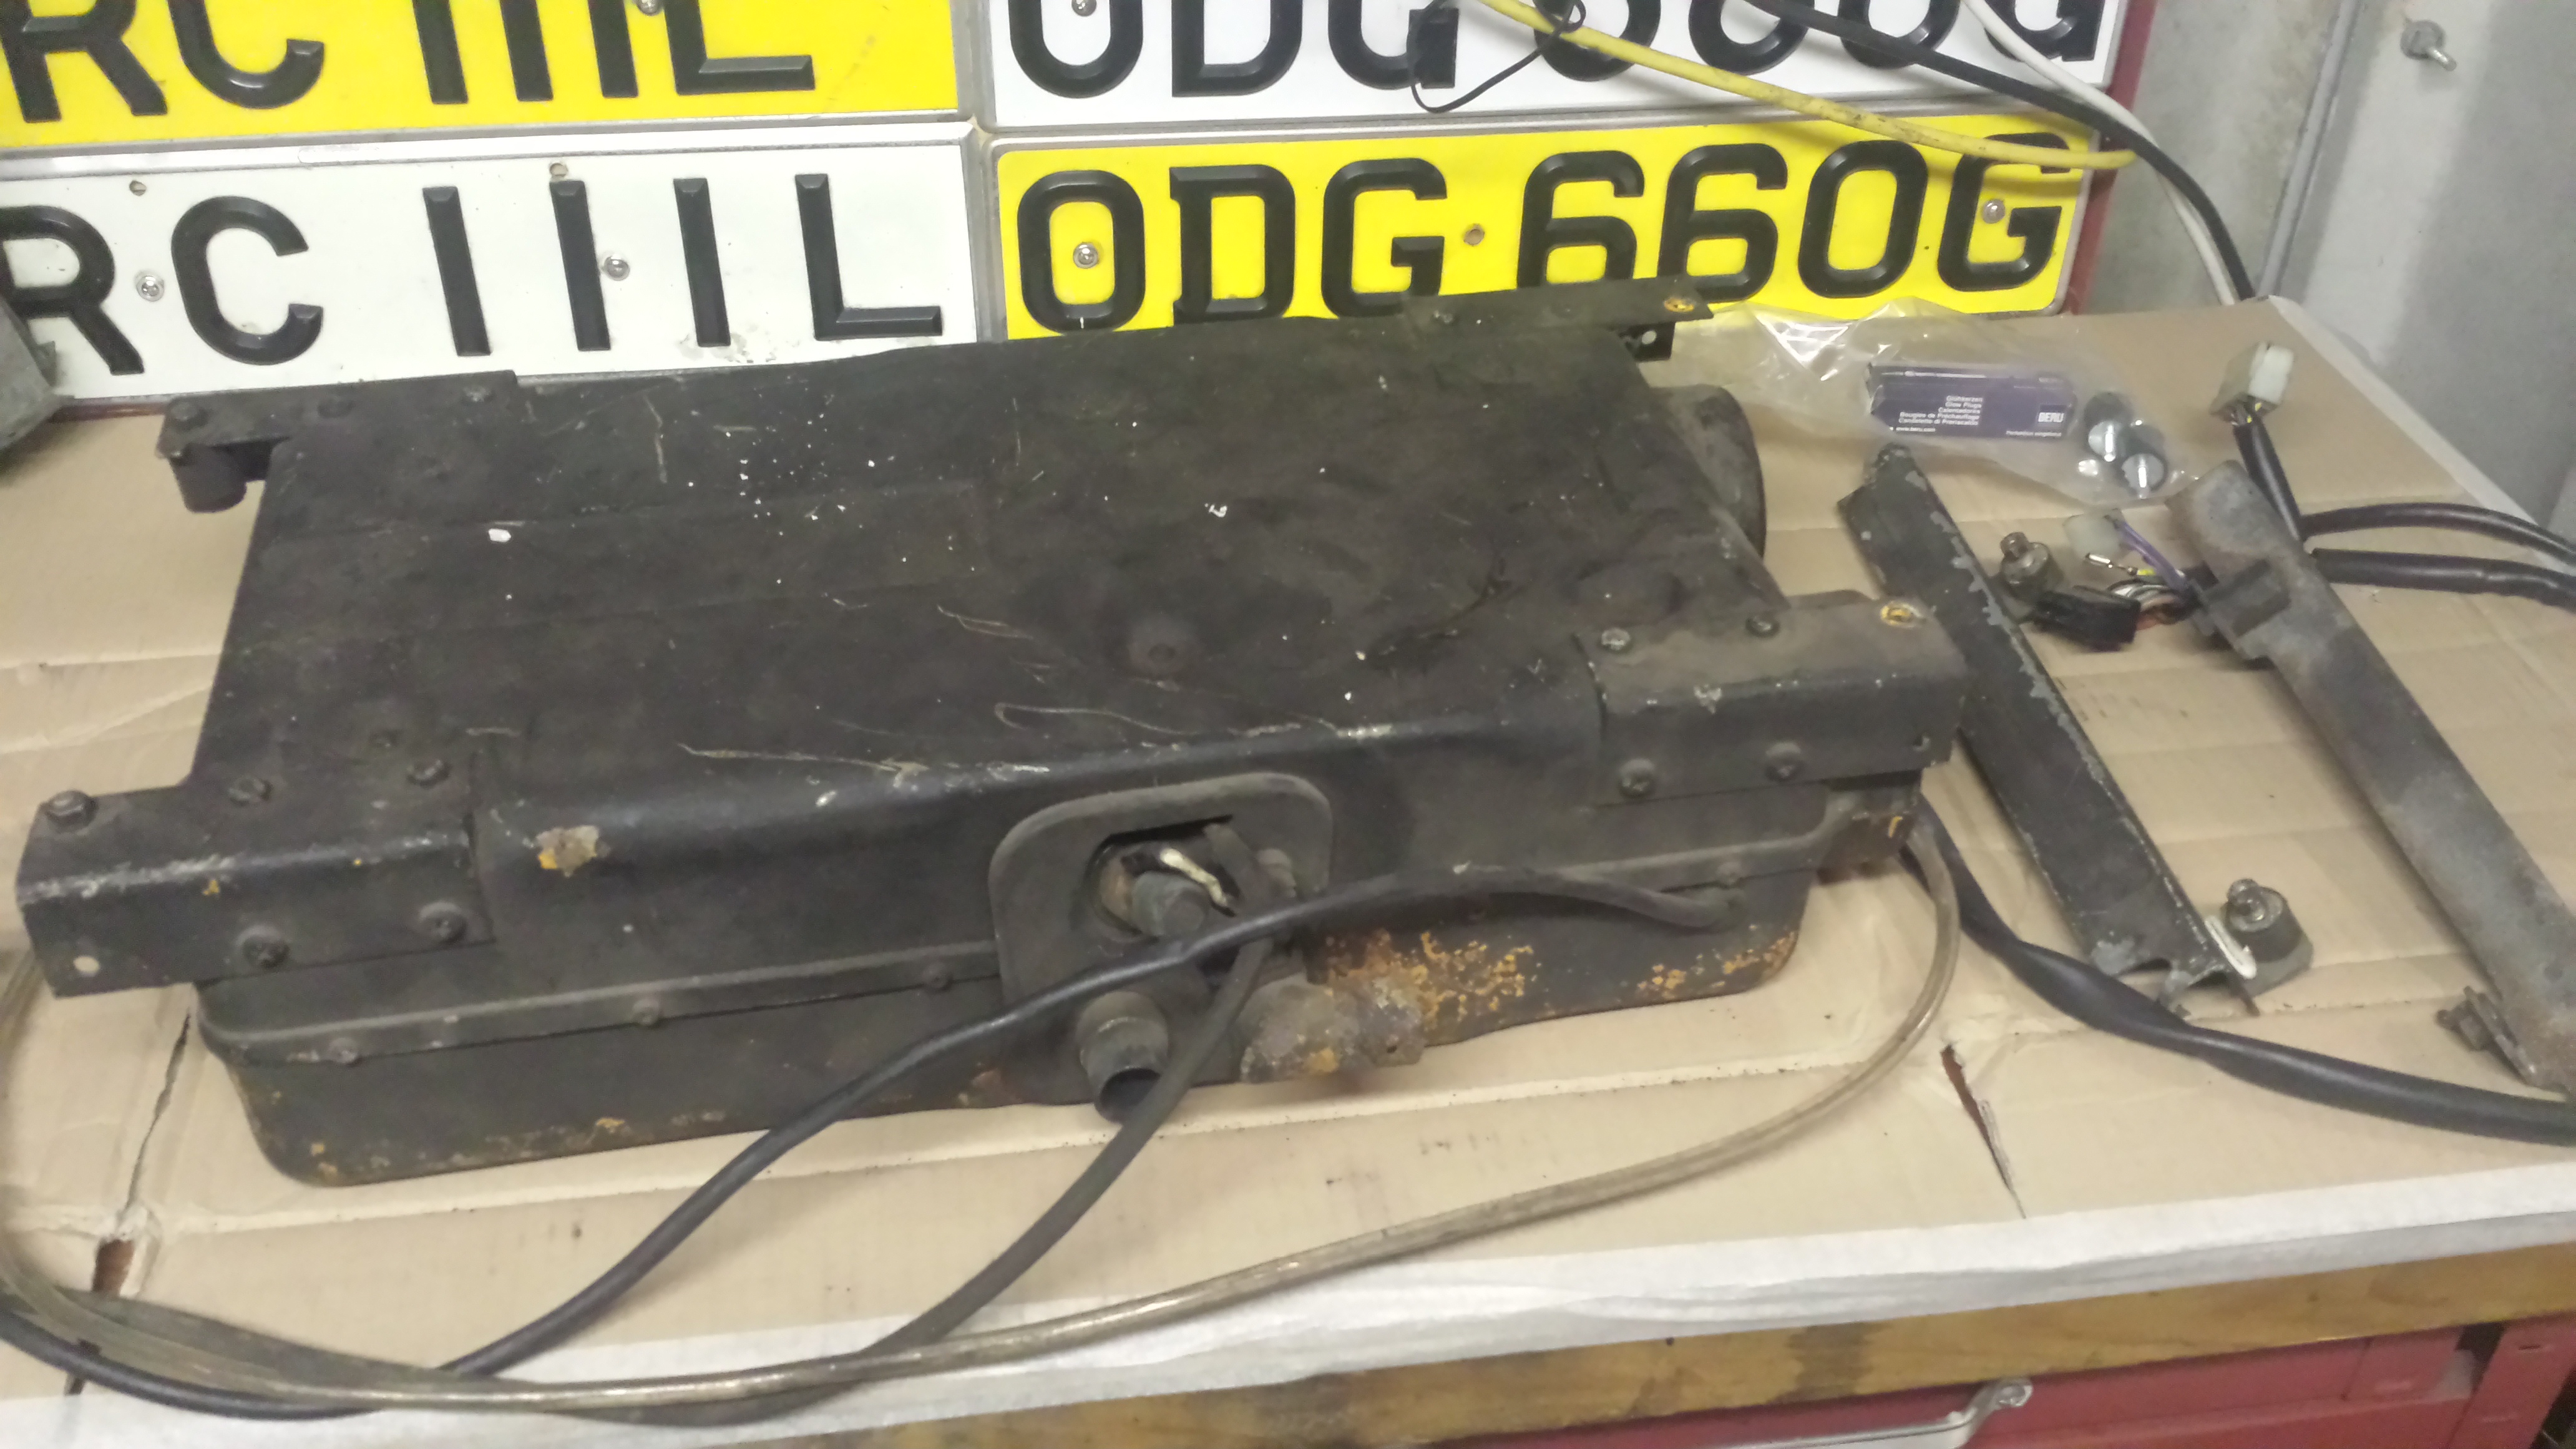
Unfortunately my van never came with a night heater fitted. It must have been removed at some point in the vans life prior to me owning it. We lived with it for a period of time, but I knew it was something that i would want to get sorted at some point in the future. I managed to buy a second hand one from a guy on the Brick Yard forum.
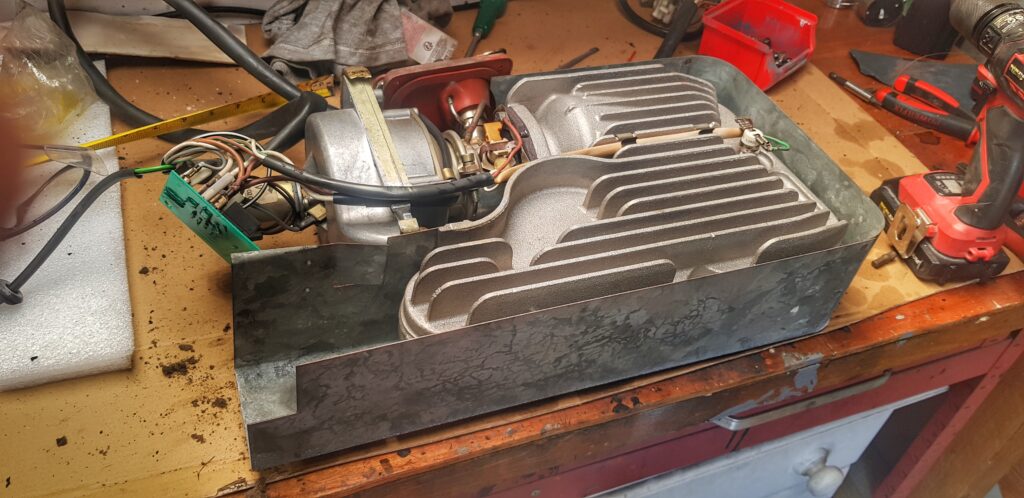
I brought it as an unknown entity and stripped it down to find that the motor had blown and the blower assembly had seized.
On the bench for stripdownStripped and evaluatedDe-coked components
I came to the conclusion that the build up of coke in the combustion chamber probably cause the motor to stop and burn out. So after a strip down and de-coked the of all of the moving components, I had gotten the fan assembly spinning again quite nicely. I could not find a replacement motor so decided to have a go at repairing the faulty one. This involved soldering a very fine wire in place but i did it and was really happy with the progress 🙂 .
Unfortunately my Eber resurrection failed at the last hurdle. I was informed that the heater was in actual fact a petrol model after I posted a picture of what I thought was the glow plug on a forum. I was told that it was in fact a spark plug, so it to an abrupt holt as my is diesel .
Advice had been given previously that i was wasting my time trying to resurrect a 25 year old heater as it was never going to be as reliable as a new one. I wanted to prove to myself that it could be done but the fact the heater i had bought was the wrong fuel type meant that i had to throw the towel in and look for an alternative. I was reluctant to throw good money after bad and buy another questionable second hand unit. Fortunately a forum member suggested I considered getting a newer unit and that he actually had a selection of heaters for sale. So after a few pm’s I settled on a Webasto Airtop 2000st.
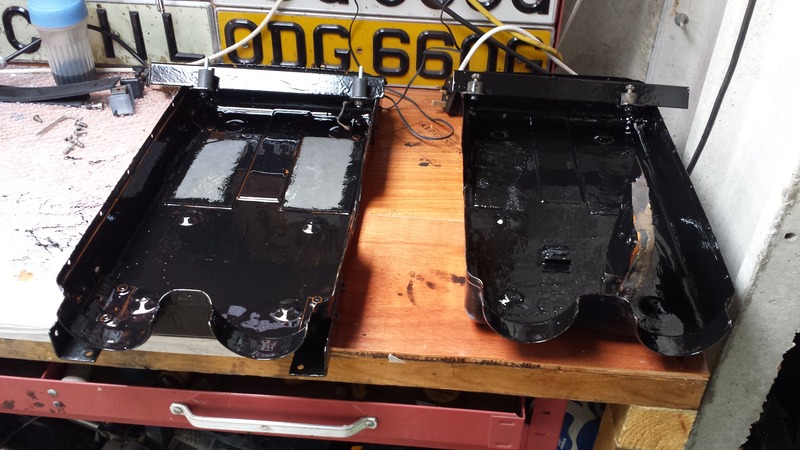
The original Eberspacker heater box had already been refurbished by myself previously with a good few coats of Hammerite black in anticipation of the original heater being completed and working.
Original Eberspacher housing
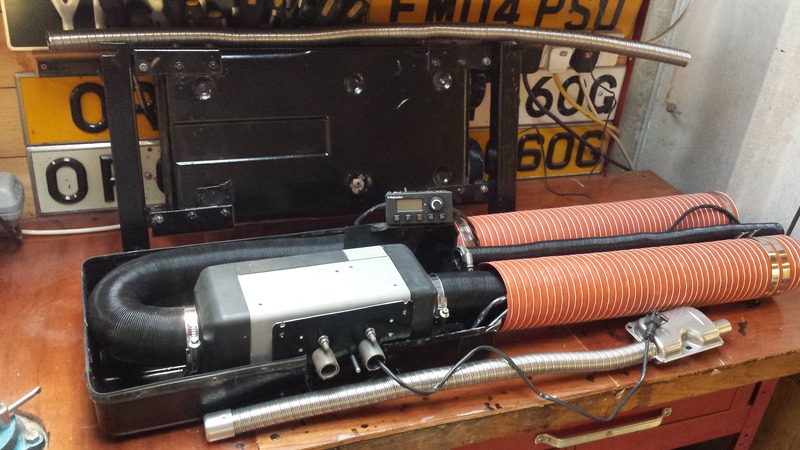
Fortunatly new heater was small enough to fit in this so it would not have to take up space inside the van. Below you can see all of the parts together, including new heater hose which bridges the gap from heater unit into the van
New Webasto and original Eber housing
Here you can see the heater is mounted in the housing and a register plate has been screwed in place for inlet and exhaust.
The original Eberspacher controller was removed from the right hand side of the van to make way for the Webasto controller. The Eber controller was also linked by a loom to the timer unit that mounts at the front of the rock and roll bed so this came out at the same time. That gap would now be filled by a small square clock which was sent as a good will gesture from the fellow that i bought the heater off 😉 .
So all that was left to do was to fit the unit to the van. Knowing that there would be a lot of work underneath the van, and i would struggle to get access to do the job properly, i decided to take it to a local trusted garage. I loaded all of the parts i wanted fitting and dropped the van off.
A day or so later I collected Wolfgang with a fully installed and working night heater. I can’t recommend these units highly enough and wouldn’t want to be without one now 😉
I decided i didn’t want to go upwards with roof bars and top boxes because I wanted to increase the flexibility as far as restricted height car parks were concerned. So looking at other options I saw the Fiamma Ultrabox 320. This was designed to go on the back of campers and motor homes and fits on the bike rack I already had installed.
So after deciding this was the way to go I looked on Ebay, Gum Tree and finally found one that met our price bracket on Pre-Loved. It was virtually new and only been used once before the owners sold the motorhome. We got the box for £140 which was a massive saving from the £400 odd they cost new.
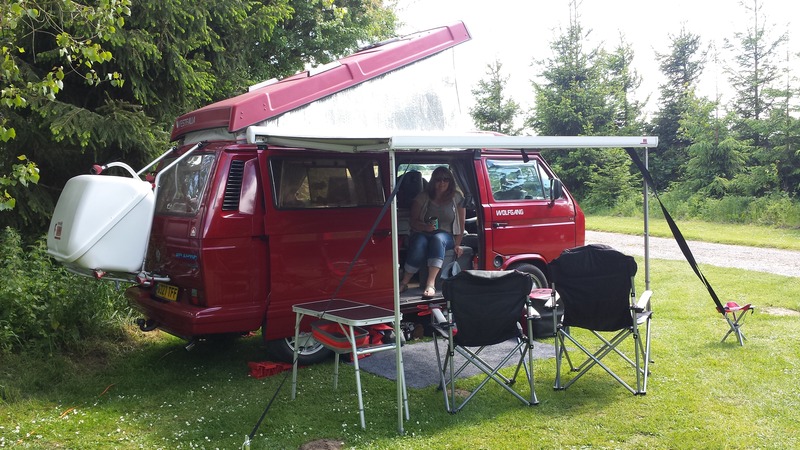
We decided to make a weekends camp out of collecting the box as it was Lincoln way. We stayed at a campsite we had used earlier in the year (Links Lanes Campsite). The weather was a darn site warmer when we collected the box in June. 🙂
So the box sat on the back of the van quite happily and would have performed as expected. However, the front of the box seemed to seat more on the furthest rail from the van which i felt would would put unnecessary strain on it. So with a little marine ply and a short baton of wood I created a spacer plate to drop into the back rail to make up the distance. This was varnished to protect against the element and then bolted to the bottom of the box. (photos to follow)
Also, I felt that the stark white of the Fiamma products were great if attached to most motor-homes or caravans. But it didn’t compliment my vans colours. So in a matter of weeks I had dropped the box off and had it colour coded ‘Cherry Red (LA3E). This was going to prove to be a massive bonus on future trips in 2015
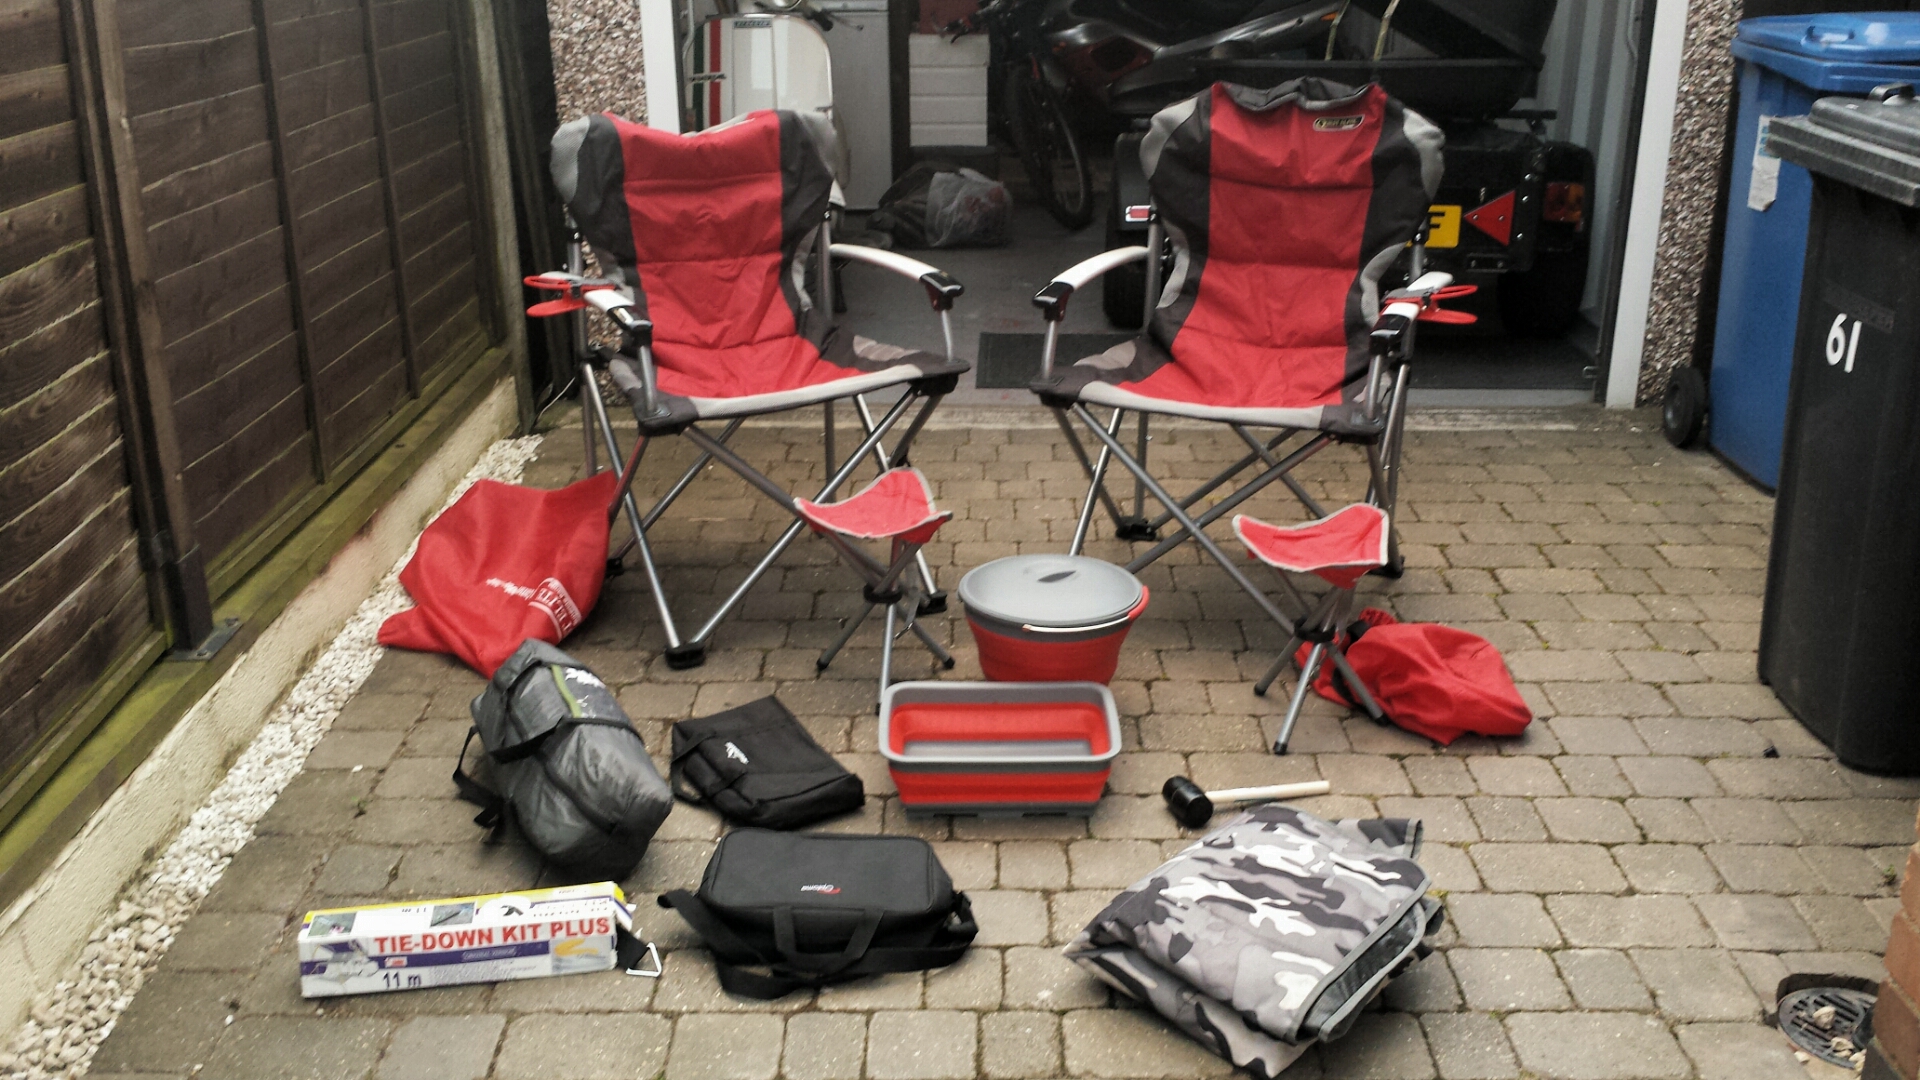
The real reason for this additional storage space was to remove the requirement to have the external camping components in the van. This includes the tables chairs mats etc. This is / was great as we can pull up on a campsite when it is raining and not have to hoof the outdoor gear outside before we can use the living space. This is what we carry in the back box:
Two large camping chairs, two foot stools, collapsible bucket, wash bowl, BBQ, mallet, Fiamma awning tie down and awning mat and a Utility tent for that all important item …the portaloo.
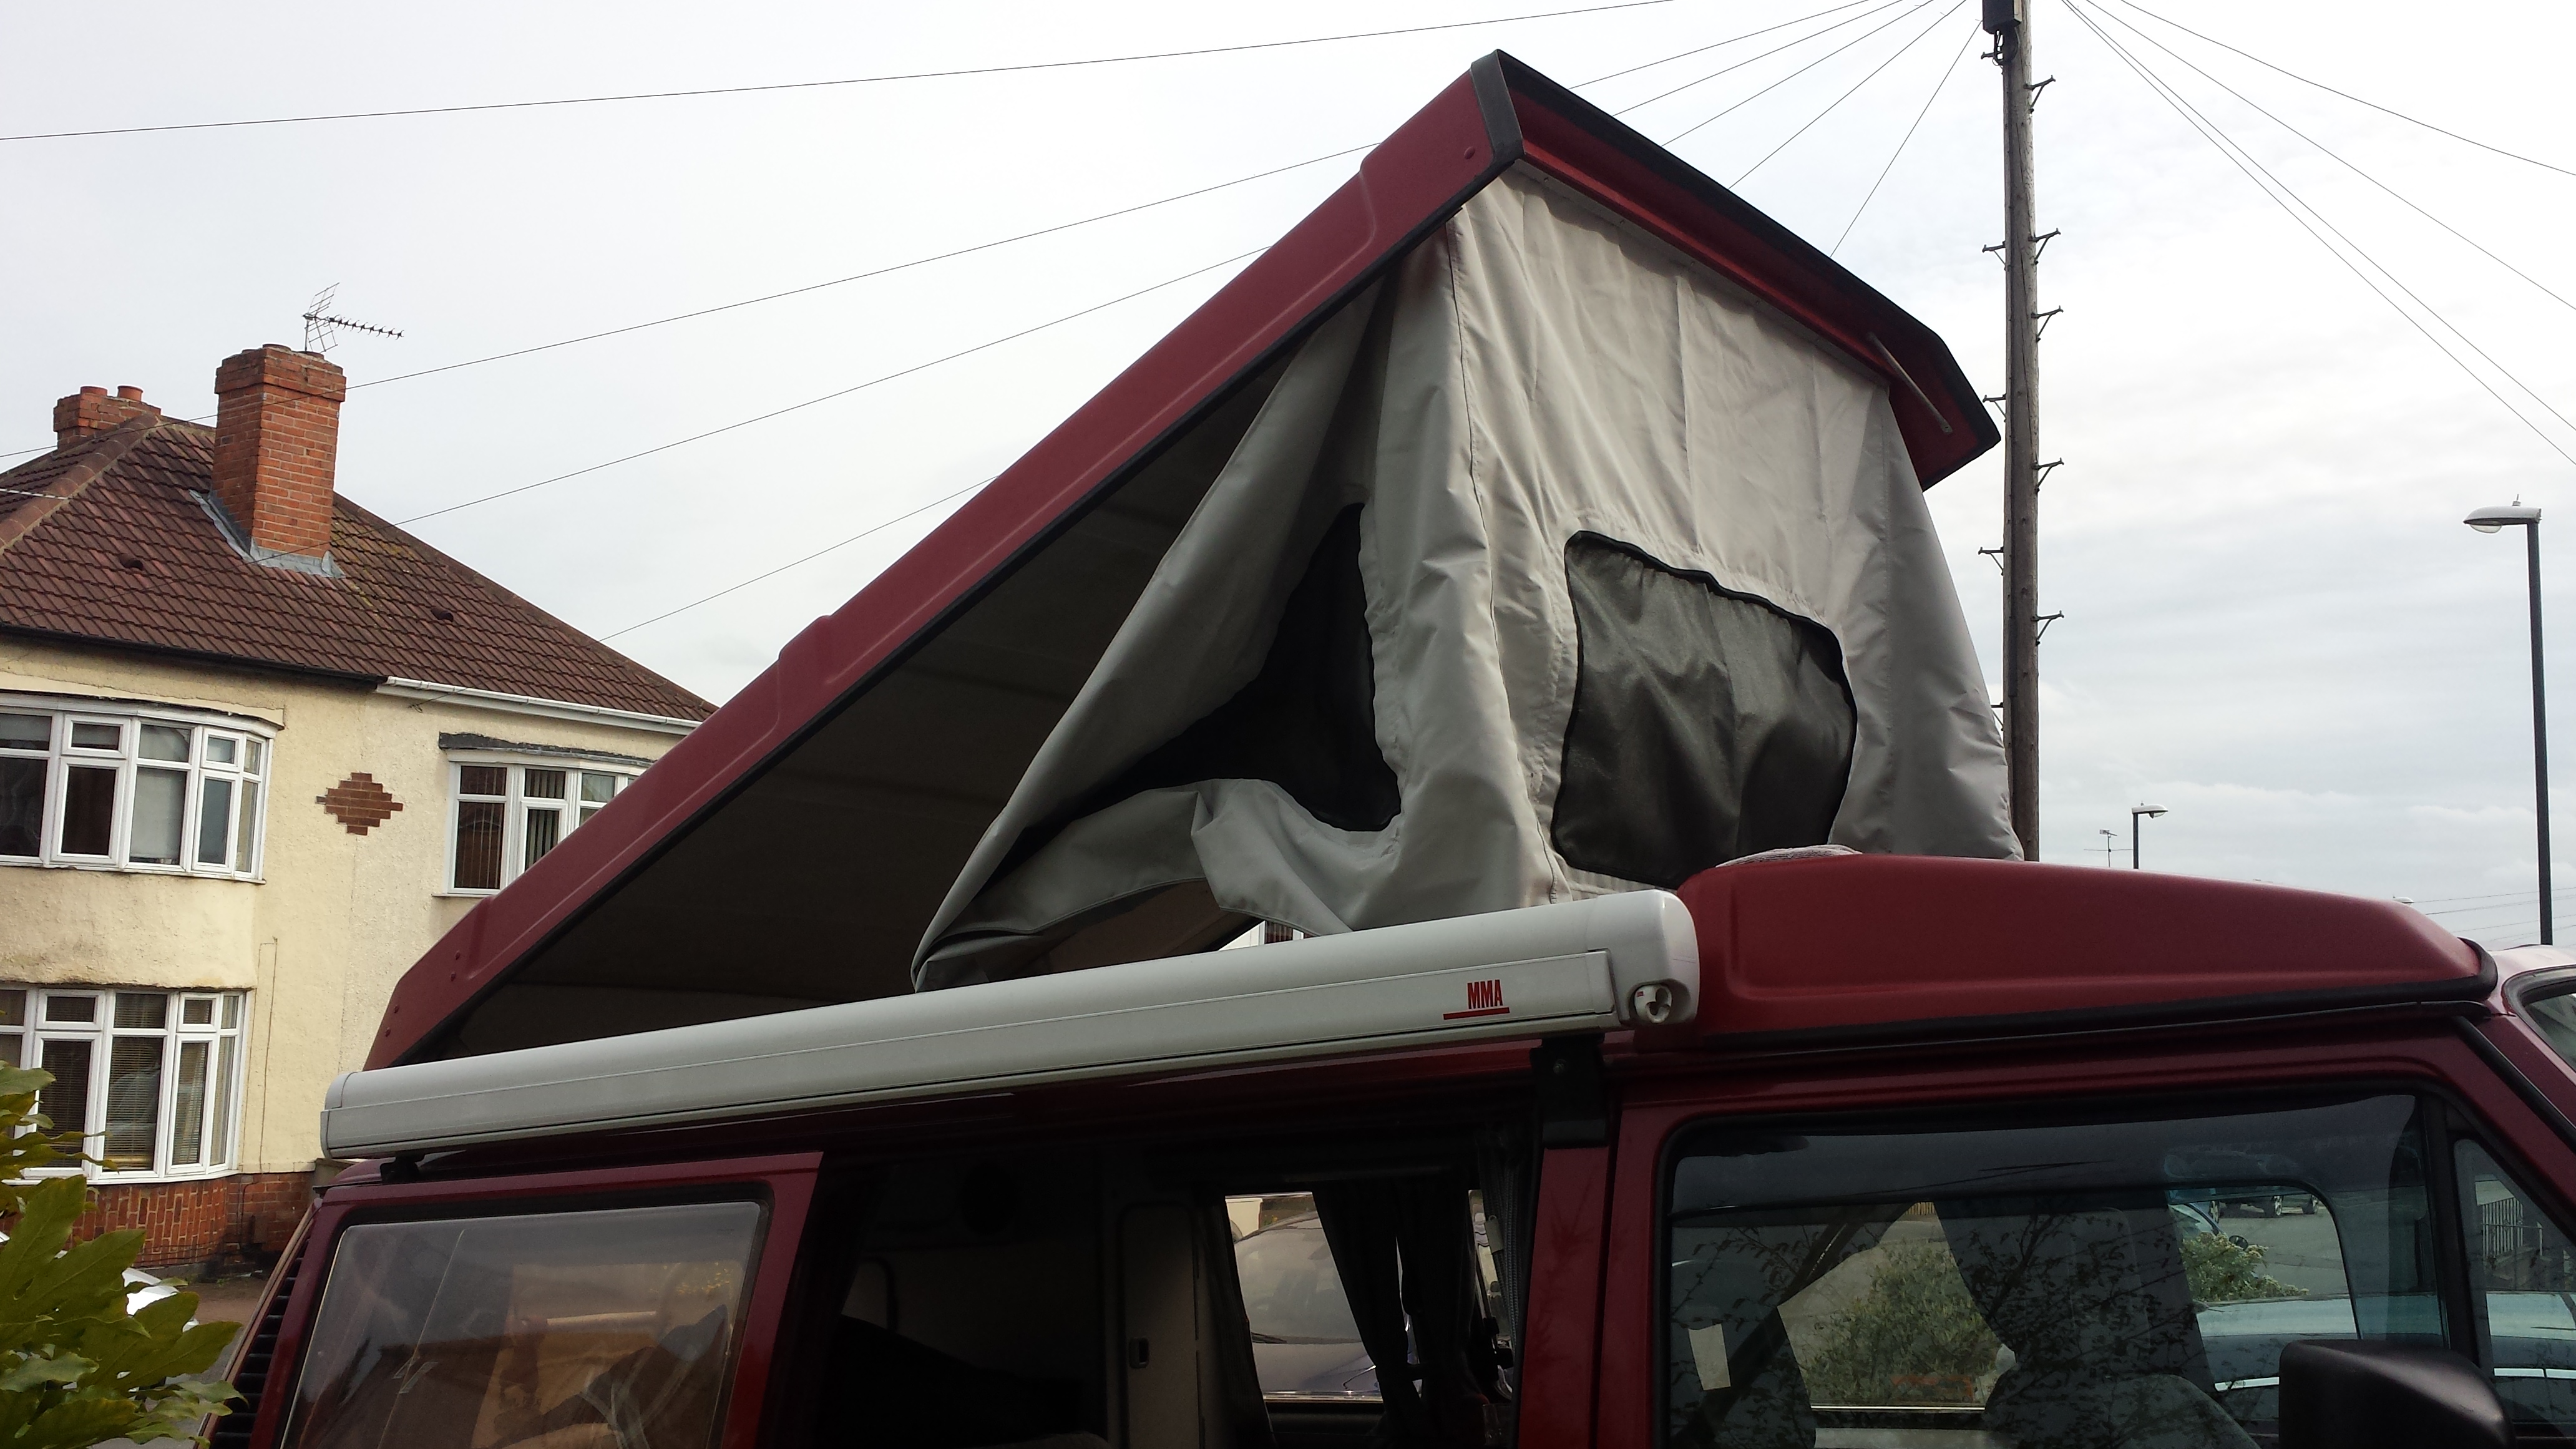
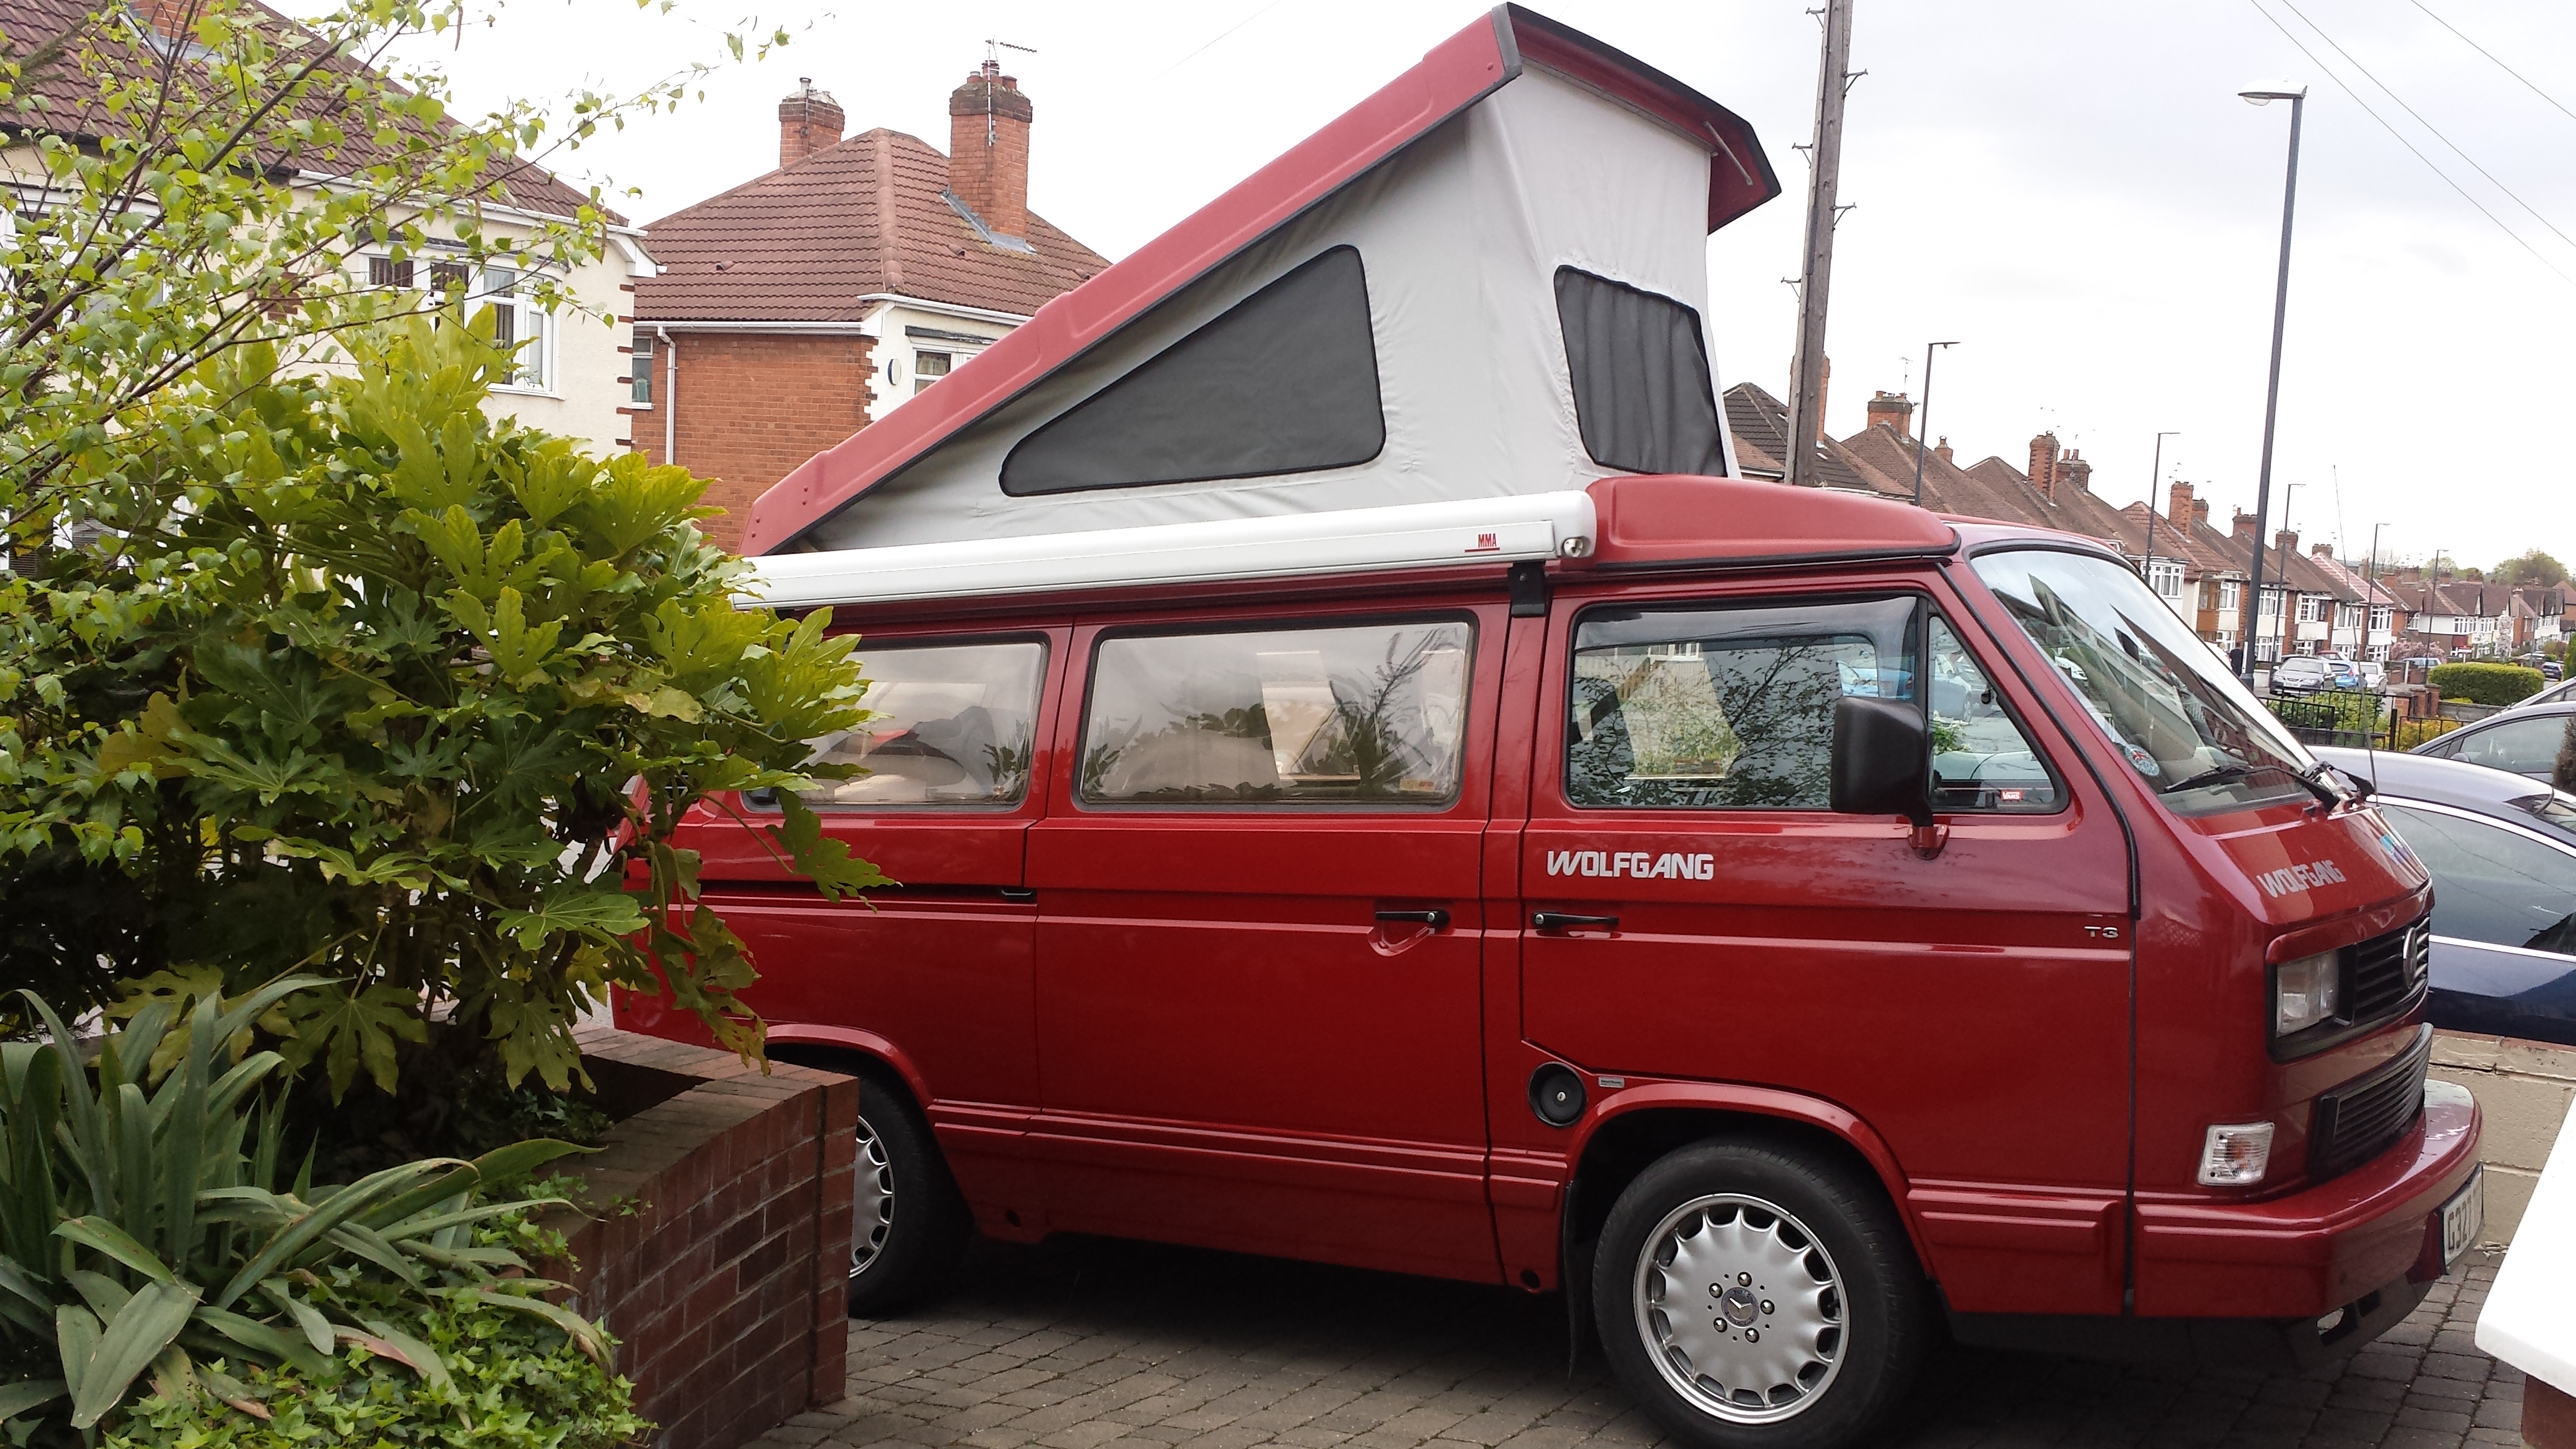
When I purchased the van my canvas was looking tired, stained and moldy. Like the H Bar assembly, it wasn’t something that stopped us using the van. However, It was something that I could only live with for so long as our eyes were continually drawn to it when camping. So the decision was made to change the canvas and ended up going for a GoWesty option from Campervan Culture in light grey.
After looking at some videos I had come to the conclusion that I was going to attempt the fitting myself. I plucked up the courage and one Friday afternoon, booked the afternoon off work and set to stripping the old canvas out….
And replacing the new….
The install took substantially longer than anticipated. At 9pm I threw in the towel and got up early the following day to carry on. I finally finished it late afternoon on the Saturday after a couple of heavy downpours 🙁
All was great until I got up the following morning in excruciating pain. I had issues with my shoulders previously, and the rolling around in confined spaces in awkward positions had aggravated the problem. Long story short I ended up having three weeks off work with tendinitis in the shoulder 🙁 . Not good!
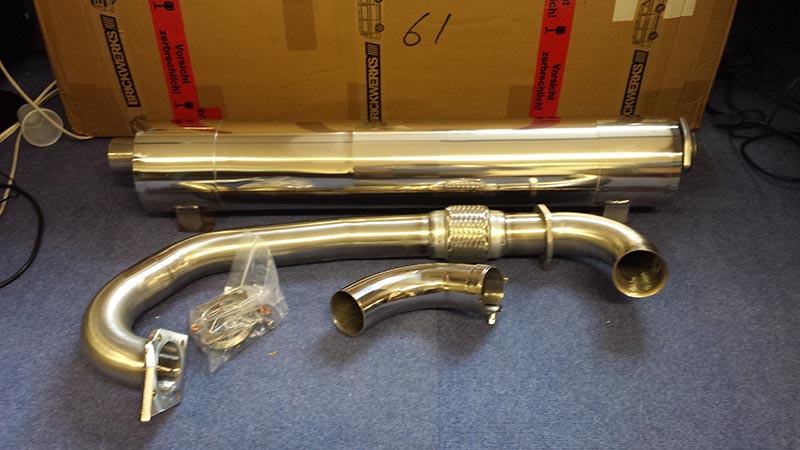
After I spent a great deal of time buffing up the faded paintwork the van didn’t start looking half bad. The down side of this was that your eyes became increasingly drawn towards the parts that weren’t so glossy. When looking at the rear of the van, the exhaust appeared as one ugly, rusty lump. So the decision was made to rectify this. My van was due to go into a show (Dubfreeze 2014), so the decision was made to change. 🙂
I did some research and the Brickwerks exhaust seemed to have a good following. I placed the order and received the parts the next day. Blistering service as always 🙂 .
Anyways, I didn’t want to tackle the job myself so took it to my local trusted garage and asked them to fit it along with a few other parts. Not much more to say really other than i have had it on the van now for over a year and it looks as good today as it did when i first had it fitted 🙂
Well I brought my van and boy was i chuffed with it. T3s were new tome…so new that i had no idea what one was supposed to handle like. I knew it was made on the brink 80s / 90s and I wasn’t 100% sure from memory what the vehicles of this era should handle like. I mean I drove a lot of them…but maybe I had just got used to a modern equivalent.
However…after persisting with the van for a few months i decided that I wasn’t happy with the height of the van. With any vehicle I own I tend to want to make changes so this was just a matter of course for me. So after a little research I decided to plunge for the Brickwerks Eibach Pro springs which offer a 40mm drop from standard. I also decided in light of the poor handling that going for a set of the Powerflex Steering Rack Mount Bushes couldn’t do any harm.
Delivery of springs and bushes
I received them, and promptly had them fitted by a local mechanic that works on my Lotus. When I collected the van after fitting the height was great with a subtle but noticeable drop. The van seemed to handle slightly better on the multiple speed humps in my area. Little did i know things weren’t anywhere near as good as it should be. The next months salary were spent on replacing the dampers. Boy did this make a difference! I went for the Bilstein Fronts and Rears, (again from Brickwerks).
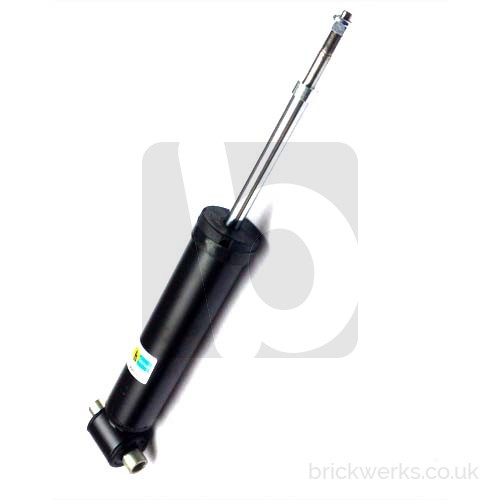
Bilstein FrontsBilstein Rears
It was pretty clear after changing the dampers that this turned out to be the single biggest issue with the handling of the van. Basically, the van used to take an age to settle after going over a hump because the original ones were shot and not doing what they were supposed to. On this I concluded that the original springs we not brilliant. They were not progressively coiled so offered a very basic rebound effect, so changing to the Eibachs offered a slightly better ride. Twin this with a new ‘WORKING’ set of dampers and it was a transformed animal.



 .
.