All posts by Proximity

GoWesty Roof Canvas

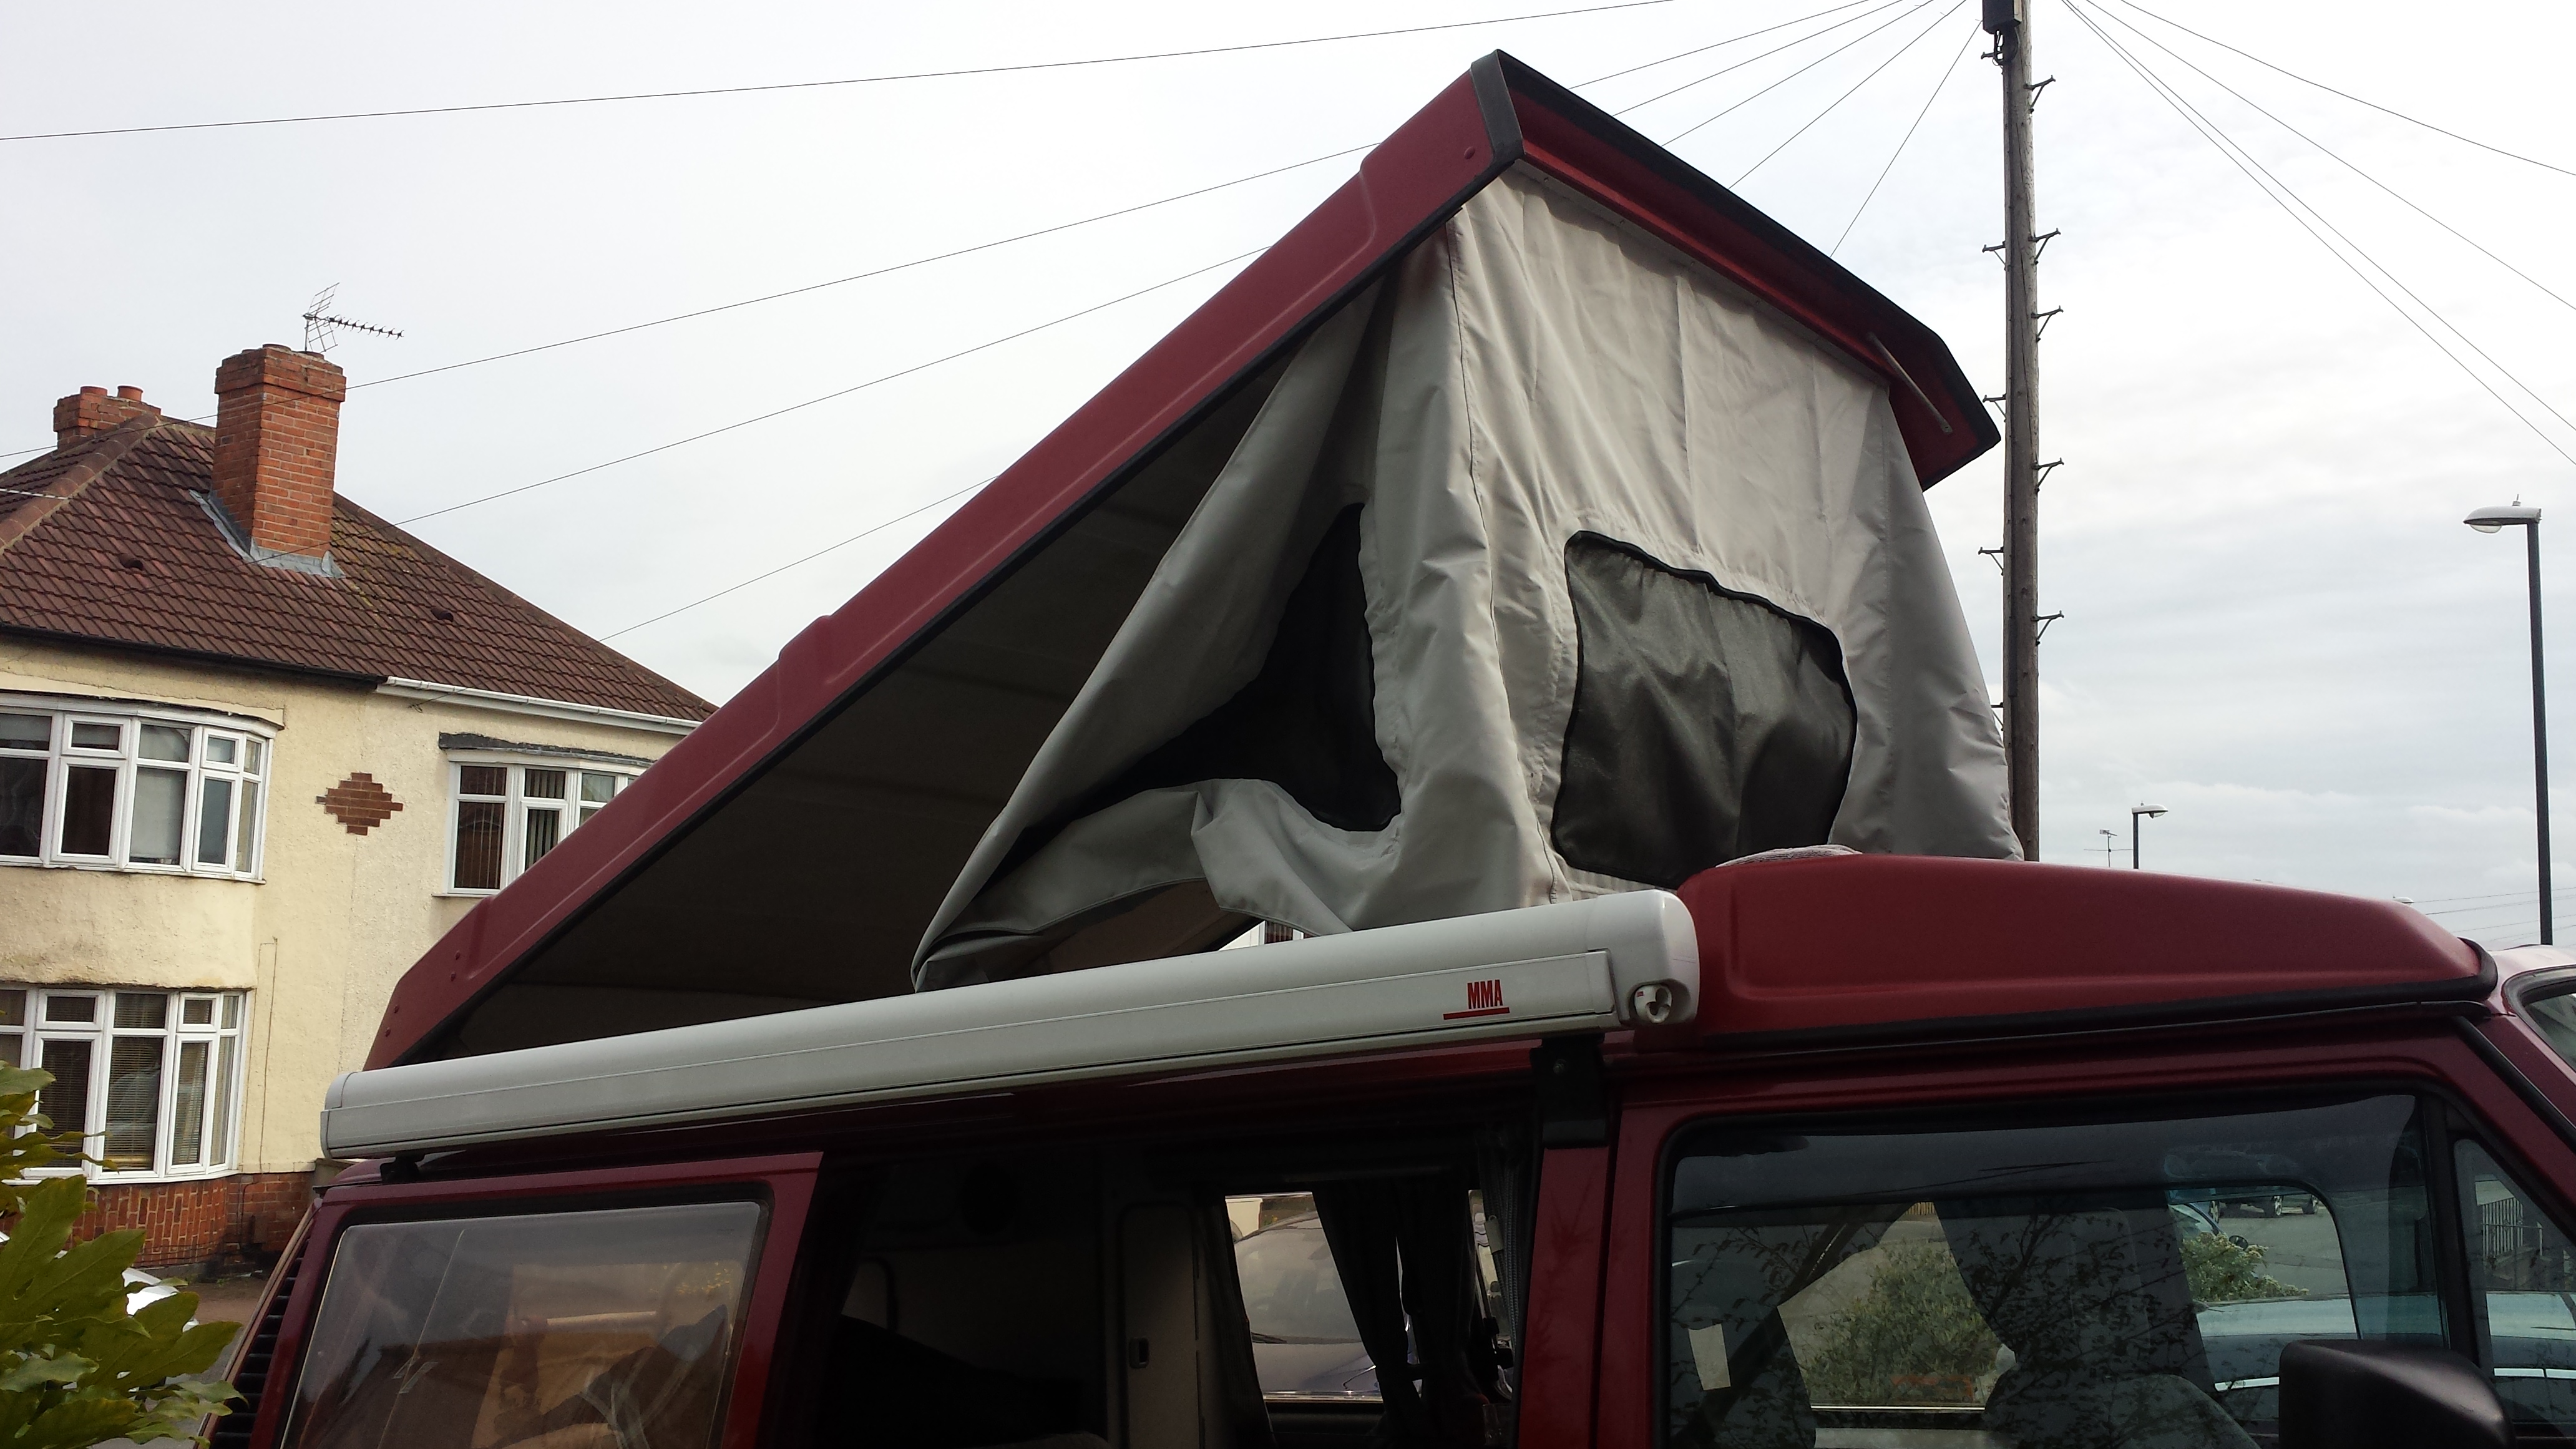
When I purchased the van my canvas was looking tired, stained and moldy. Like the H Bar assembly, it wasn’t something that stopped us using the van. However, It was something that I could only live with for so long as our eyes were continually drawn to it when camping. So the decision was made to change the canvas and ended up going for a GoWesty option from Campervan Culture in light grey.

After looking at some videos I had come to the conclusion that I was going to attempt the fitting myself. I plucked up the courage and one Friday afternoon, booked the afternoon off work and set to stripping the old canvas out….20150424_140058
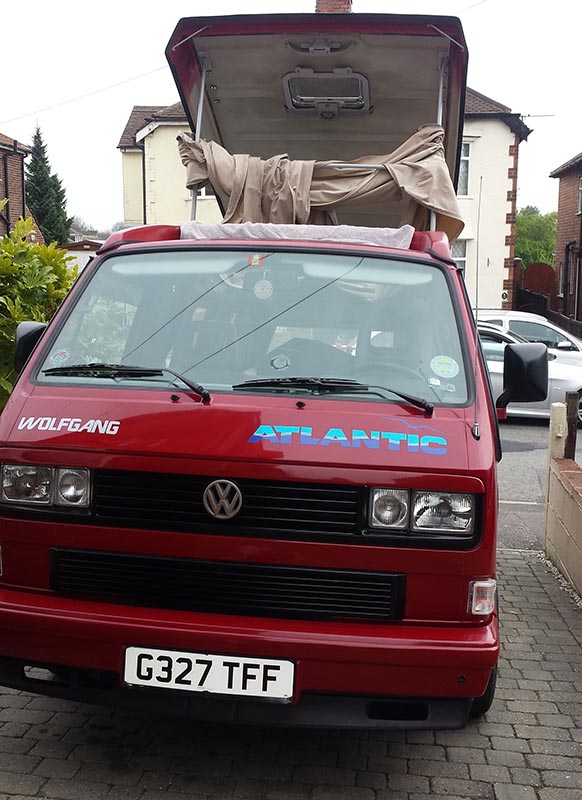
And replacing the new….

20150424_170921

The install took substantially longer than anticipated. At 9pm I threw in the towel and got up early the following day to carry on. I finally finished it late afternoon on the Saturday after a couple of heavy downpours 🙁
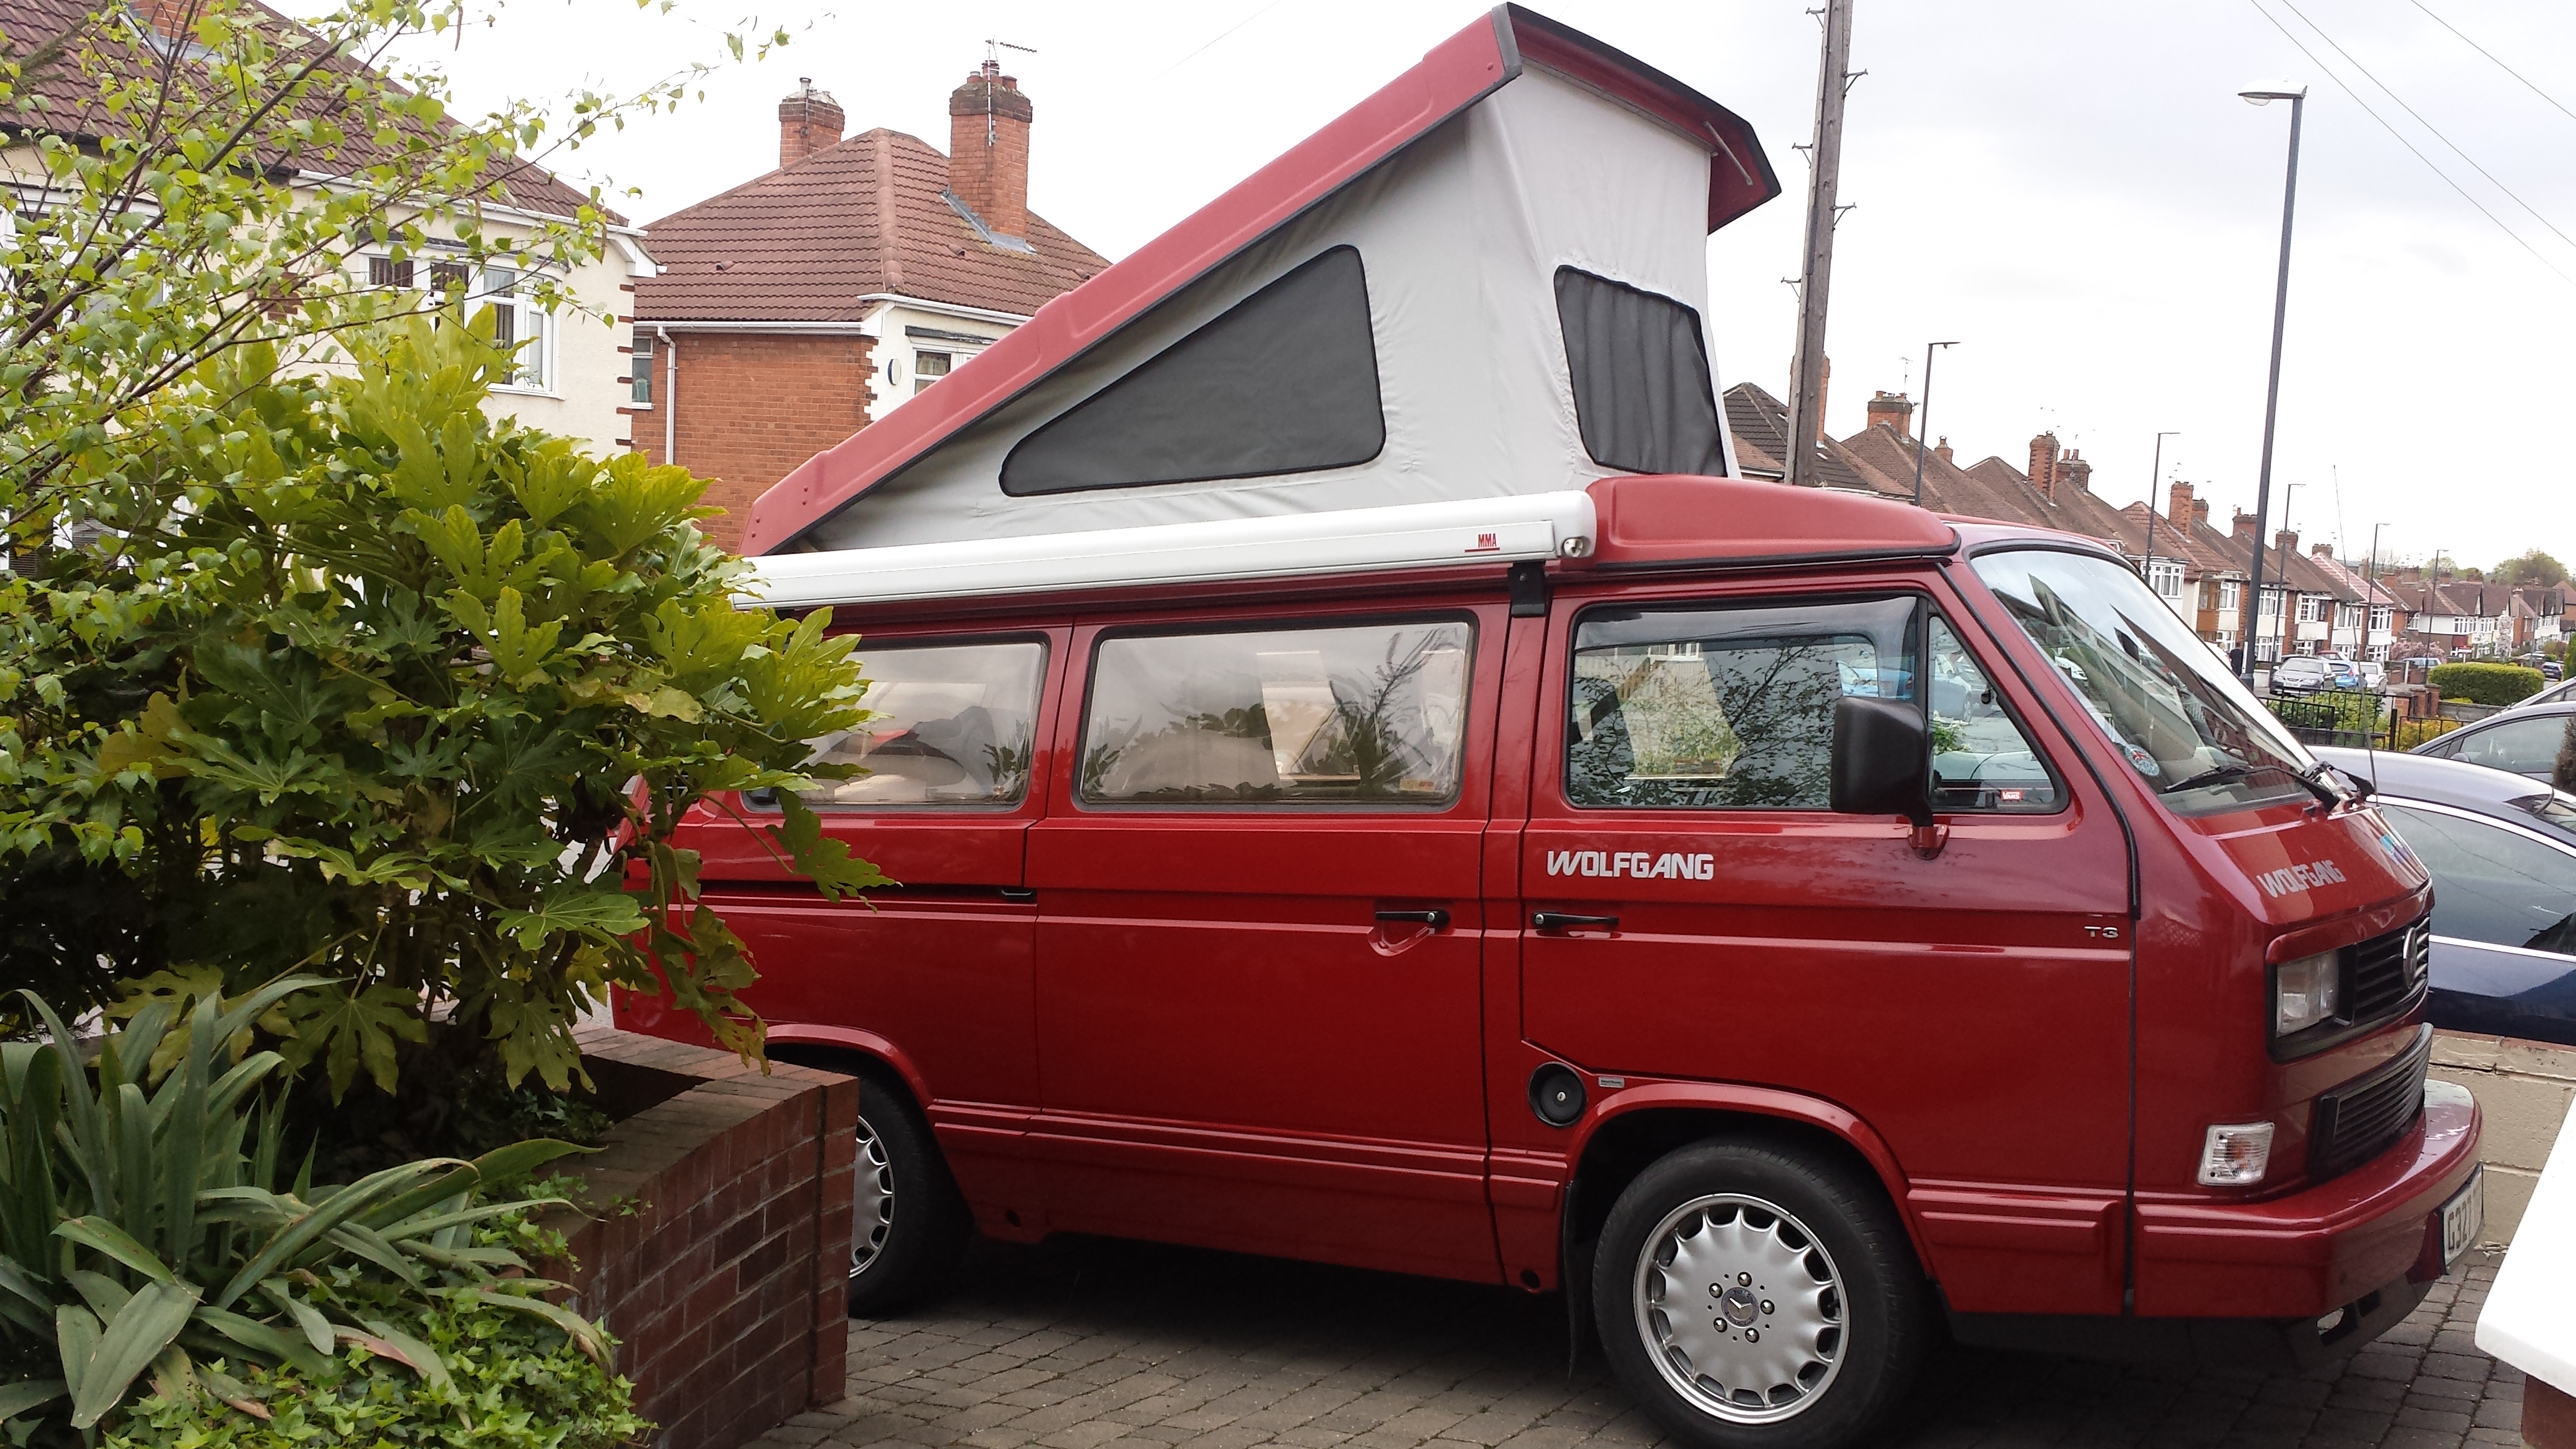
20150425_185857

All was great until I got up the following morning in excruciating pain. I had issues with my shoulders previously, and the rolling around in confined spaces in awkward positions had aggravated the problem. Long story short I ended up having three weeks off work with tendinitis in the shoulder 🙁 . Not good!

Find this interesting? Please leave a comment 🙂
Stainless Fridge Vent

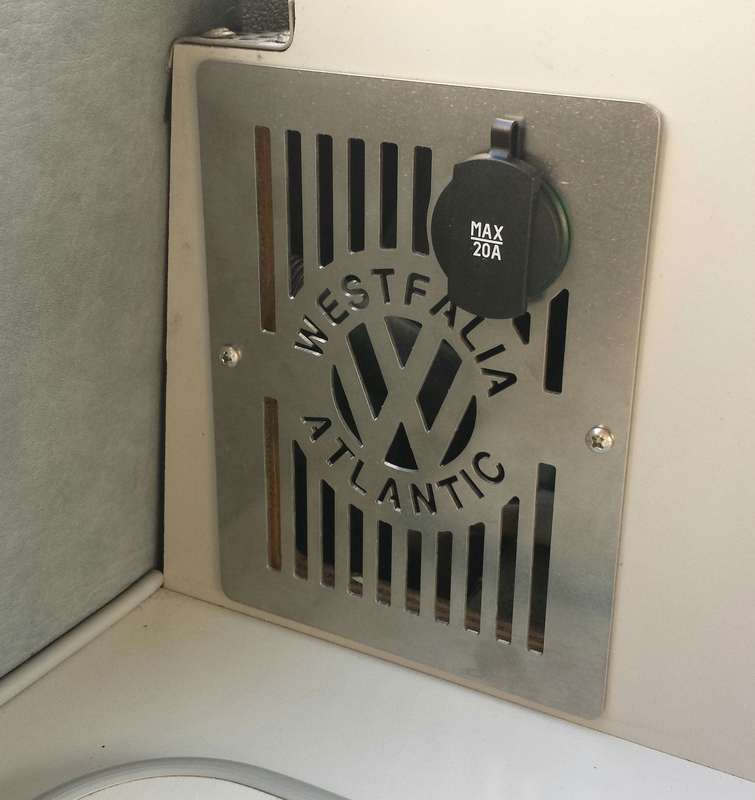
I saw these fridge vents on Ebay and realized that they were actually produced by a friend of mine. He had one that had a slight imperfection in it and got it at a ‘mates rate’ price :). The old vent was starting to show its age and had dis-coloured quite badly. It was only a matter of time before rust would have set in and the paint would start flaking off.

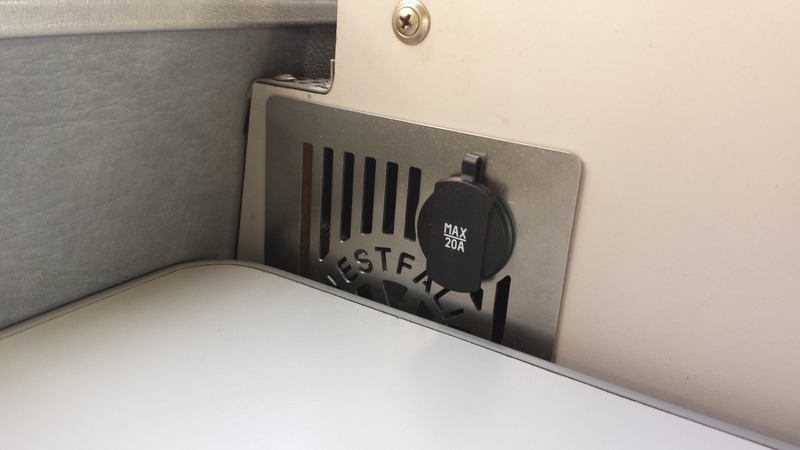
The replacement has the a additional benefit of housing a 12volt socket so win win 😉 . I wired this into the 12 volt power switch that had been installed under the sink to feed the DVD player. This way the power would only be supplied to the socket when required. This would probably be in conjunction with the mood lighting we also had wired to the same power switch.

Vent
Table out to reveal vent
Vent1
Table in place, socket still accessable

Find this interesting? Please leave a comment 🙂
Bus Types 2015

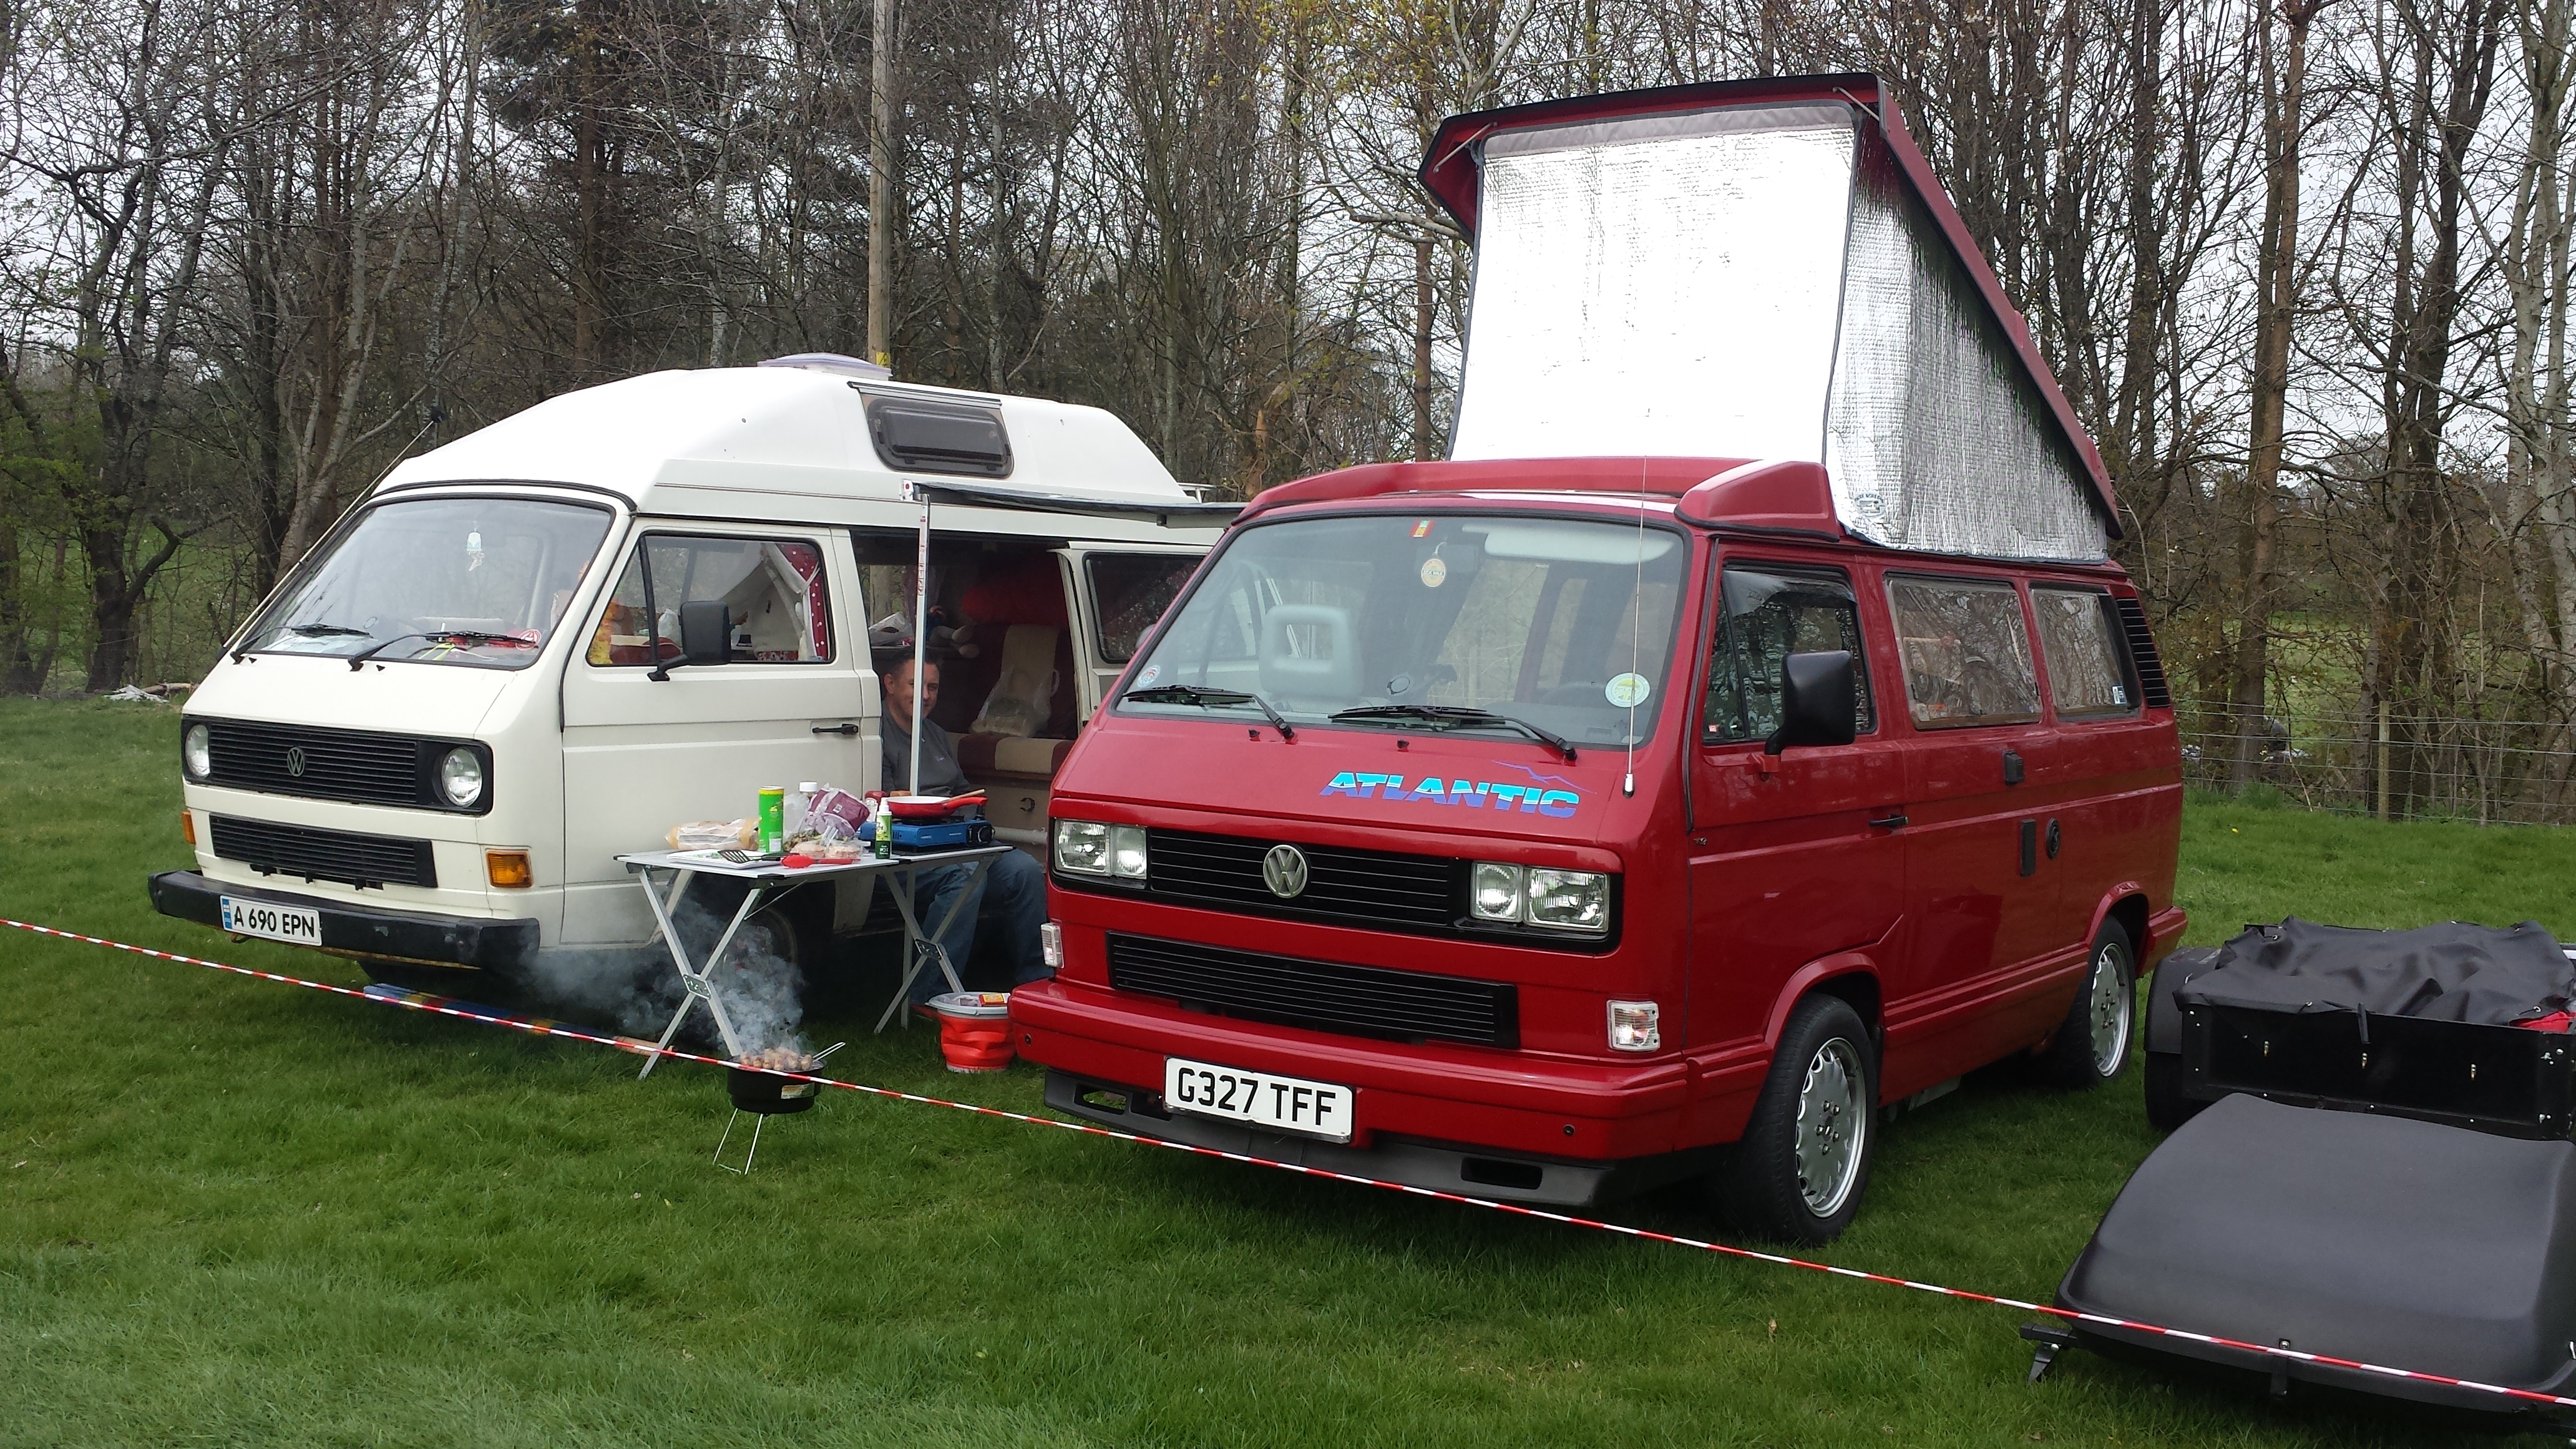
The weekend was OK, but I don’t think i would bother going again. Maybe it was the weather which was a bit chilly and damp. It was our friends Matt and Cas’s first camp over in their newly acquired camper van  🙂

Camping with Matt & Cas


Skylight mech referb

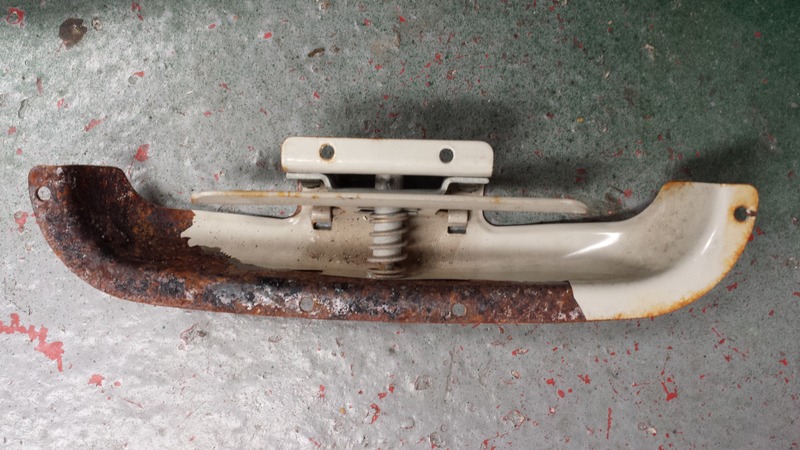
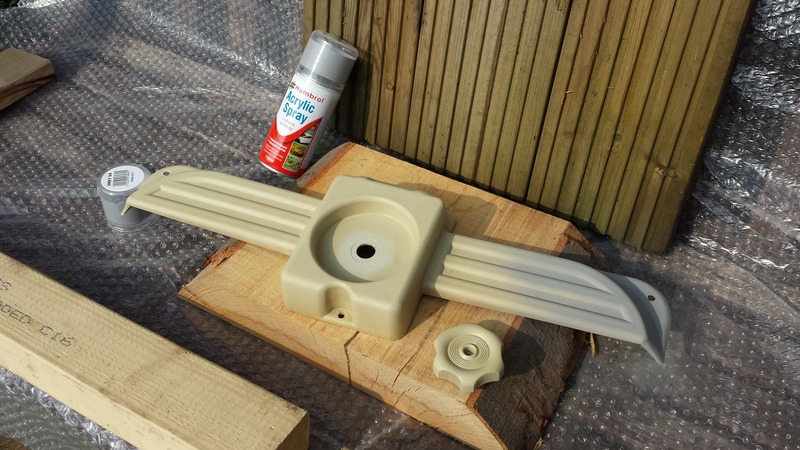
As with many of the parts on my 25 year old van, the age had taken it’s toll. I had already had to change the skylight seal to stop water ingress and the plastics for the winder mechanism were also looking a bit stained and dis coloured. This was most likely due to UV. So rather than buy a new set, I primed and painted 🙂

Spraying the plastics

The finished article was good enough for our eyes not to be attracted to it whilst spending time in the van 🙂

Finished article
Finished article

Find this interesting? Please leave a comment 🙂

Woodland Camping and Caravan Park

The reason for the stay here was to relax and recover from tendinitis in my shoulder. This was bought on by laying in awkward positions whilst fitting the new canvas for the poptop. Ended up taking three weeks off work, but that’s another story. The campsite is very similar to Eriba Glade, and being so close to where we live makes it a place I hope to visit regularly at weekends.

Woodland Camping and Caravan Park
Woodland Camping and Caravan Park (Ashbourne)

http://www.woodlandcaravanpark.co.uk/


Mood Lighting

We had owned the camper for about six months and found that the standard lighting wasn’t ideal for relaxing and watching the TV. So we bought a small battery powered set of Christmas lights which created a nice ambient light source. However, these had to be positioned every time we wanted to use them and this was proving a tad inconvenient.

20141108_205407

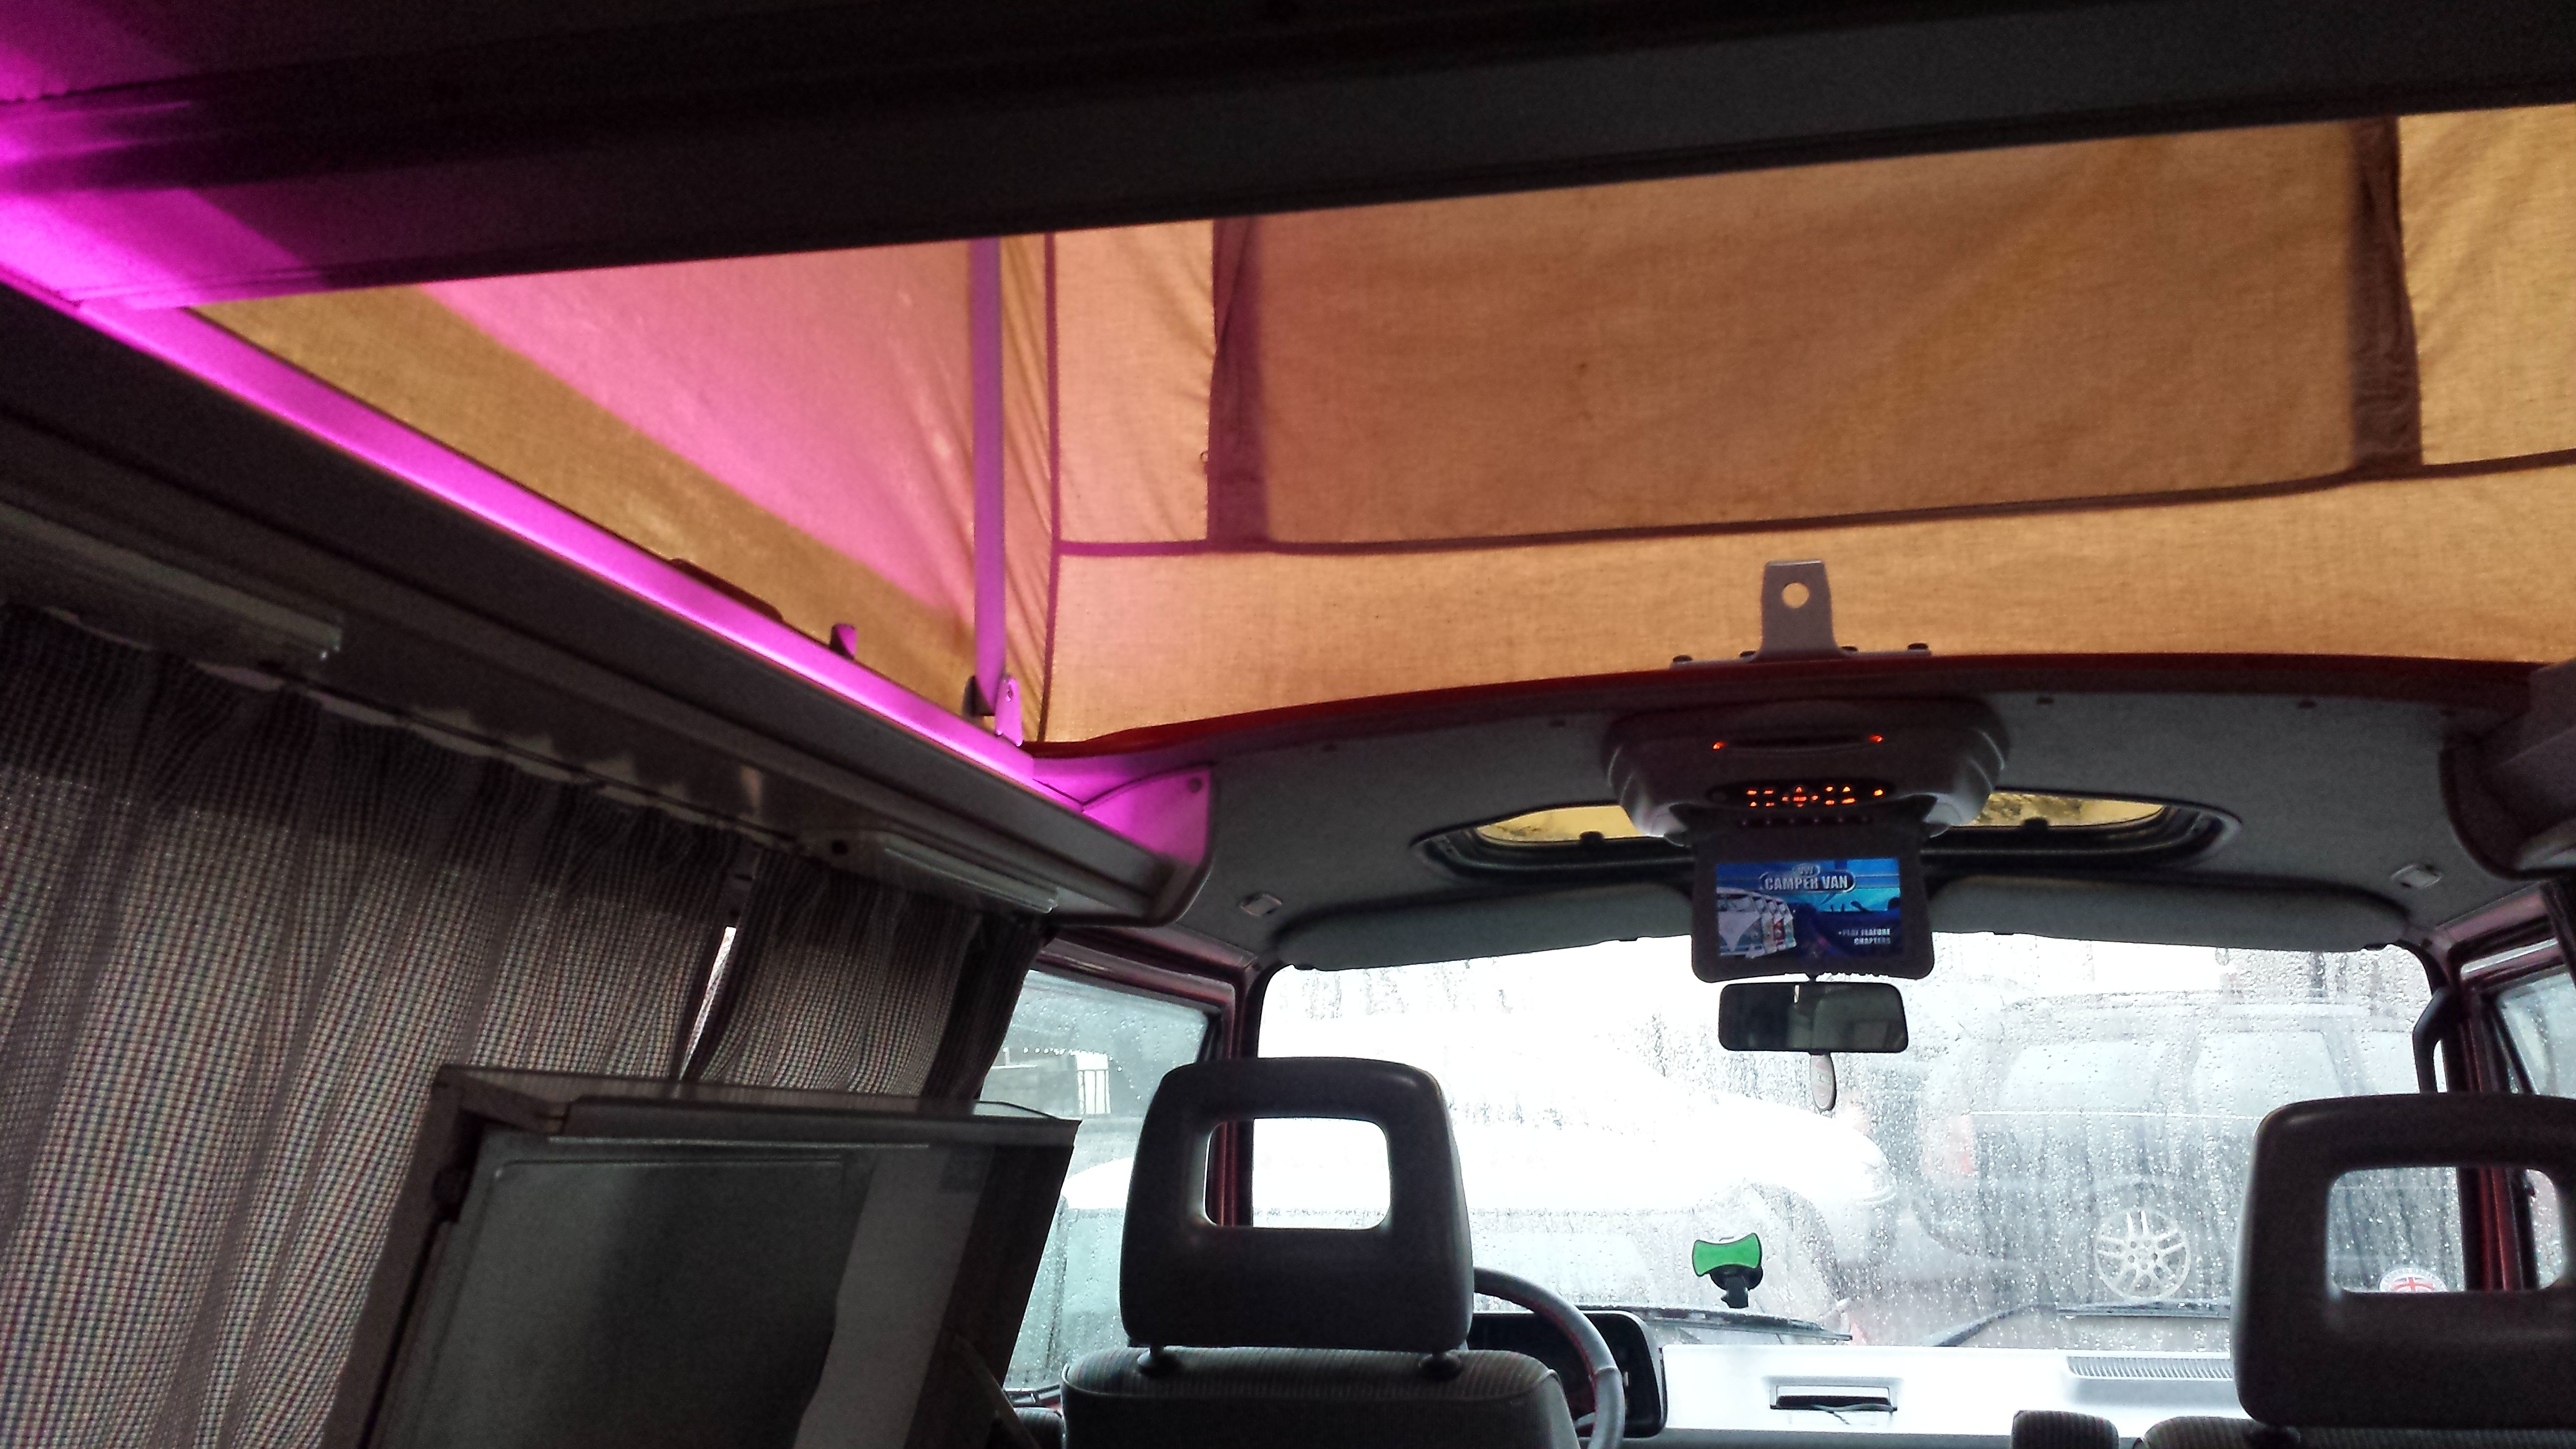
At one of the previous local campervan meetings I had seen a van that had some mood lighting in the rail on the left of the van. This was just what I was looking for. On a trip to IKEA I spotted some strip lighting that looked like it would fit the bill. It came with a controller pack which allowed the selection of specific colours or disco modes.

MoodLights
Testing the IKEA Lights

So I bought the kit and after a little tinkering the lights were mounded in place using the double sided foam pads. These were than wired in to a switch underneath the sink unit that provided power to the DVD player. This gets used every time we camp so its been a worth while addition. I think the kit was £35 at the time which included 4 strips that are linked together by a short ribbon and a longer ribbon to link the controller to the lights. See link here

20150403_190528

Find this interesting? Please leave a comment 🙂
Euro to UK socket

This modification is quite a contentious one on, but one I wanted to make all the same. Most of the time when on electric hook up we supply a four gang extension socket from the single access point near the  rear seat / rock n roll bed. However, occasionally we want to use that single socket on its own and it was proving a pain when the adaptor kept coming out of the euro socket every time we wanted to change from the four way to desired appliance.

Euro socket with UK adaptor

So the only real option was to change the socket to a UK one. This is how it was done for anybody thinking of doing it…

Removed the rear seat and the internal components, along with the rear table and some internal gubbings in one of the cupboards underneath that table to gain access to the socket itself. The socket was also removed!

Progress
Progress

Next I masked off the surrounding coachwork to prevent any damage while i used some power tools to open the hole enough to allow for the UK socket.

Pluga
Area masked off so as not to damage the surrounding coachwork

From there it was just a case of plodding along and wiring the new socket in place. The day ended late as you can see from the picture 😉

Late night finish
Late night finish

From there it was really just a case of poping every back in to place. But first i cleaned the rear seat bench. It was very dirty and probably housed best part of 25 years dirt and grime. Found 2 forks and a load of playing cards when i took it out 😉Plug2

Anyway…the finished article 😉

Plug
The finished article.

Find this interesting? Please leave a comment 🙂
H-Bar ‘PopTop Assembly’

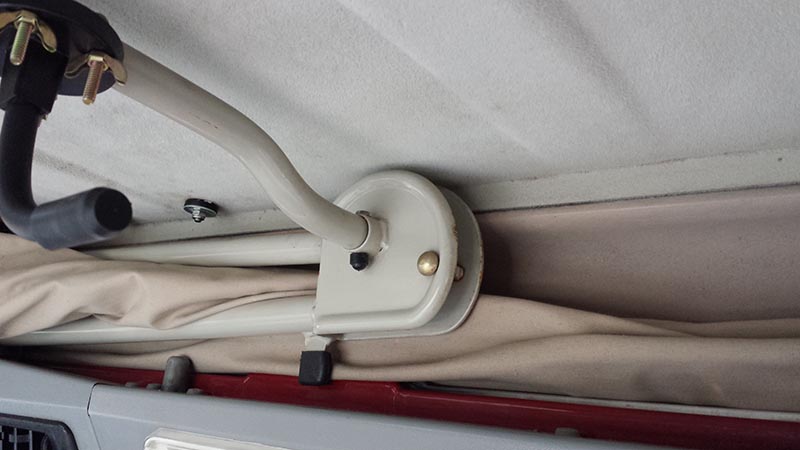
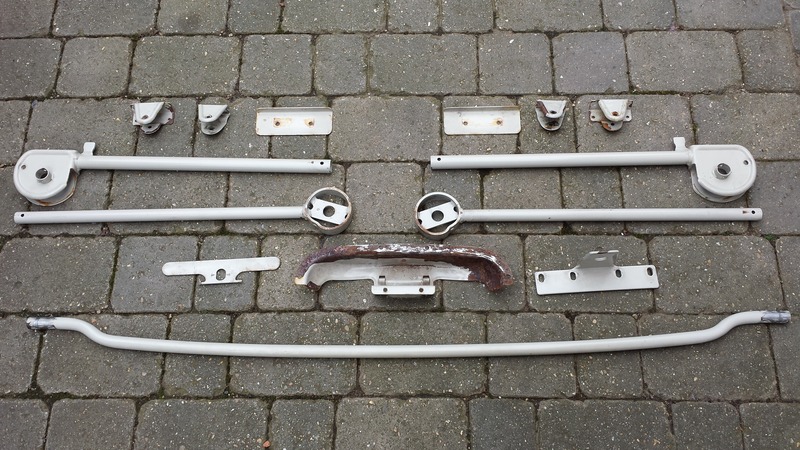
The H-Bar assembly that elevated the roof was another one of those things than we could have lived with for a good while. It wasn’t creaking or dangerous, but some of the components were showing their age. Paint had started flaking off parts in big chunks, and it had even stared dropping on the floor.

HBarjpgOld1One side of the elbows dropped lower than the other when collapsed and made a knocking noise.

20150316_154922So  March 2015 was the time i decided to resurrect it to somewhere like new.. The assembly was stripped out ready to go to the powder coaters. These are some of the before pictures:

HBarjpgOld2

HBarjpgOld

And these are the after 🙂

HBarjpg

20150402_184101

The cost of the powder coating was approx £80. Just a word of warning to anybody thinking of doing this!! I know what is involved with the process and had the foresight to block the ends of the stanchion tubes with a cloth. Did hear of somebody that didn’t do that and ended up with a horrible grinding noise because there were still sand in the tubes from the shot-blasting process, which are now grating against the springs that assist the lift of the roof 🙁

Find this interesting? Please leave a comment 🙂

Westy tap repair

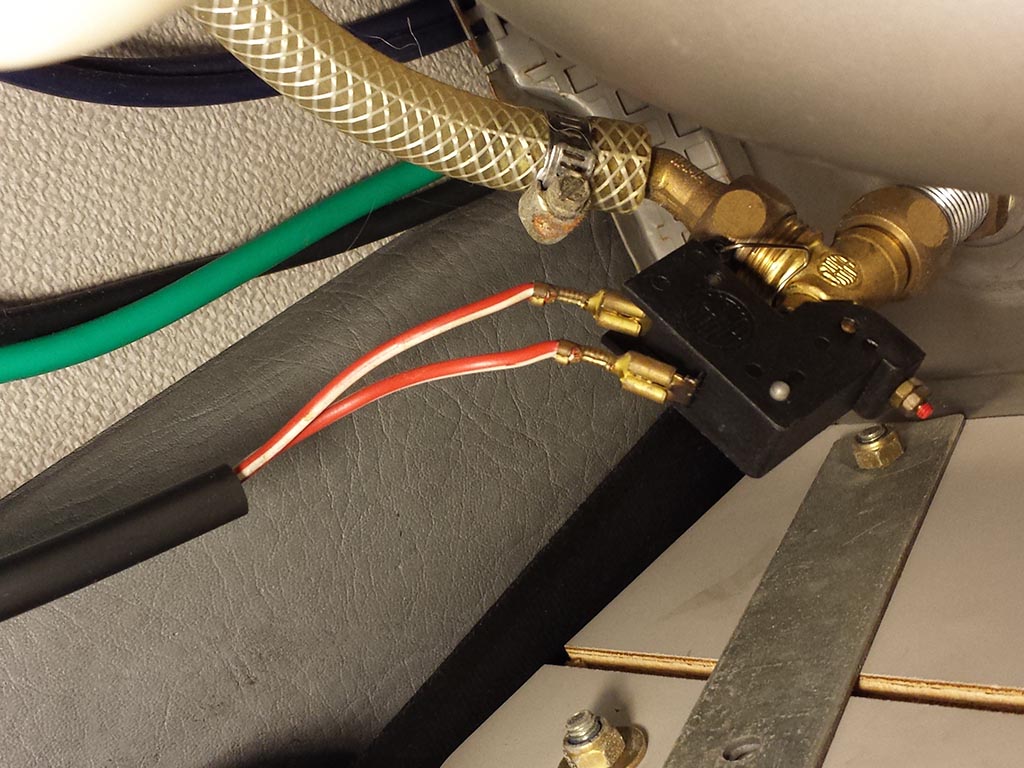
I’d had a problem with the tap since i bought the van. The first issue was regarding the tap not turning on. I looked into buying the parts to fix it, but all based on advice i chose to check the adjustment on the micro switch underneath the sink. That worked so I was more than happy 🙂 . The micro switch basically supplied power to the pump in the water tank and forced it up through the tap, so it wasn’t really a problem with the tap itself,  but deffo the reason it wasn’t working 🙂20141013_174632

Once I got the tap working i found that it was leaking. On inspection it was a split in the moldings. Again this was most likely to do with age than anything else. I checked the price on Gunzi and was happy to buy new. However, the postage was almost as much as the cost of the new tap. So i decided to attempt a repair. First I used a soldering iron to melt the plastics together:

TapFix2

Then i added a bit of an insurance policy…JBWeld epoxy resin 😉

TapFixb

Suffice to say it’s not leaked since 🙂

Find this interesting? Please leave a comment 🙂